Well friends, I mentioned the potential for a desert ride today, and it was quite nice!
Temps were in the 70's F (lower 20's C) with a few rain sprinkles to settle the dust.
Met up with Greg and we headed out west of Skunk Hollow to the Sonoran Desert National Monument to run the power line and pipe line roads a bit.
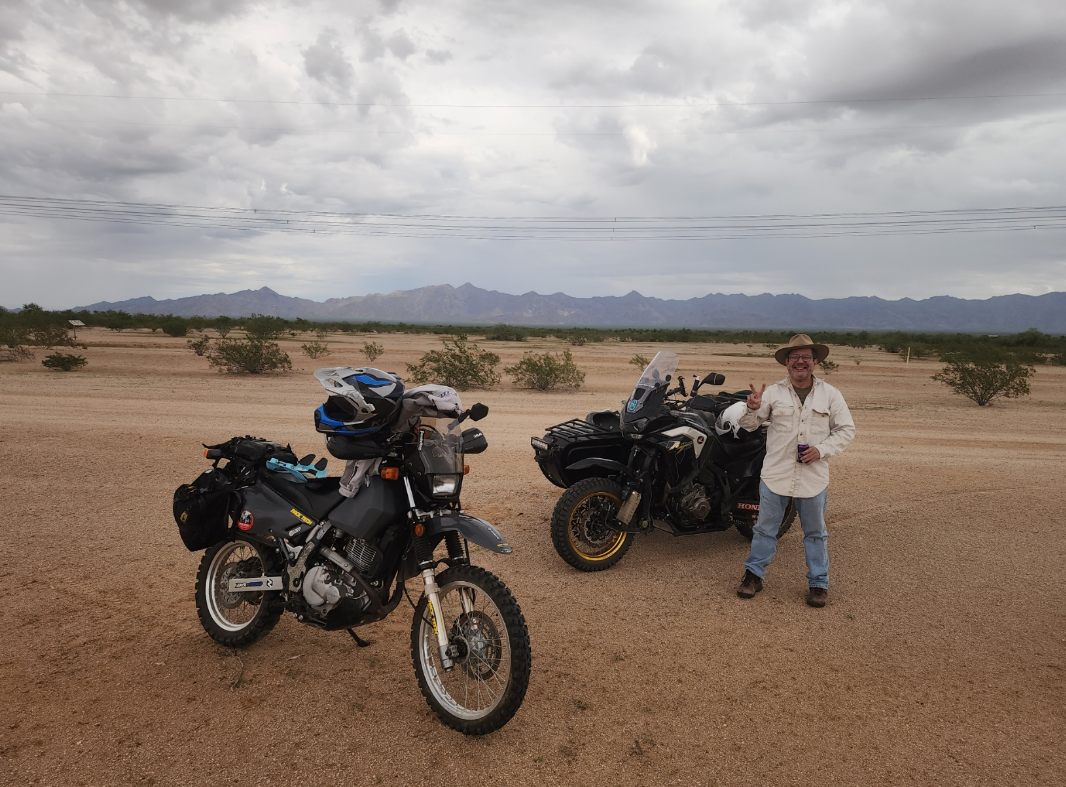
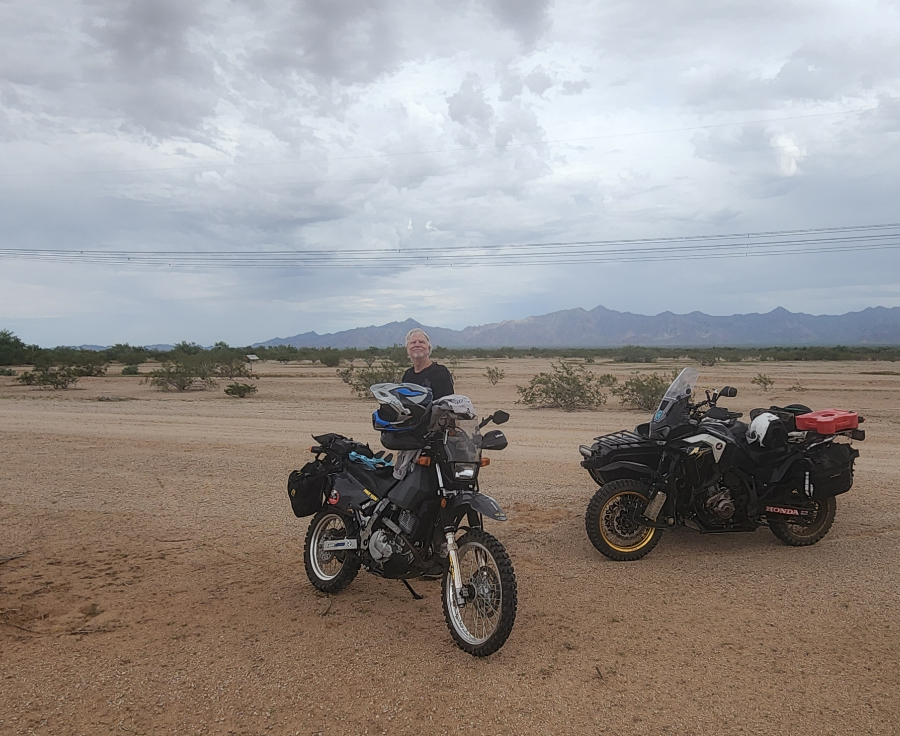
We did about 20 paved miles to get to a turnoff that wanders along the various powerline and pipeline service roads. Ran around maybe 50 miles on roads that in hot weather are basically deep moon dust, but with a little rain, become substantially more palatable.
Roads start out wide and flat, with minor whoops where washes cross the road mostly perpendicularly.
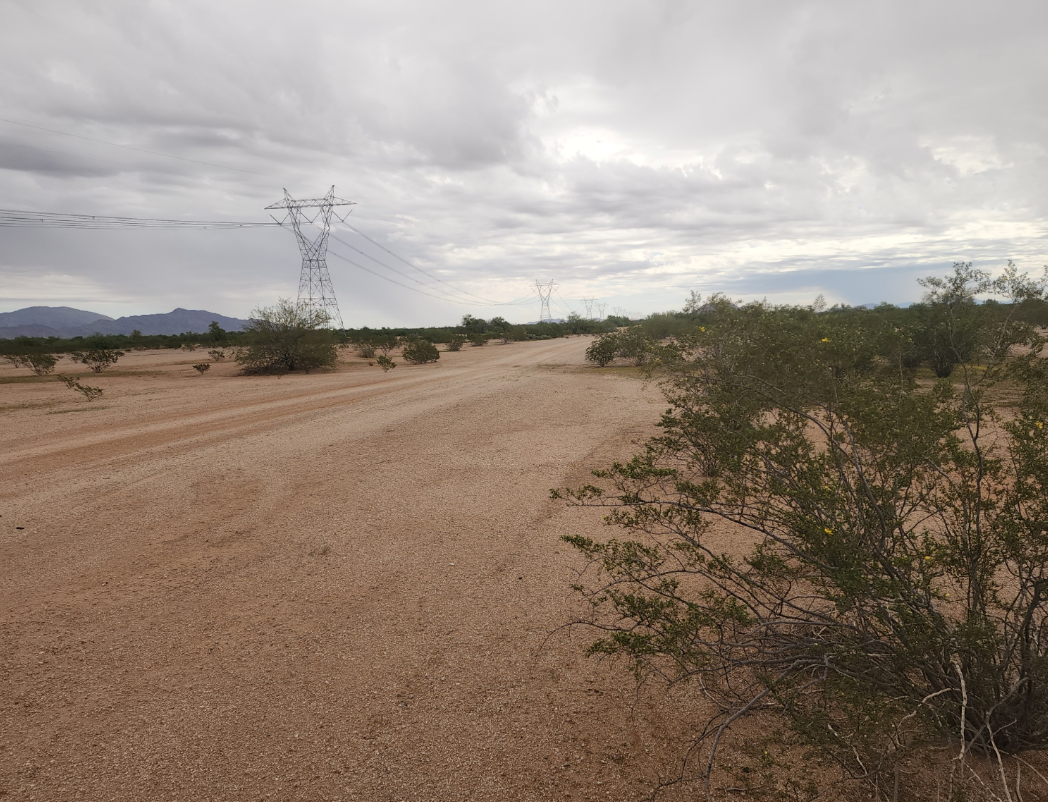
Things get a little narrower and twistier as you veer off on some of the available side quests:
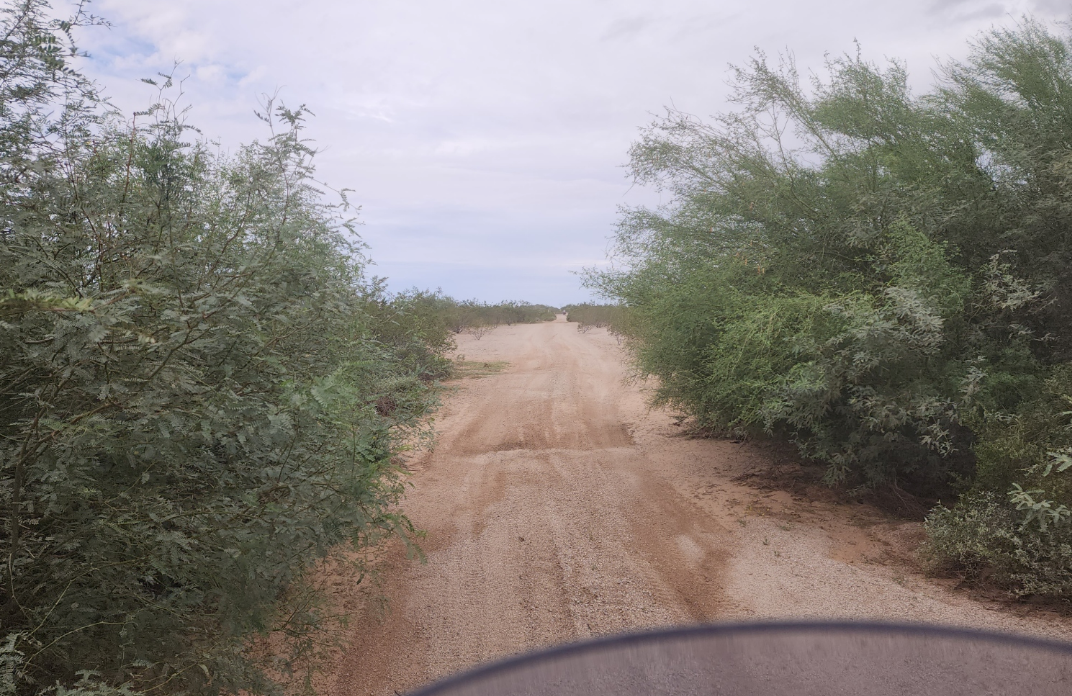
Some of the smaller trails still had really deep sand. They make this a little more interesting by sinking the road (with wear) deeper and deeper below the modestly more solid desert floor.
Greg was sailing down one such road, with me following behind, fast enough to float on the sand. He suddenly hit his limit of tolerance for the sand work out, and made a decision to take an abrupt left up and out onto the desert floor. I was paying less attention to what he was doing than to what silliness Black Betty (That Sweet Girl) was up to trying to throttle steer out of the direct path into some sage brush overhanging the road.
I blew past the turn off, and kept the speed up so as to not sink. I believe Greg thought I did not see him, and just went on down the road. The road got progressively more and more interesting, until there finally was another dirt ramp up and out of the trough and into the Desert floor. We managed to locate each other and pick a route back to the main powerline road without serious issue. Fun stuff!
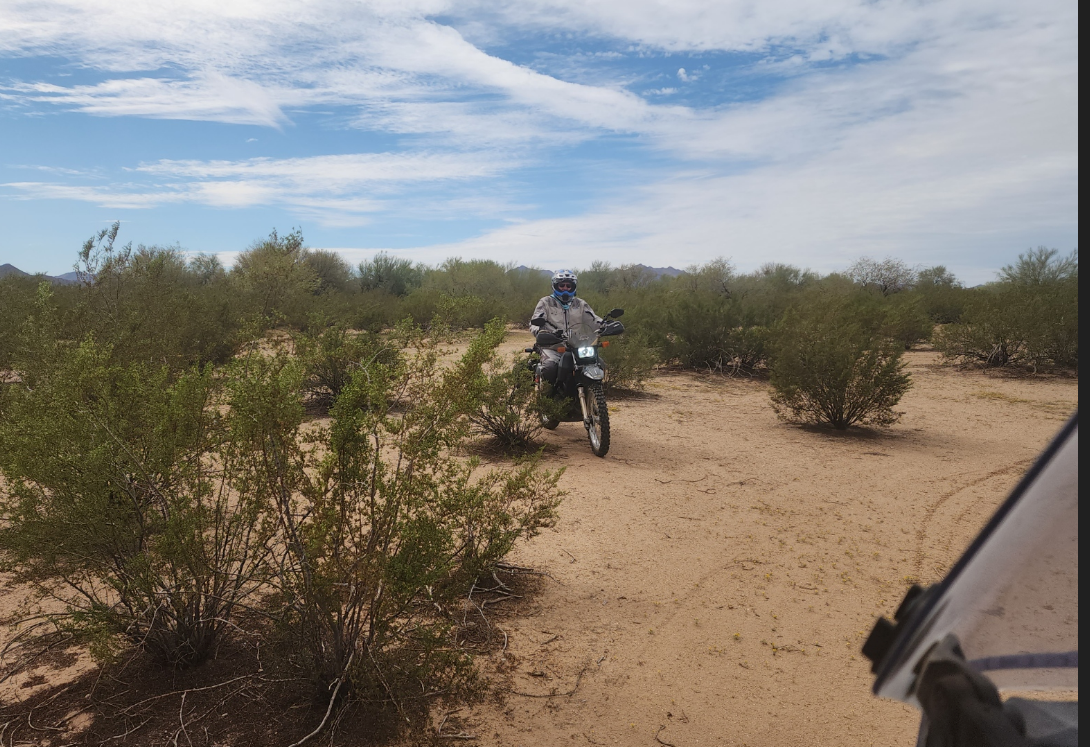
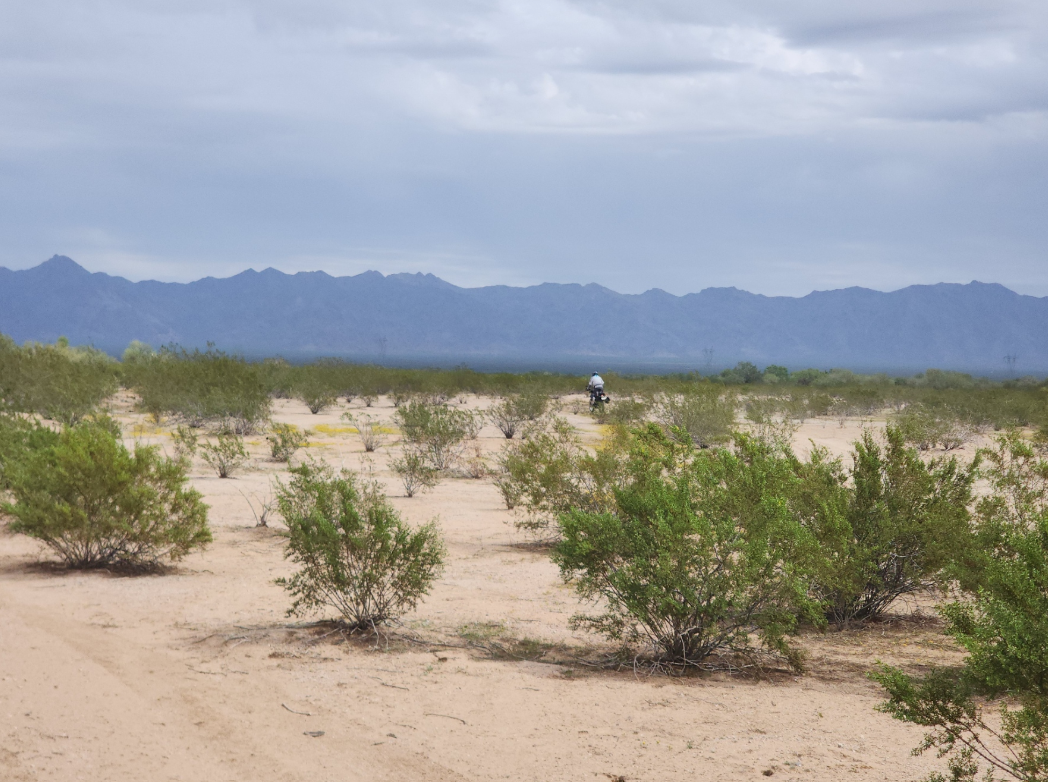
Nothing else very dramatic happened; lots of whoops and slides. 60 MPH seemed fast, so natural speed limits were mostly obeyed.
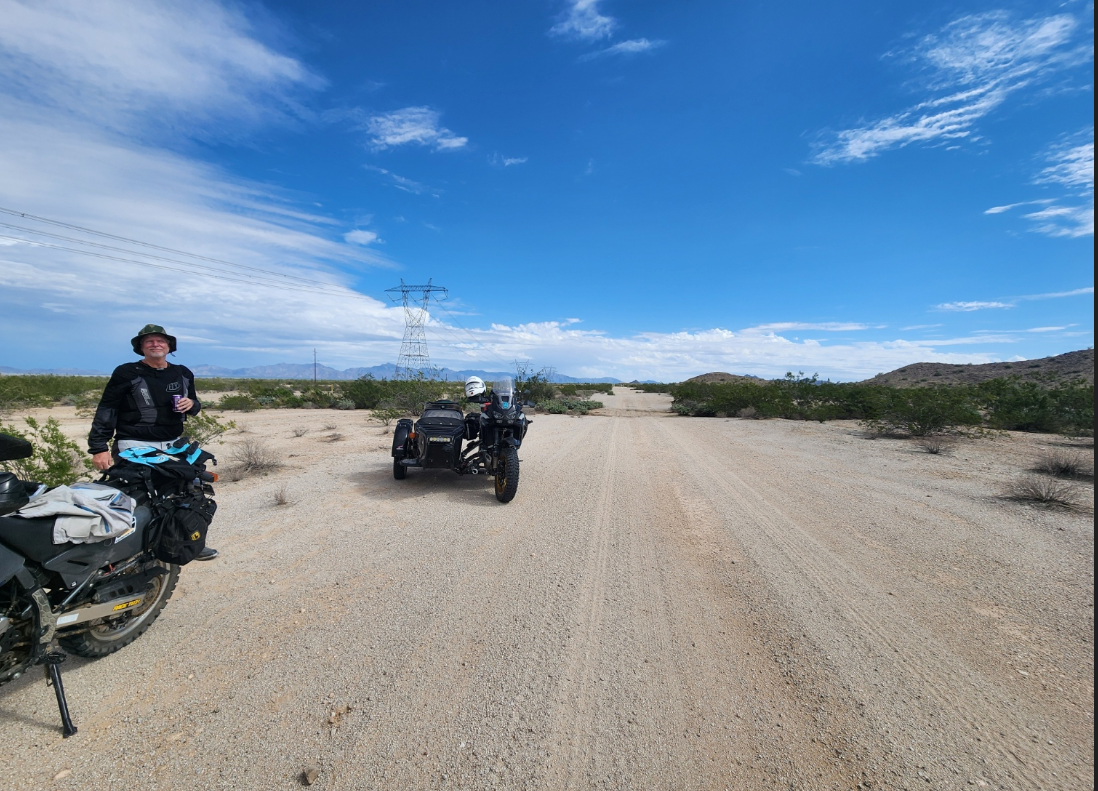
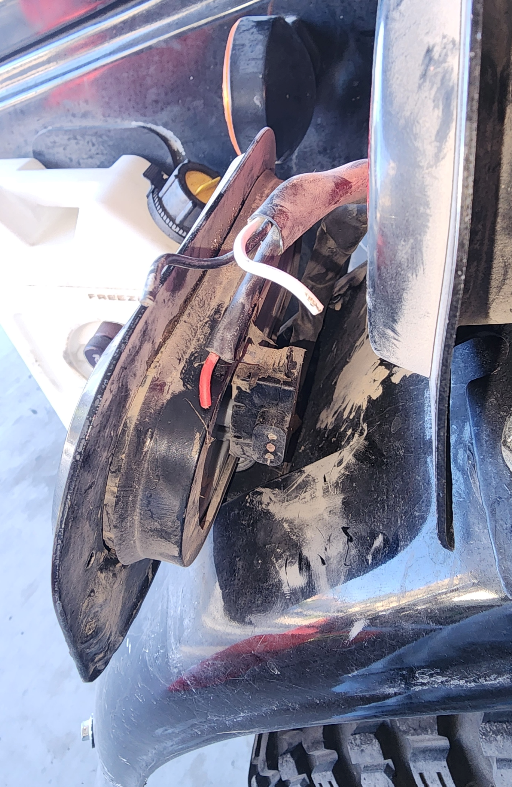
Would love to say nothing broke or fell off, but my inattention to wire strain relief on the hack fender tailight caught up with me. All three wires vibration fatigued and broke on one of the hack tail lights. Guess I will have something to work on tomorrow, after all!
Well friends,
Decided to add some minor shop capability.
Been thinking about the hack swingarm bushings that have a 1/2" diameter bushing and a bolt for the swingarm to pivot on. I notice that in 50,000 miles, I've worn out two sets of bushings and the DMC WA sourced bolt is showing some wear, as well.
I decided that the swingarm pivot point tube that holds the bushings is 1.5" in diameter and has enough meat on it to be drilled/reamed out to 1" ID to receive a 3/4", grade 8 swingarm pivot axel. If not, well, I will just weld blocks on the ends and use the blocks to ream out a 1" hole to receive the new, larger bushings.
This is probably a half-assed fix, vs. just putting a new, lighter swingarm in from a motorcycle, with tapered roller bearings instead of bushings, but that is a thought for another day, when I actually get around to 2wd.
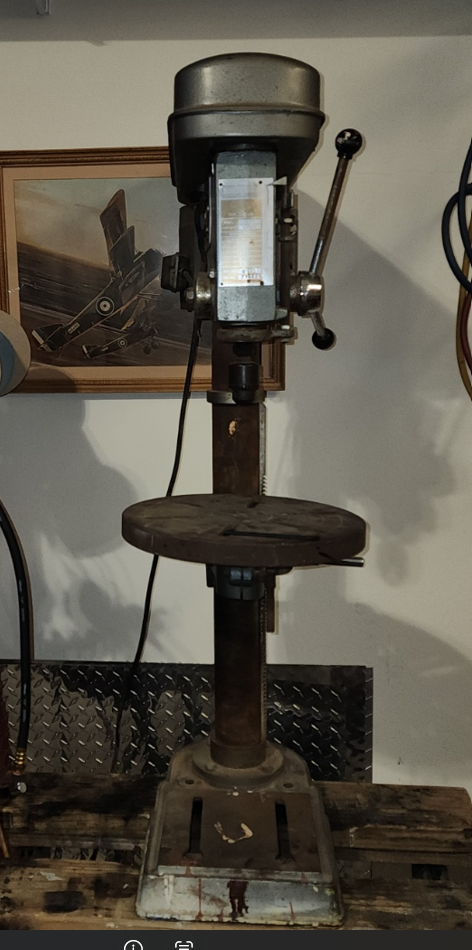
So, in preparation for this happy event (upgrading to a 3/4" pivot axel and bushing set to match) I was scrolling FB Market place and picked up a tired, rusty old drill press from 1983 Taiwan vintage. Yeah, it isn't a Jet or Delta, but it was $100 and came with bunch of nominally useful junk (clamps, bits, little vise, etc.)
Before Cleanup:
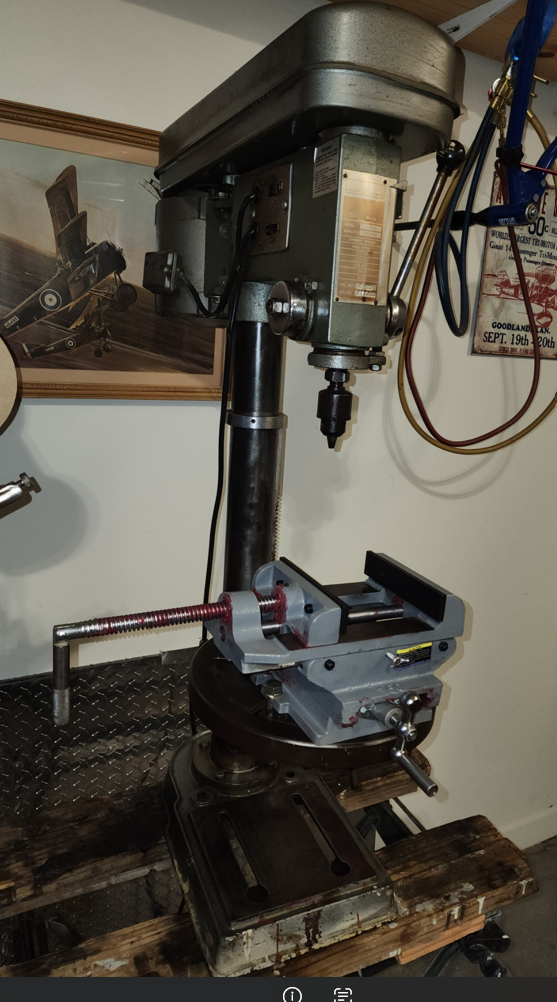
After Cleanup (a little anyway.) and the addition of a cheapo dual slide 6" vise:
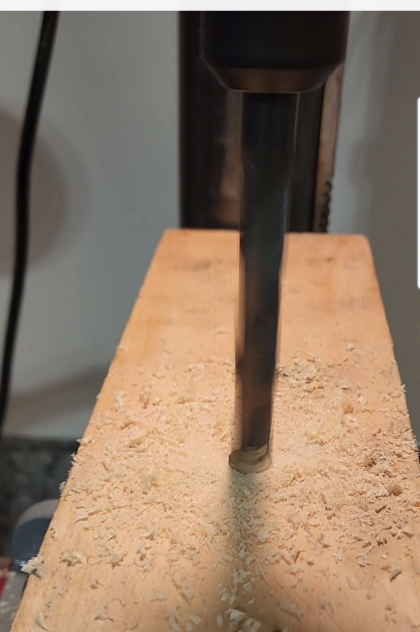
No slop in the bearings, no weird noises; makes holes:
At home in the shop, car still fits:
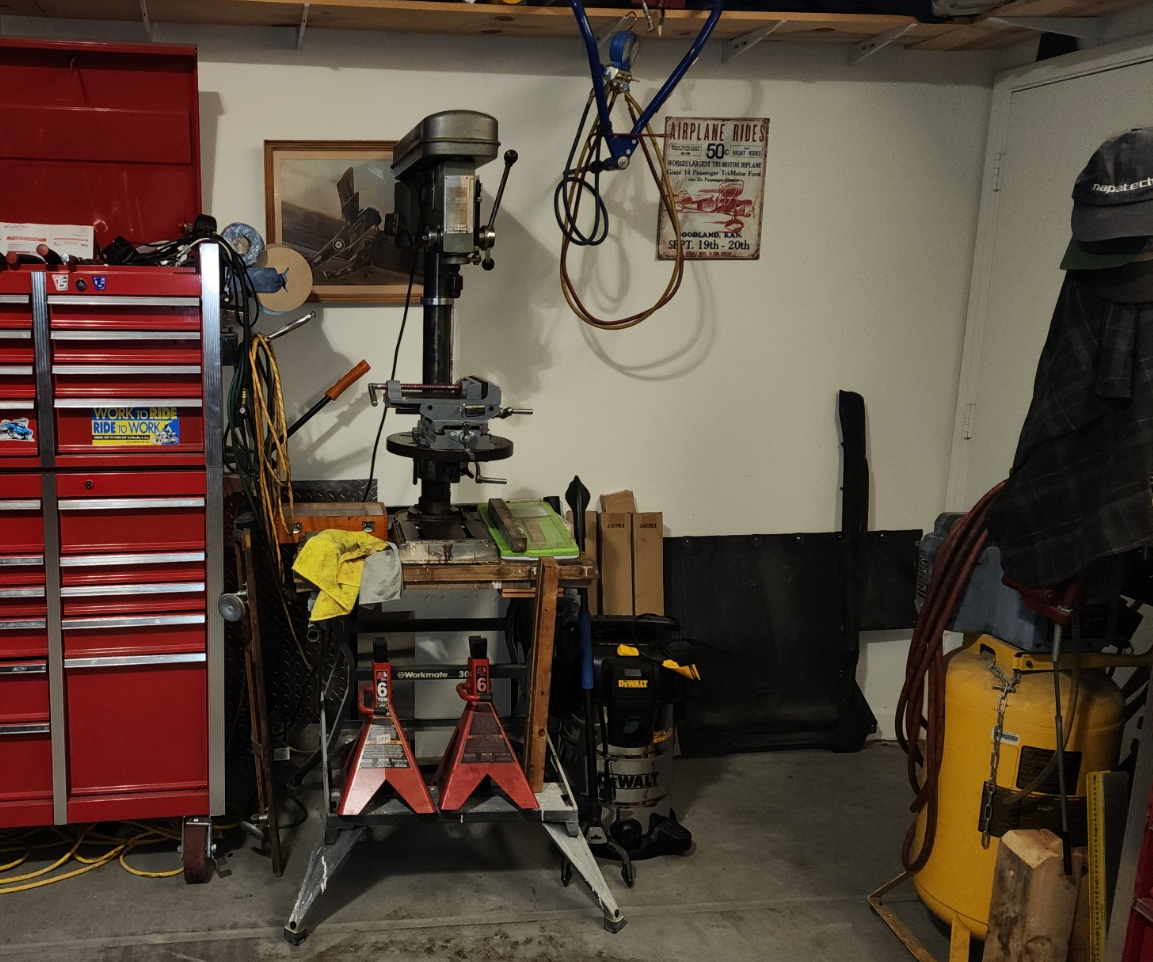
Decided that since my ancient Black and Decker Workmate (with 2x6" upgraded wood top) volunteered to become a drill press stand and give up it's role as a welding bench, I should do something about putting a little more decent welding bench together.
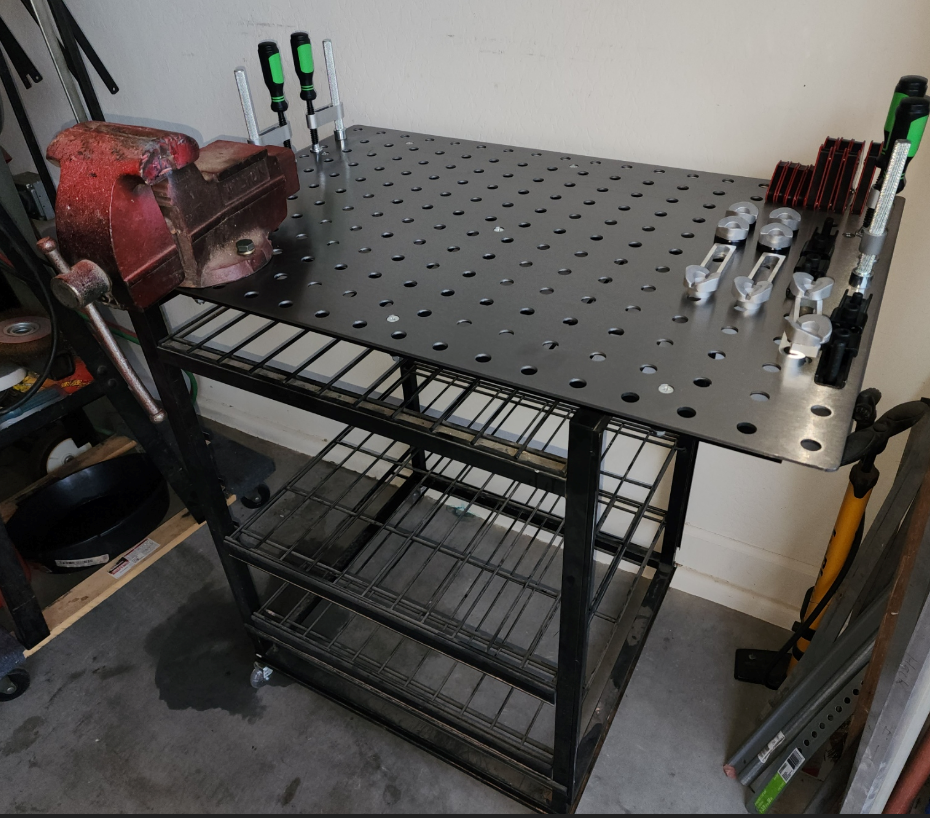
A neighbor gave me a steel rack/shelf set that I put on castors a year or so ago, but mostly just stored junk on.
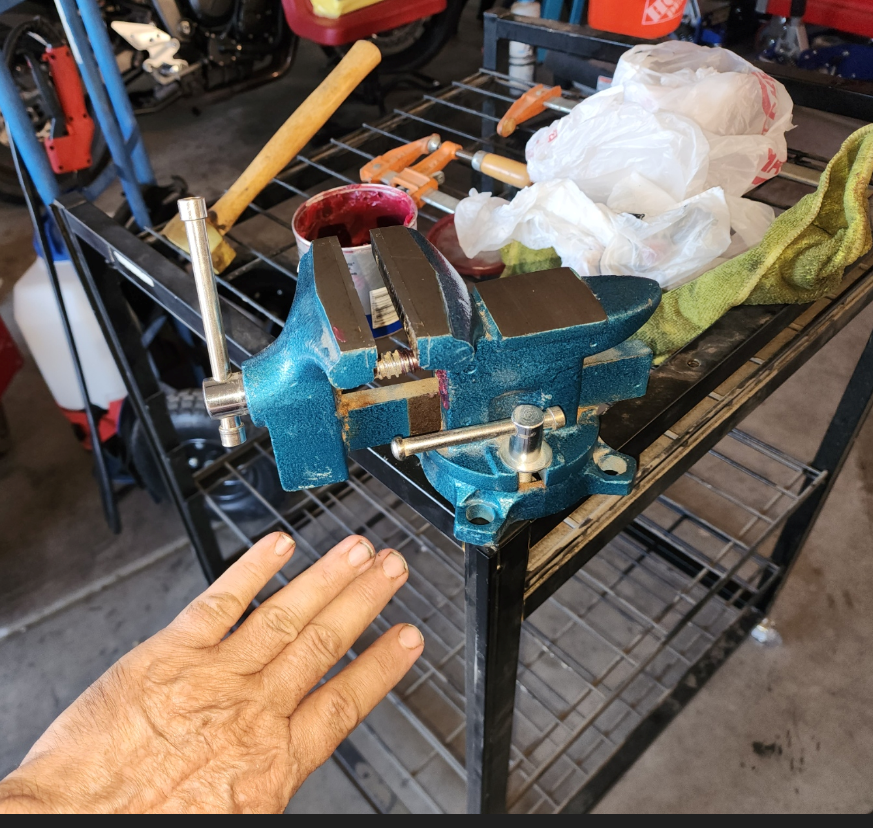
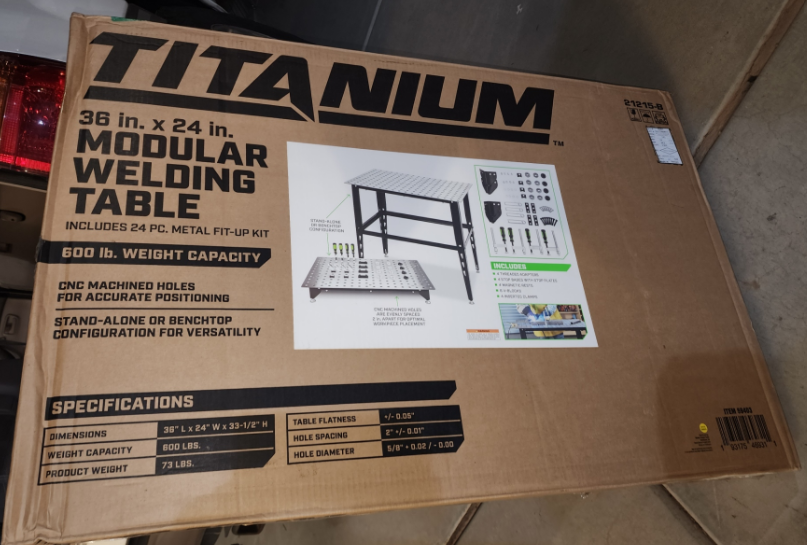
HF sells a very basic welding table with kinda spindly legs, but a nice top with a lot of clamps and such:
Decided to combine the two for a rolling table. (Yeah, I know, the Plasma Cutter get's it's own cart, eventually, and needs to be remove before any serious spark generation on the table.)
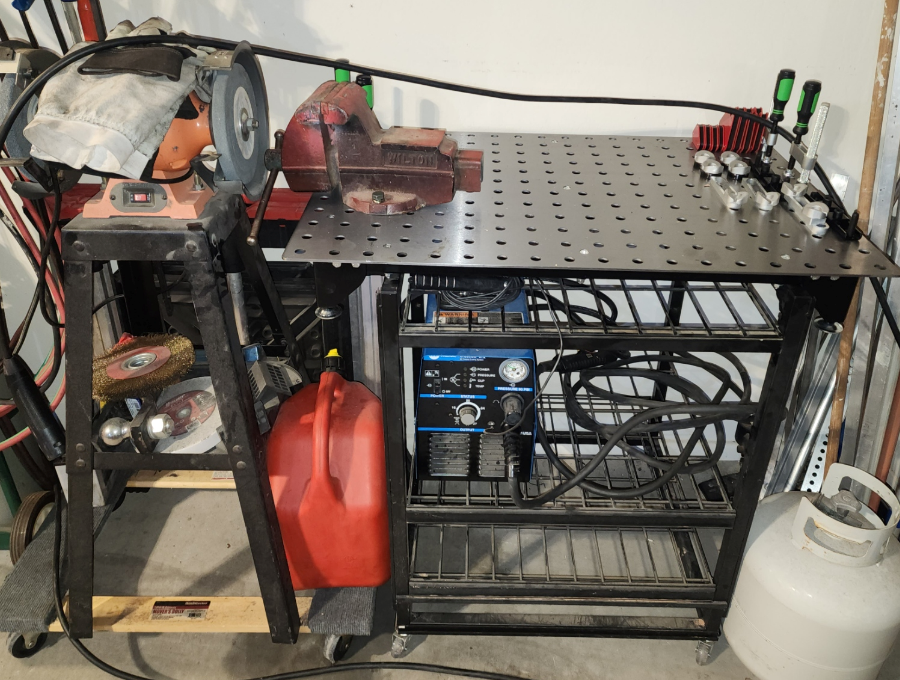
Rearranged welding gear and managed to make about another foot of clearance on that side of the garage. Car is happier during parking, maybe hack rig will get to park next to car and make it just a little less of a pain to roll it in and out of the garage for impromptu trips.
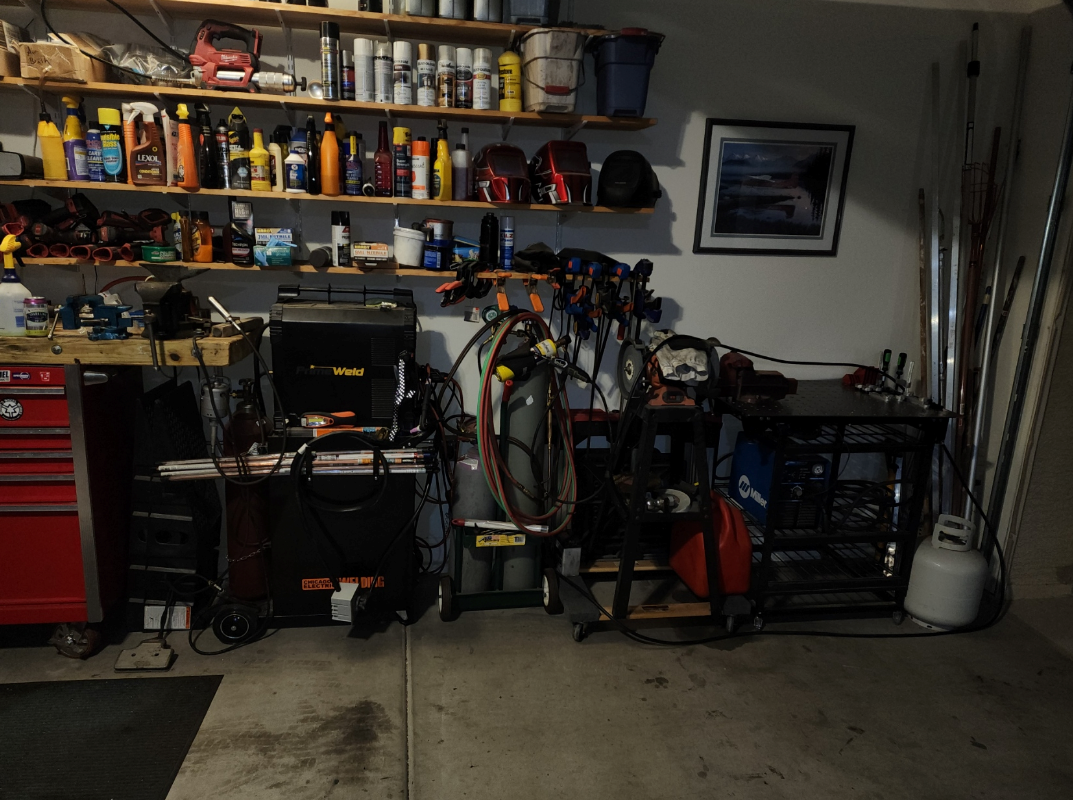
At least every thing made it back into the garage... still some stuff to sort out for ease of MC parking/acess, but we are closer, and now have the capability to start on the swing arm upgrade project with some new toys that will make it easier.
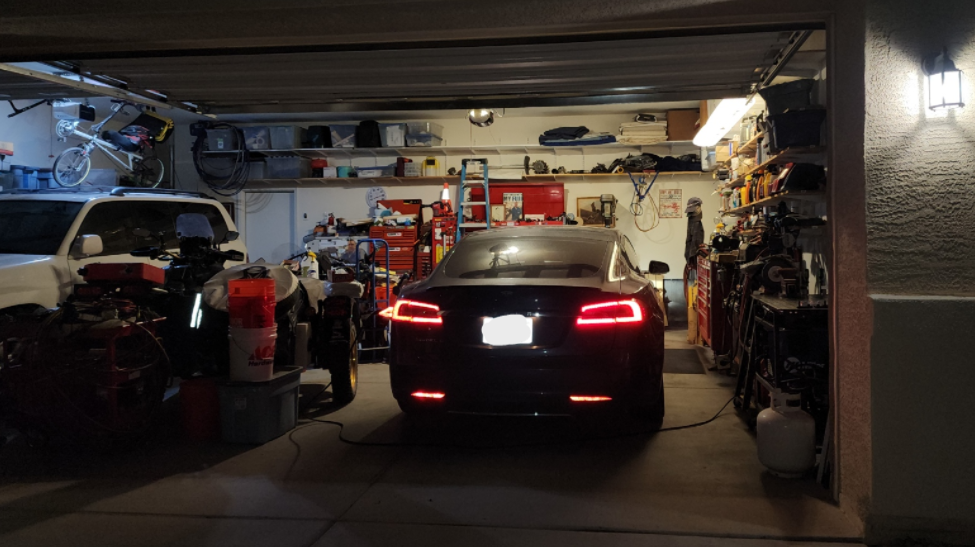
More on that later...
Well Friends,
Today's foolishness involved me executing the brain fart I had about upgrading the 12.5mm DMC WA factory OEM pivot axel and bushing set for the hack swing arm. As I mentioned above, I always thought this was too small for any serious longevity. I have replaced mine once, at about 25k miles, and they were shot, again, at 50k miles, even considering the grease fitting and relatively copious amounts of grease that they have benefited from, from time to time.
Took about 5 minutes to extract the swing arm:
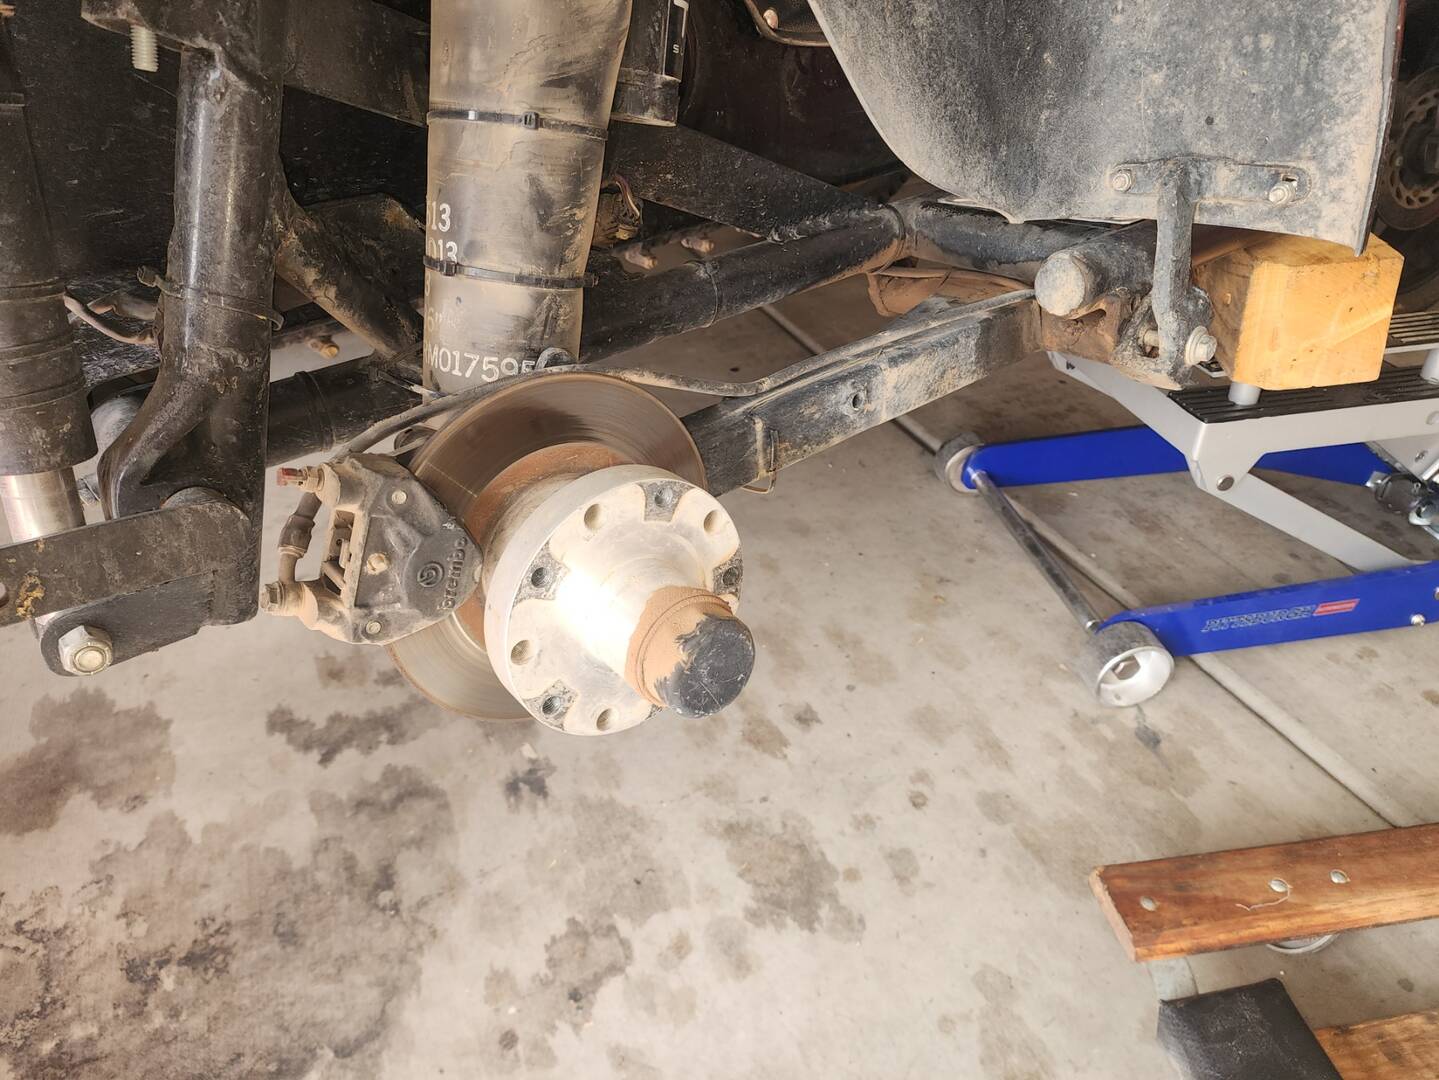
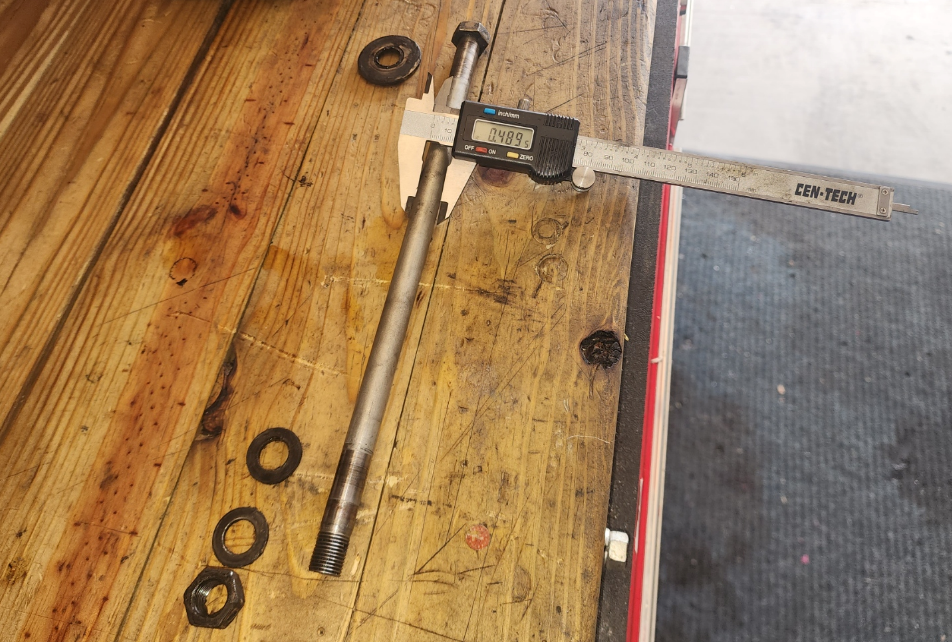
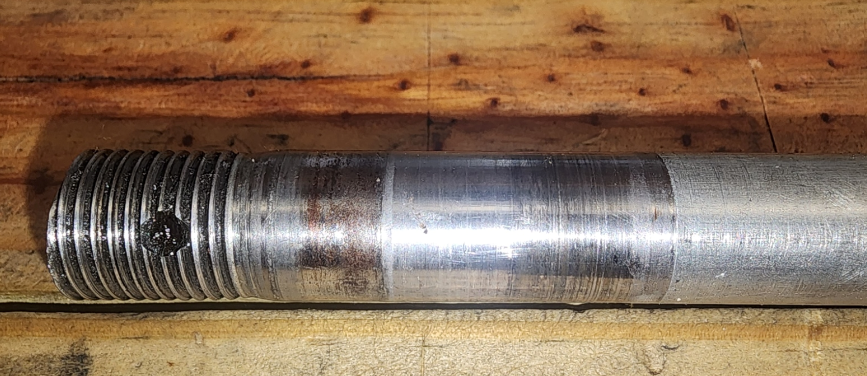
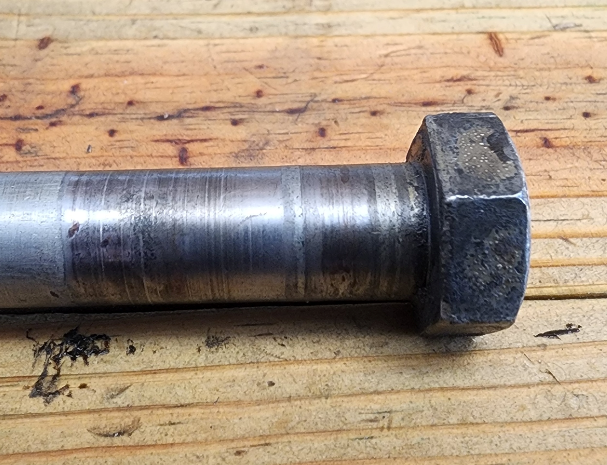
Old pivot axel, grade 8 bolt, maybe, a little less than 1/2" diameter, some wear showing where bushings ride:
New grade 8 bolt, prior to stretching it a few inches, close to 3/4":
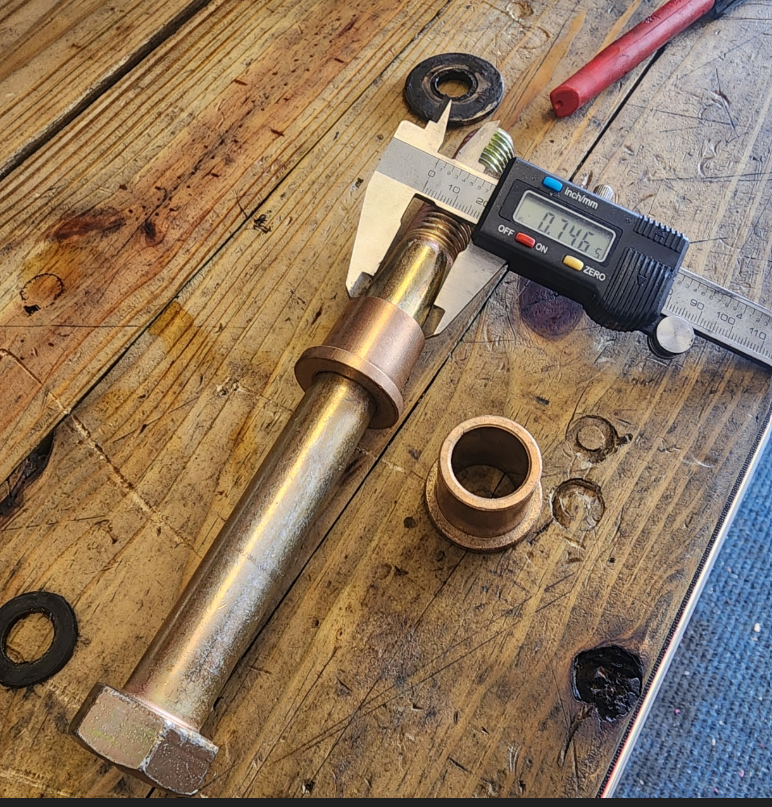
Bushing OD 1"
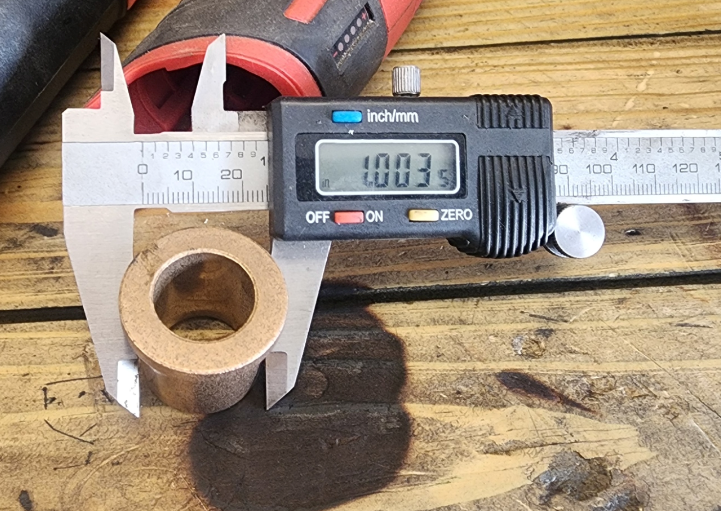
3/4" drill bit, using the old bushing as a pilot to center off of.
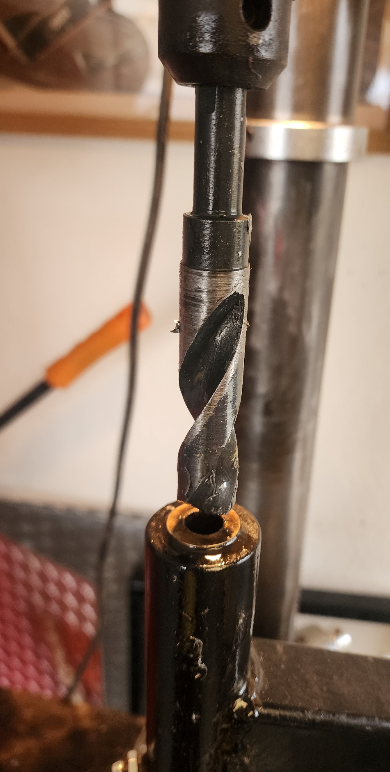
Worked swell... except that swingarm is solid all the way accross. I had to weld an old drill bit to the back end of the 3/4" bit to make it long enough to reach through. Somehow missed taking pics of that little debacle, but it worked fine, anyway.
Drilled a little past bushing depth then with a 15/16" bit to test fit the bushing. Had delusions of picking up a reamer kit off of FB marketplace today, but neither sellers were particularly responsive, so decided that some caution in drilling with a 1" bit would be fine, if I got in and out quickly. Spoiler, yeah it was.
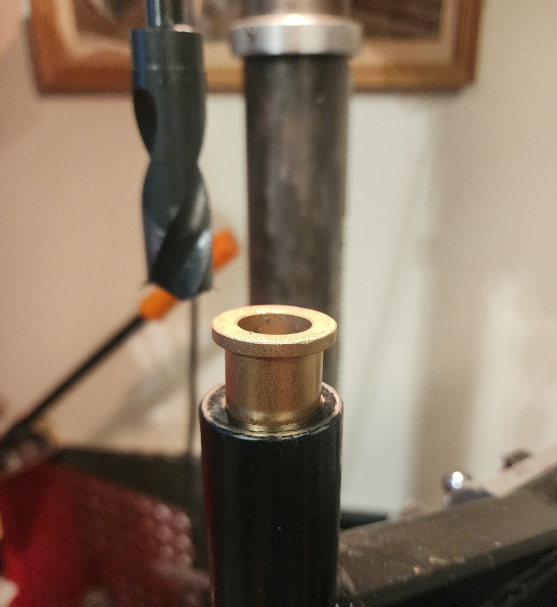
Took it to 1", at about 1" depth to allow for getting a seal puller hook on the backside of the bushing for future replacement.
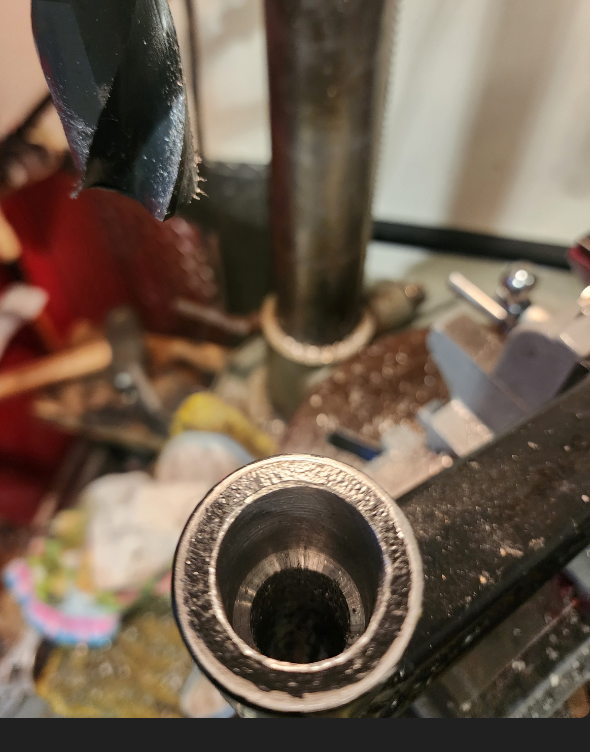
Dosed the exterior of the bushings with blue loctite and tapped them in with the new axel bolt.''
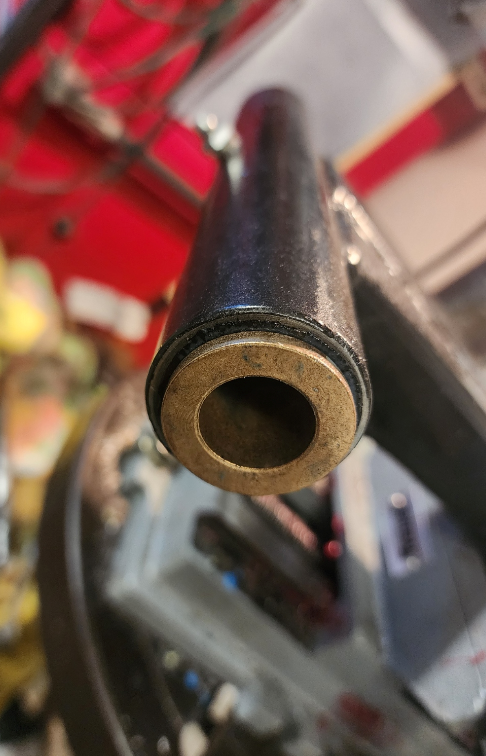
c't'd
C't'd
Then proceeded to stretch the bolt about 4", since the longest 3/4" grade 8 bolts at tractor supply were 8" and I needed something closer to 13.5" to clear the two 3/8" ears that the swing arm pivots against.
Took more pics, of the process, but must have gotten distracted, as most didn't save.
Here is the setup, where I clamped it into V blocks, beveled the ends to be welded, then tacked, rotated, measured, and tacked again. Tacked about 8 times, then just welded, at about 105 amps with TIG.
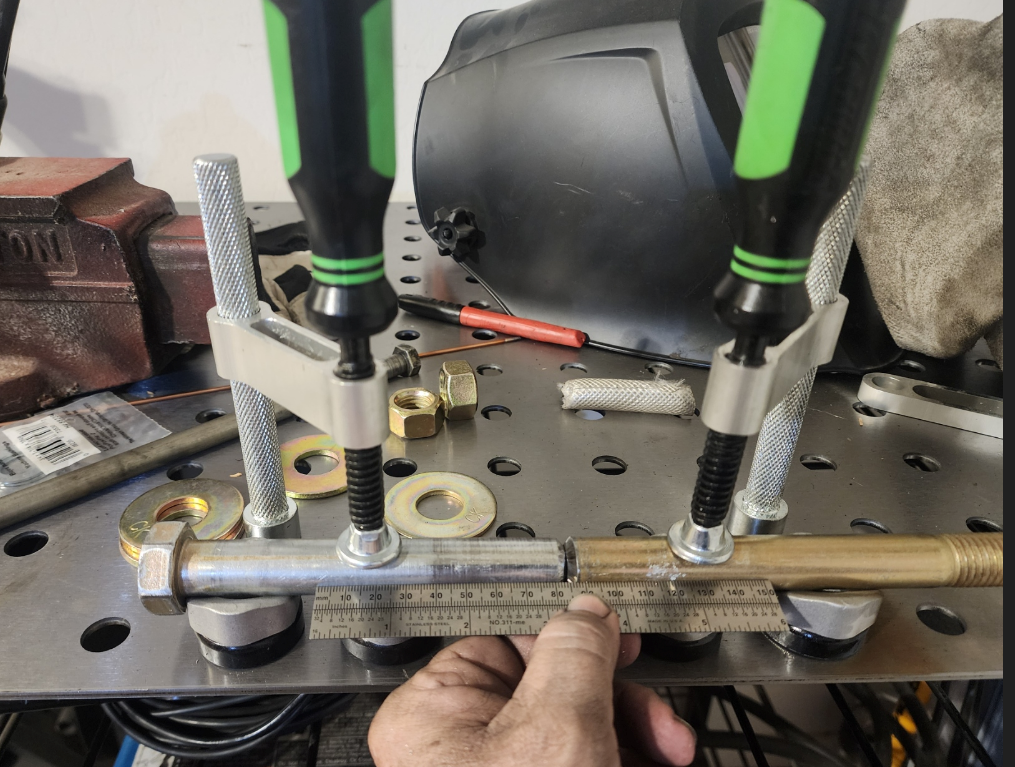
Yeah, I know it technically isn't a grade 8 bolt anymore, but the areas that matter are the surfaces that contact the bushings, and they are still grade 8. This bolt won't be tightened more than it takes to take up the free play between the mounting tangs (ears) and the thrust surfaces of the top hat style bushings. Once it is torqued to whatever it takes to take up the slack, I will jam nut it and leave it alone, for hopefully a very long time. Yeah, it was too much trouble to order a bolt the right length with a smooth area and just enough threads protruding. This was easier.
Bolt turned out straight (enough) and I polished the weld to diameter with a flapper wheel.
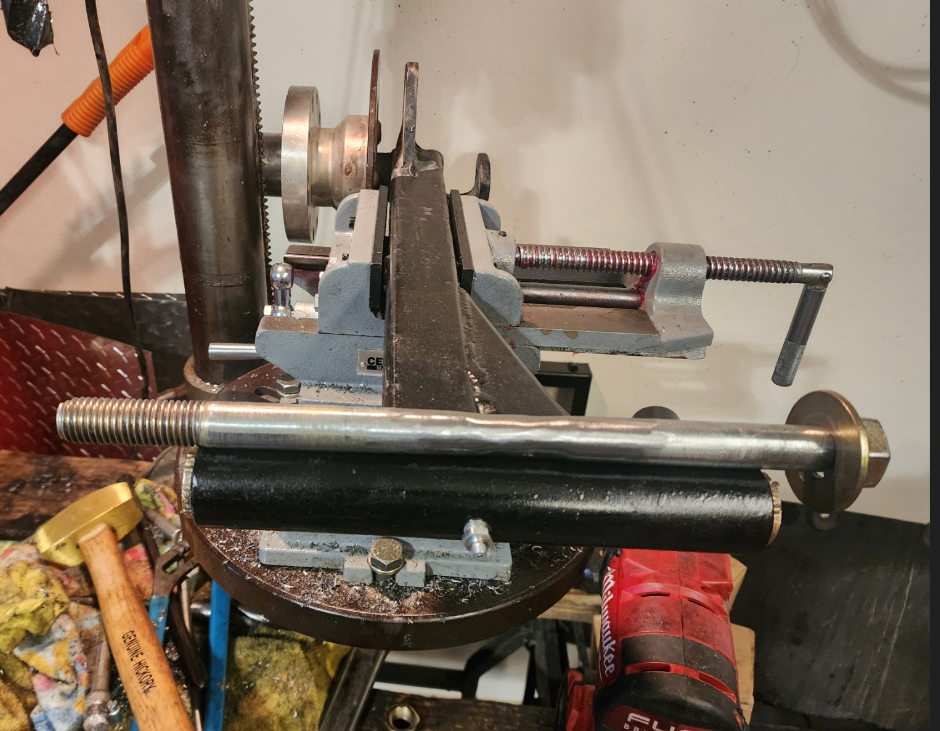
Proof that the bolt goes through the bushings. There is not much clearance for grease, but I assume a little riding will sort that out fairly quickly. Still have a grease zerk that I added to the swing arm to be able to easily grease that pivot and force out grit every so often.
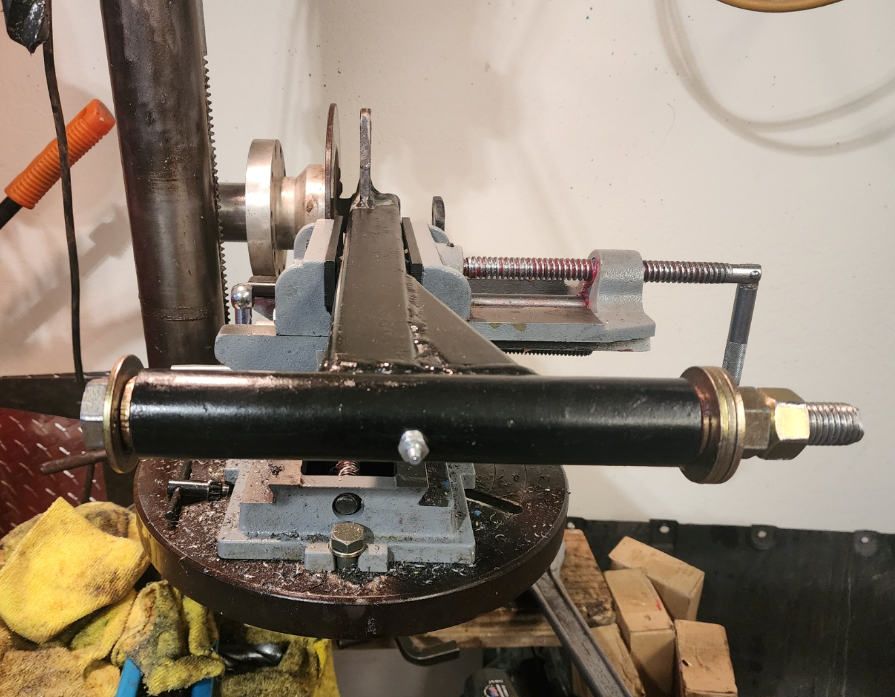
Not a perfect set up, but I think it is a considerable upgrade from the 1/2" setup that it came with. When the hack swingarm gets play in the bushings, you can feel it when you corner hard in slalom type curves. Adds a sense of adventure that isn't really needed.
I think I am done for the night, will swap the hack tire out tomorrow (22k miles on that one) and put everything back together, maybe go for a short ride to test.
A bit of bush engineering.
Well Friends,
I'd be lying if I said I wasn't just a little beat, yesterday, after juggling that heavy, heavy swing arm assembly around on the drill press.
However, after a bit of a lie-in and sufficient coffee, I decided to finish the job this afternoon.
Was sort of dreading laying under the sidecar and drilling the inside tab out to 3/4" to accommodate the new larger shaft for the pivot, and was not terribly disappointed in the amount of sidecar yoga required to make it happen.
Got the holes drilled, went with 11/16", just a little undersize, and then reamed them out to make a very snug fit for the bolt going through, to avoid any unnecessary additional slop being added to the system. Also cleaned up the powder coat off the thrust bearing surfaces on the inside of the steel ears that the shaft goes through.
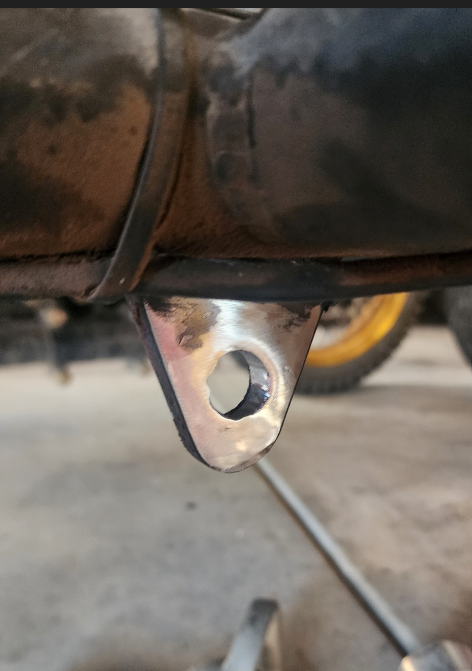
The shoulder thrust surfaces on the new, bigger bushings are about 4mm thicker for the pair than the OEM 1/2" bushings. I decided to narrow the steel cross piece by that amount for a custom fit. An angle grinder and flapper wheel did the trick with tape for a guide on where to stop.
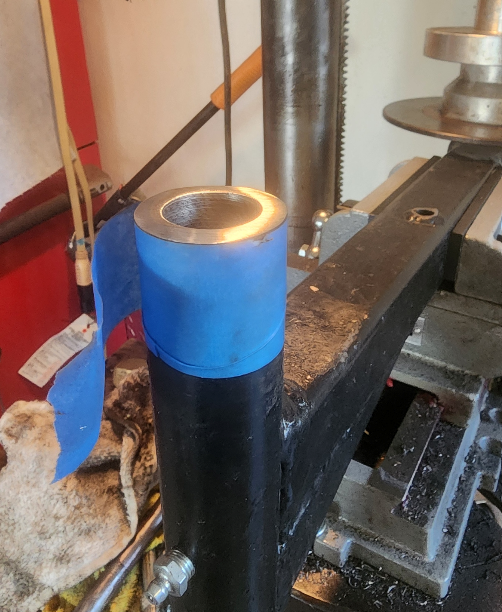
Also removed a little metal from my rather massive, custom fender mount to accommodate the 28mm bolt head on the shaft. Just enough clearance that if you insert the shaft with a flat in the right position against the fender mount, you don't need to put a wrench on it to tighten/loosen the nuts on the inboard side.
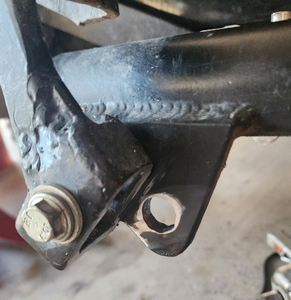
Bolted up super nice. No slop, gentle tightening of the tension nut to something less then 20 ft. lbs. torque, then jam nut on top of it to keep it in place.
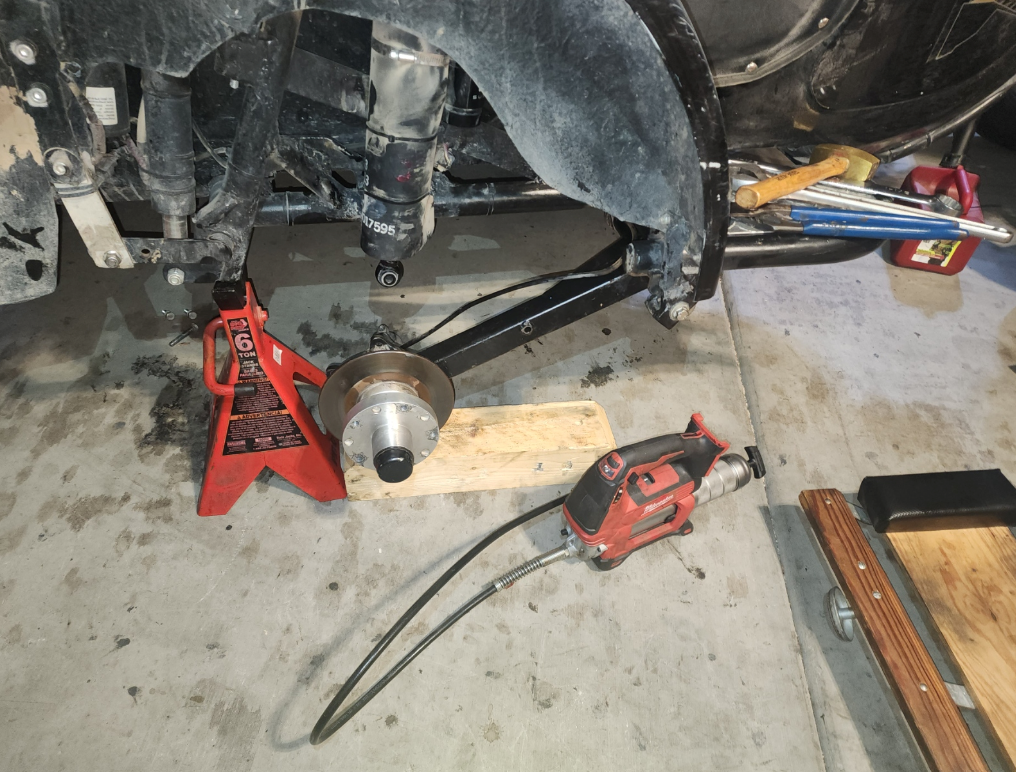
Pumped a bunch of grease through while working the swingarm up and down. It is safe to say that it is lubed. Wiped off excess. You know, like every shop I have ever worked in, no one likes to fill the grease gun for some reason. Mine was just empty when I picked it up for this operation. Damn shop manager!
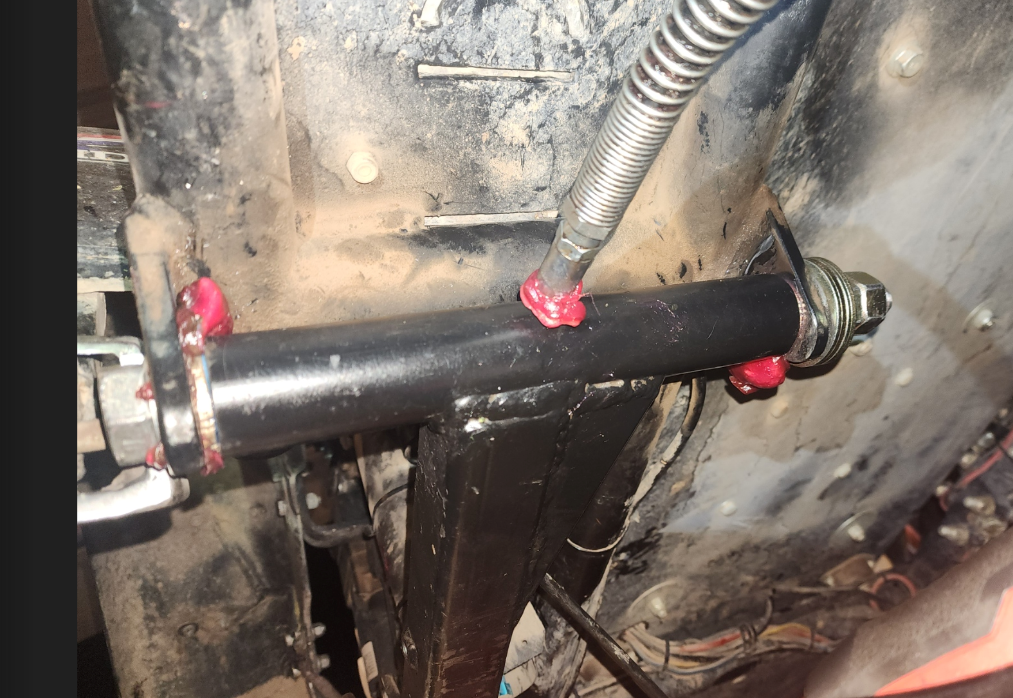
A little brake cleaner, some rattle can powder coat, a few fresh zip ties, and I declared it "done."
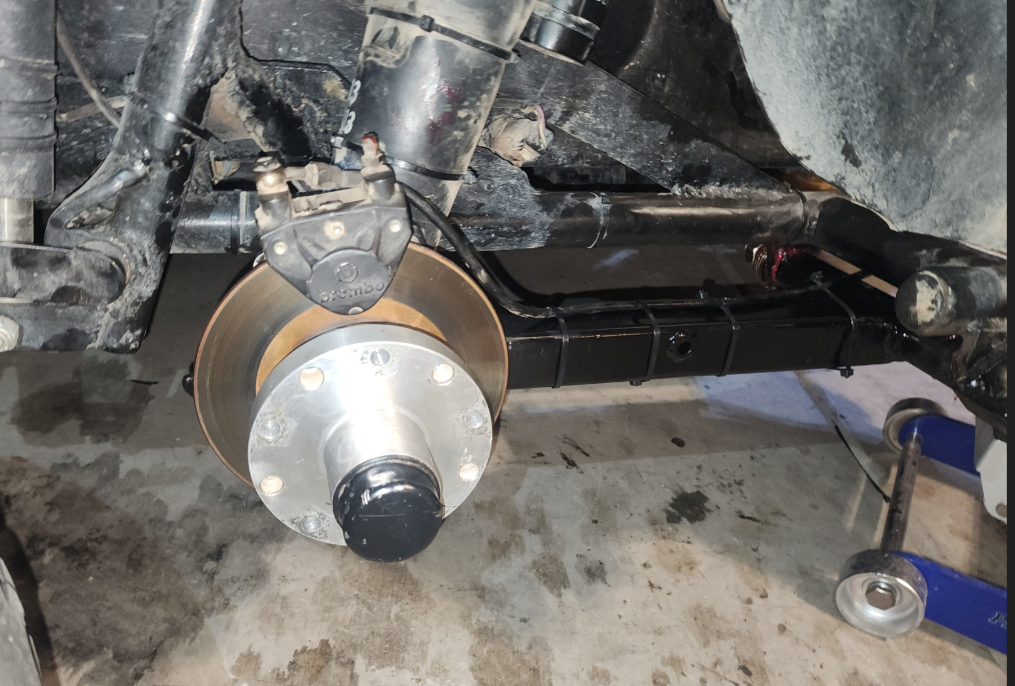
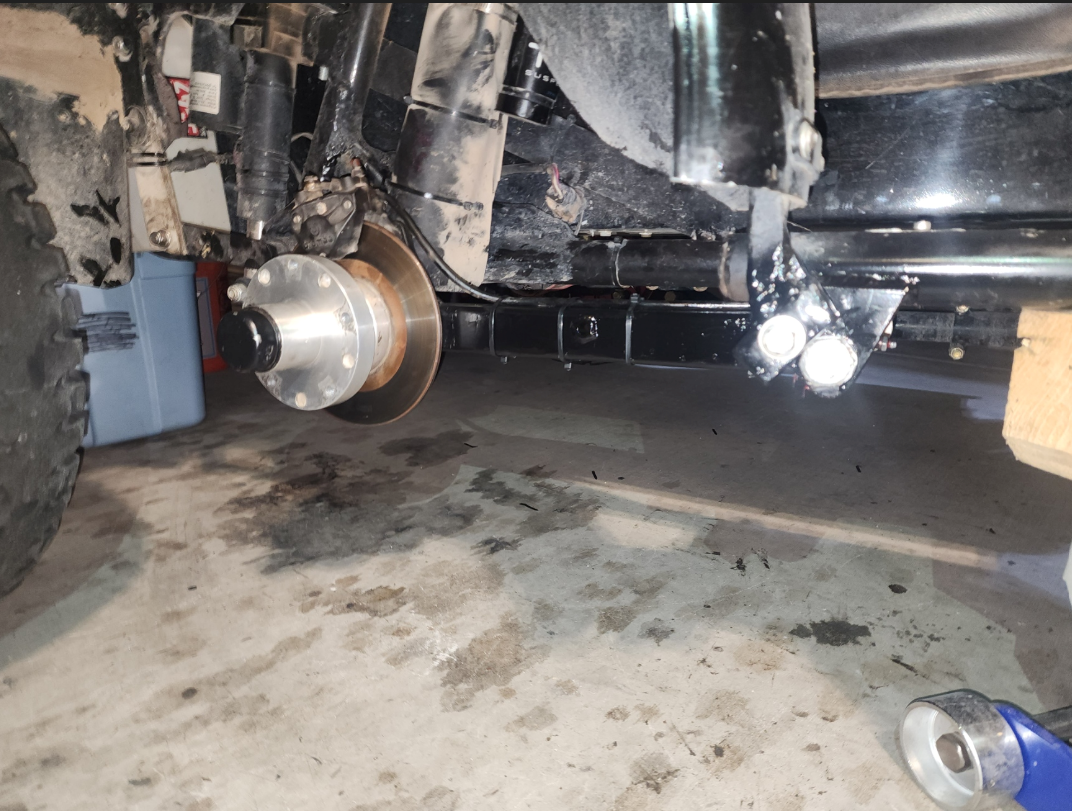
Looked at the tire, the clock and my mood, and said "screw it, there are a few miles left in that hack tire, and I will change it next time I do the back tire on the pusher." Wheel went back on.
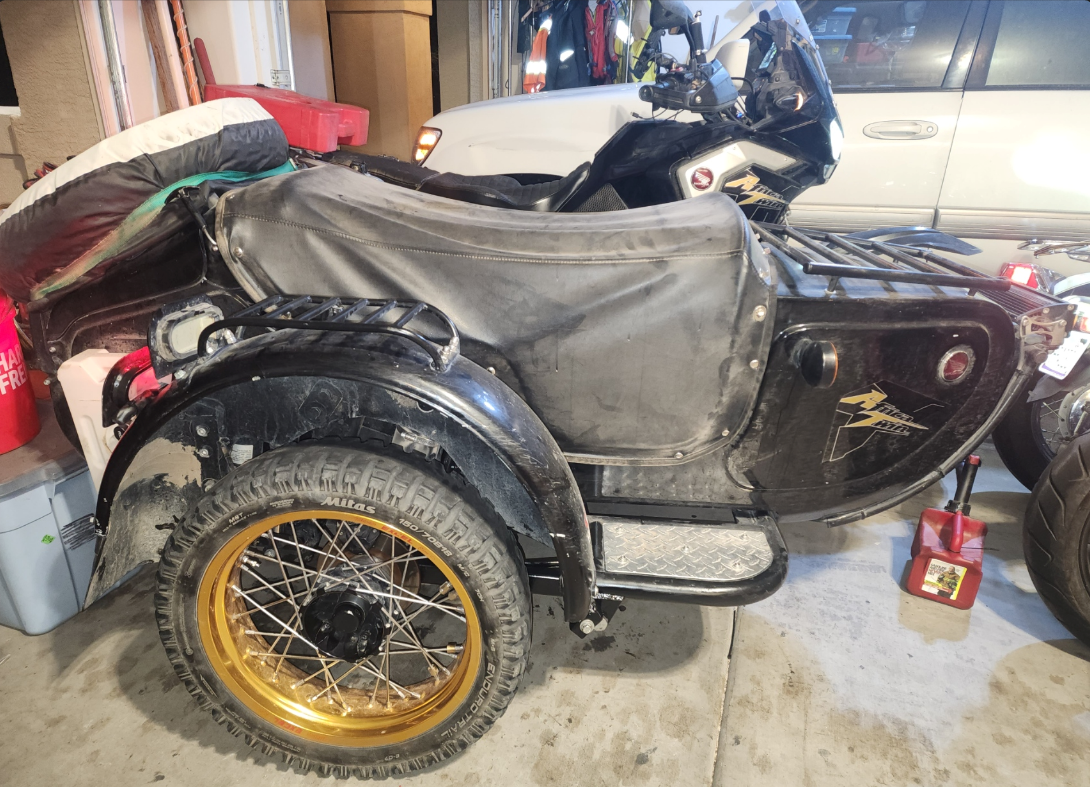
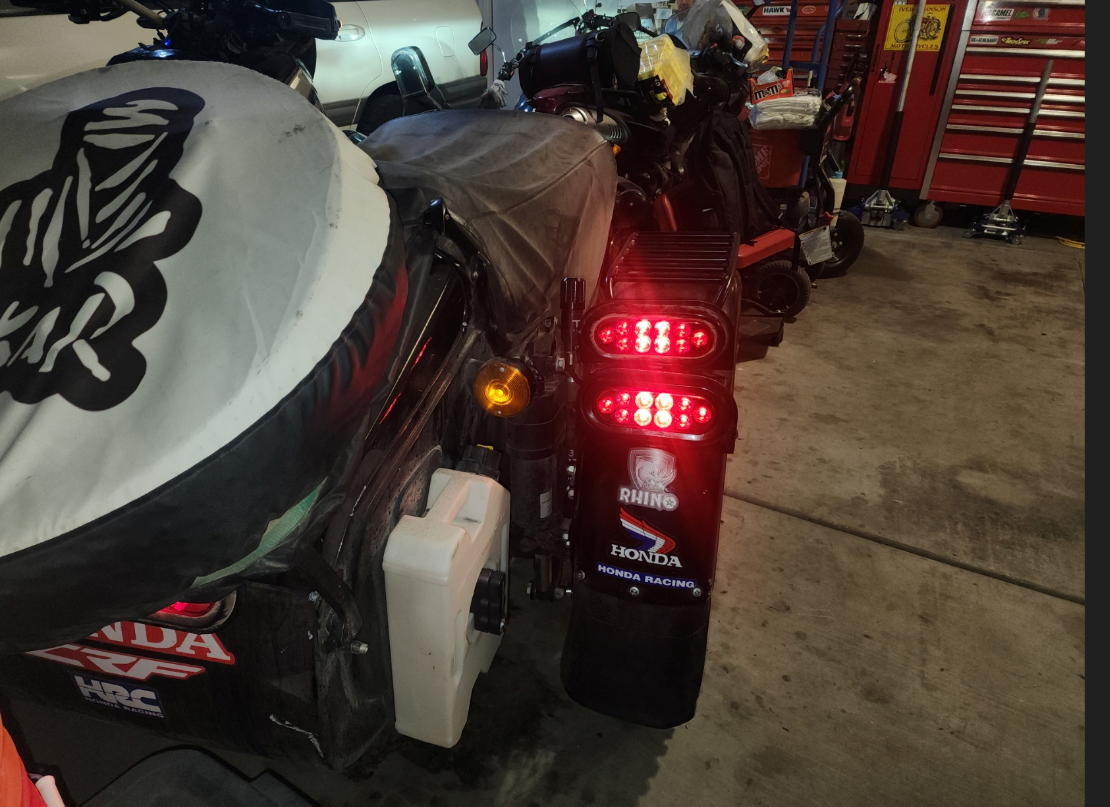
Did remember that the wires were off on one of the four hack taillight, brake light combos, so found the extra light I had in the parts bin, scavenged the connector/wire harness, and swapped it in with appropriate service loop/strain relief to prevent a reoccurrence of the exact failure mode it had on a ride a couple weeks back.
All this done while it was mostly pouring rain, so I felt like I made pretty decent use of a rainy weekend and got something done that has been annoying me for years. Old system lasted about 25k miles before it developed enough slop to become noticeable. Changing out the bushings was a hardware store adventure and about half an hour of time, but they were always in a state of degradation, up until I would finally replace them.
New, bigger shaft and bushings probably are a temporary fix until a real redesign that changes out the swing arm to something lighter, stronger, and with real bearings. However, that may never happen and this might be enough better to make me happy with hopefully 50K miles service intervals.
Parts are still off the shelf, stocked at both ACE hardware and Tractor Supply to name a few. I am not overly fond of either store brand, but they are everywhere in the USA, so a roadside swap out would certainly be doable with the few tools that I carry... 😜