The 2026 Sidecar Rally registration is now open! Click here: USCA 2026 Rally Registration Form
Wes
I think the shaft inside the tube is a good idea for some additional strength. One other consideration you might give is to add an identical loop of tubing like you have on the outside frame. What I would then do is tie another piece of tube across the back between the outside and inside loop, what that will do for you is create a boxed in structure or "space frame" as it was called to earlier. This is maximum rigidity with minimal weight. My 2 cents again for what it's worth.
Fred
click on links below....just some thoughts
Hey Claude, I like that Idea. Do you thing that something like 1/2" rod would work fine for the space frame? It would kind of match the rails on the Gold Wing:o)
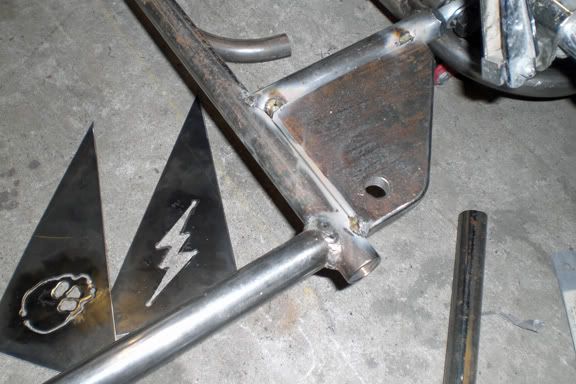
I made some more threaded inserts today and my gussets were cut out by my buddie, Ricky B. On the plasma table at work. I cut out the gusset that the upper mount attaches to and drilled the hole in it. Here you can see it tacked to the front of the frame.
Wes
Originally written by Wngnut on 4/16/2009 9:35 PM
Hey Claude, I like that Idea. Do you thing that something like 1/2" rod would work fine for the space frame? It would kind of match the rails on the Gold Wing:o)
>>>>>>>>>>>>>>>>>>>>>>>>>>>>>>>>>>>>>>>>>>>>>>>>>>>>>>>>>>>>>>>>>>>>>>>
I would probably go with 3/4 or 1" but 1/2" may work. Possibly even use 1/2" solid rod and flat plates to connect to the main frame? Dunno 🙂
Well I started making the yokes that the heim joints will fit into. What a PITA:o) There are a bunch of little pieces that need to bee cut, marked, drilled, taped, welded, and cleaned up. Maybe they weren't that bad:o)
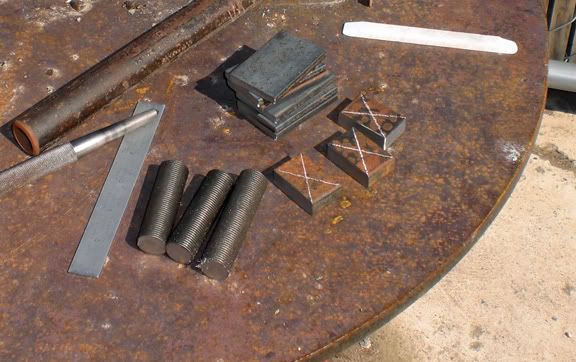
Here the pieces are ready for weld. Drilled tapped, machined for weld:o)
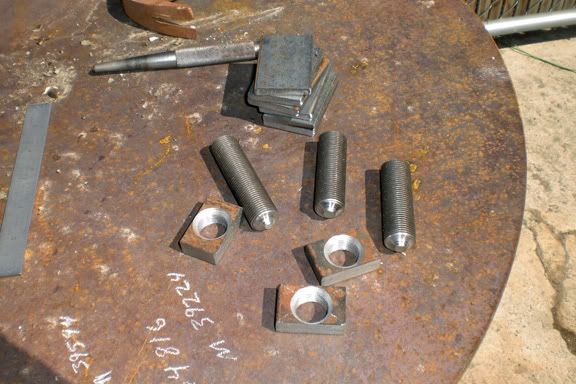
I welded the threaded rod in first.
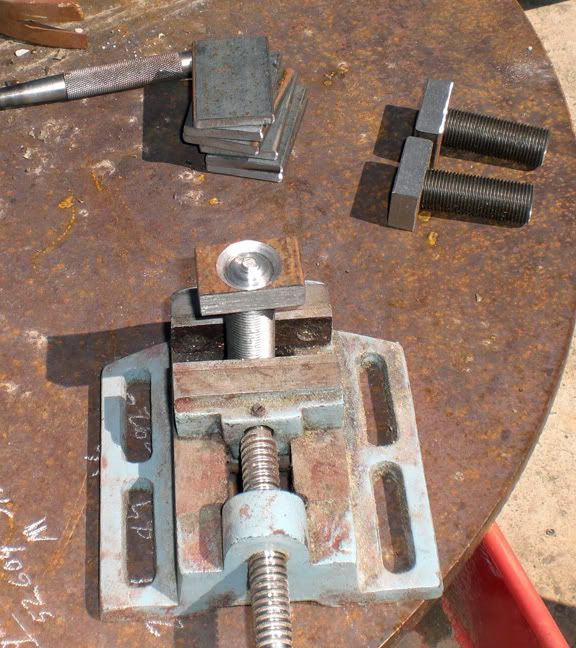
Someone tapped the holes a squintesence crooked? To fix it I just machined a very small amount off the top and bottom of the plate:o)
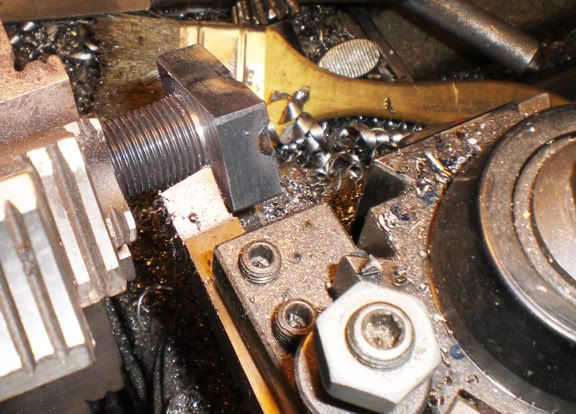
Welding classes are paying off:o)
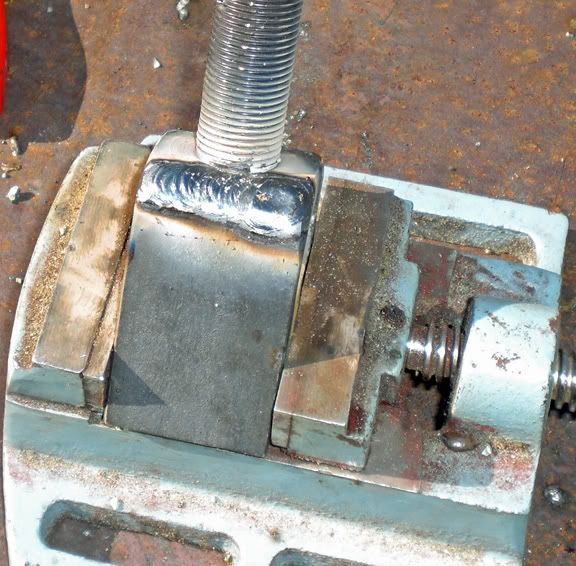
I decided to run the upper mount to the bottom of the gusset. This gives me pleanty of extra room for som spiffy Highway boards that I want to make.
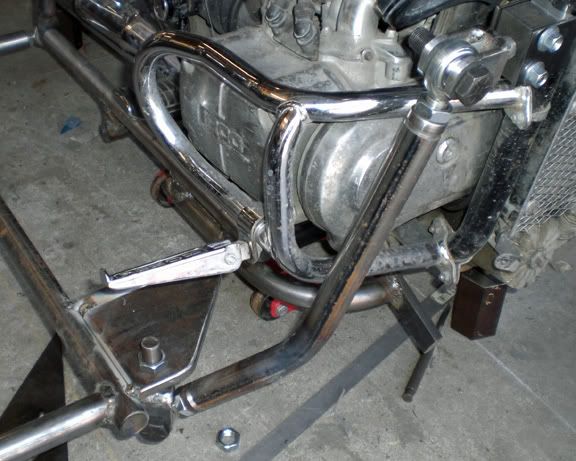
This should work out fine, Right?
I seam to have miss counted the heim joints I was going to use and have come up 2 short. Grrrr. The store was out. Grrrr. They said that they should have them in on Tuesday.
Eyebolts work just fine on the bike end of the upper struts.
That's what most all of the sidecar mfgr's. use. Cheaper too and "O" movement.
Lonnie
Got a picture Lonnie? The only thing I can think of is like a lifting eye? Is that what you are referring to?
Thanks, Wes
Here are a few axamples. Some are clevis and eye others are eye to eye connections.
Lonnie
Thanks Lonnie. I think I'll make a couple of those. The Heim joints let that upper arm move a little. I was thinking it would be better if they didn't wiggle:o)
Thanks, Wes
An Eye to Eye connection should be pretty easy to fab up. I'll see what I can come up with:o) I won't have to buy any more Heim joints either:o)
thanks, Wes
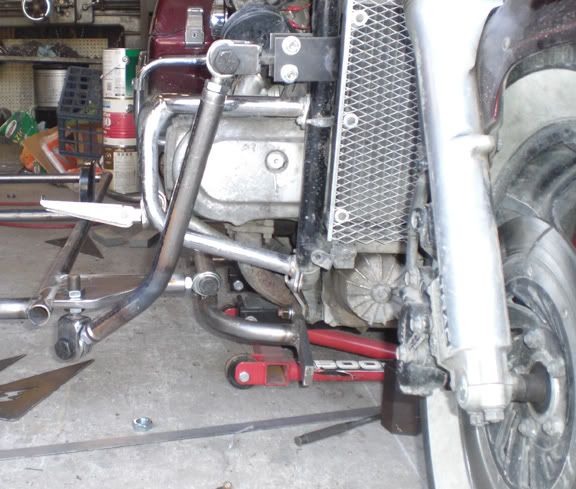
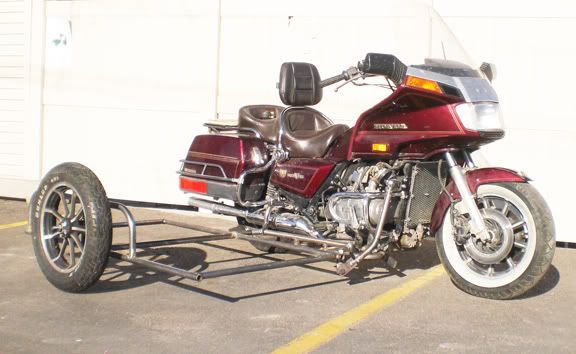
Well I got the front mount done again. I'm still not happy with it. I need to move it to the top and make the tube shorter. With the springs compressed it is lower to the ground than I want. The rear mount needs some more thought? I think I'm going to redo the bracket to incorporate another bolt that is close by. There is more flex than I thought there would be, but I don't have a rear mount made yet. My gussets aren't welded on yet either. I think those two things will make a huge difference.
Nice work. I have a suggestion. Have you considered rounding off that forward-outermost corner of the frame so that it won't hit on anything when maneuvering?
It could be easily done now without compromising strangth and it would give you greater mansuverability when parking. No charge for this suggestion. LOL.
I had thought about it, but, I want to keep the symmetry. I have something planned for the open tube ends. I don't think it will be much of an issue? Thanks though:o)
I'm kind of bummed that i have to redo the top mounts. That's the way it goes though. If it was easy, everyone would do it:o)
Wes
Wes, I reponded to your email but thought I would post these pictures here.
see attached.
Also see my post in this thread dated 10/25/2008 7:28 AM
Post #39649
Thanks so much Claude. That is what I think I've been looking for. Those pieces look to be about 2" long? About 1 1/4" shaft? I'll start on some later this week:o)
My buddy with the bender is going to bend another hoop. I think welded on the opposite side and a tube right above the back one, will stiffen things up a bit. (that's what she said) It will also give me a better place for the upper mount.
Now, Where did that shaft go?
- 29 Forums
- 11.8 K Topics
- 93.3 K Posts
- 5 Online
- 5,600 Members
