The 2026 Sidecar Rally registration is now open! Click here: USCA 2026 Rally Registration Form
Getting a Gemini Ready for the Road (fixed fotos)
OK, I FINALLY got back to working on the hack! Note to any future (re)builders: If you are working on both a bike and a sidecar, FINISH THE SIDECAR FIRST!! Because if you finish the bike first and the weather is good, you'll find it pretty tough to get back to the hack!! YOU HAVE BEEN WARNED!!
OK, so here is what I got done in the last few days:
Got the tub mounted to the frame. I put it on good an tight, using two nuts. The second nut is a nylon lock nut that I used as a jam nut against the first nut. And if that wasn't enough, I drilled through the bolt tail and cotter pinned it. You may notice that between the bottom of the tub (shiny black) and the frame bracket is a material with a wavy pattern. That is an iron bar, prolly 3 inches wide by a quarter inch thick. The bar spans between two frame brackets and spreads the load of the tub and cargo across the mounting brackets. The wavy pattern is rubberized tool drawer liner I wrapped around the bar (2 layers) to act as a vibration dampener between the frame and the tub.. 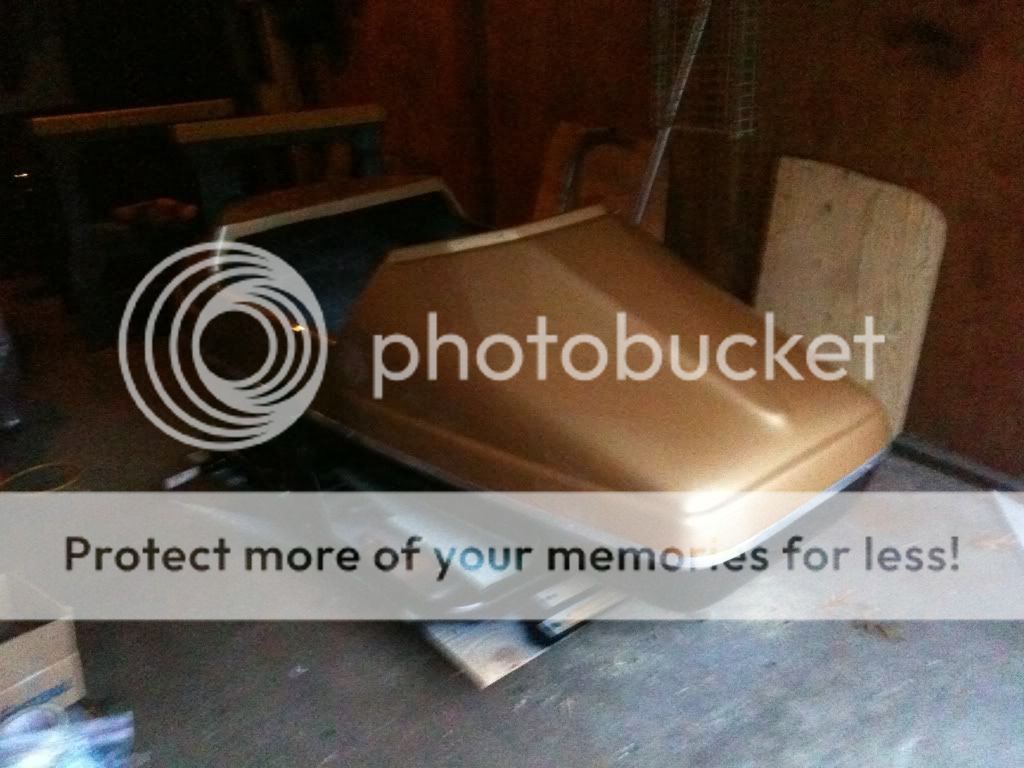

Next, I mounted the swingarm including the air shock. At first, I used all grade 8 nuts and bolts. But when it came time to drill a cotter pin hole, I discovered one of the differences between grade 5 and grade 8. YOU CAN'T DRILL GRADE 8 with normal backyard mechanic type tools!! So I pulled it all apart and put it together again, this time with grade 5 hardware, complete with cotter pinning.
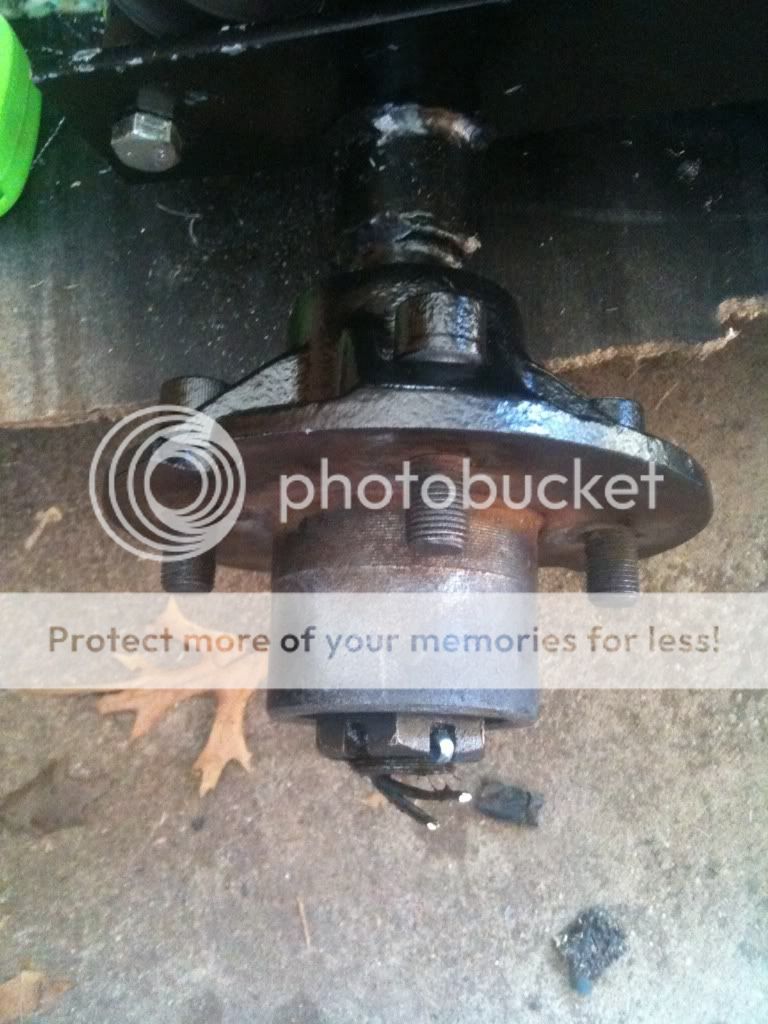
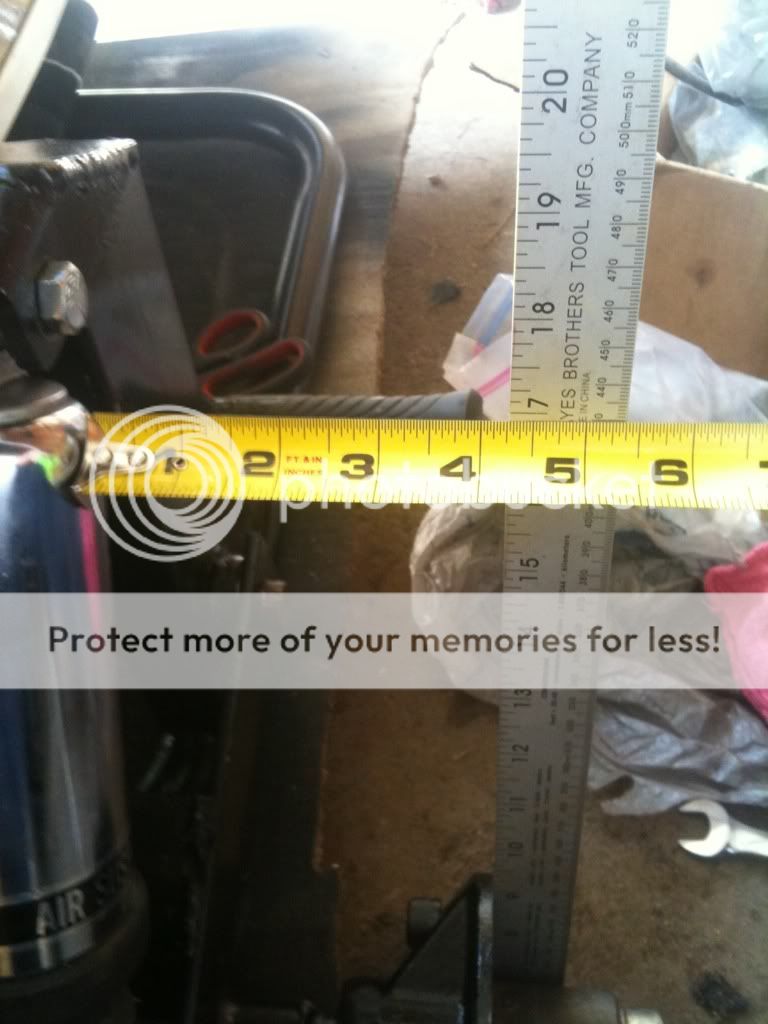
Next, I mounted the hub and checked the tire clearance. Since the air shock is so much thicker than the original shock, I was concerned about the tire rubbing against it. Looks like there is 4 inches clearance between the air shock and where the wheel rim will bolt against the face of the hub. I checked other high spots and found that the head of the axle is the tightest at 3.5 inches. Since the axle is original, the thickness of the air shock won't interfere with the wheel/tire. WHEW!
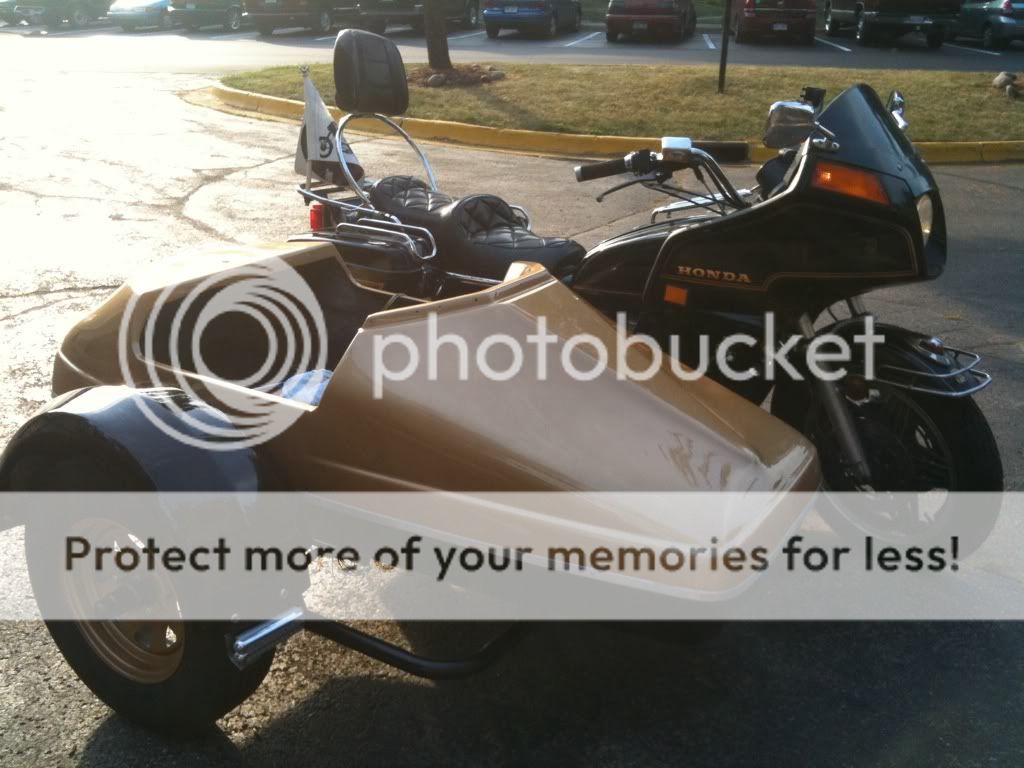
I then dry-fit the fender just to make sure that the air shock and hose will fit in there OK. I didn't take a picture, but no issues there. I then wheeled the assembly into the sun to see what it looks like mostly together. I'm pretty pleased with the results so far!
Next up will to get the rim painted and a new tire mounted. Then it's time to get the fender on tight, the tail/brake/turn light mounted and wired, the head light and running lights too. Then I can go for mounting 'er to the Goldwing GL1100 and practice, practice, practice while I work on the interior and cover! Oh, and get the windshield polished up too.
I'm getting pretty excited to get this thing finished!!
Looking really good and it's good that you're taking the time to think it through and measure, measure, measure. Looks like there is a hole in the fender for a taillight. Where did you source the fender and what kind of taillight are you going to use?
The fender is original to the car. The back has a 4-inch hole, so a standard round tail/stop/turn should fit nicely. I picked up a water-proof boat trailer LED unit, complete with grommet, at Harbor Freight. It comes with 30-feet of 4-conductor trailer wire, including the flat-four connectors!
Only 30 feet of wire, Huh? Well you can always add onto it if needed.
Lonnie
Looking for some ideas on other approaches to my proposed solutions below. Also sending out a warning to others concerning cheap wiring kits.
I got around to wiring the brake/tail/turn lamp and the headlight this weekend. When I pulled the HarborFreight wiring kit out of the package, I got a little concerned. The wires in the kit are quite small! I think 20, maybe even 22 gauge.
http://www.harborfreight.com/four-way-trailer-wiring-connection-kit-96658.html
I found this wiring calculator for automoitive applications:
http://www.gtsparkplugs.com/WireSizeCalc.html
And using the fact that the headlight is 55 watts (55W/13.8V = 3.9 amps) I see that 20 gauge wire wouldn't carry that amount of current more than 7 feet. I'm needing more like 10 to 12 feet. This kit isn't going to cut it, not for the headlight anyway. The tail/brake/turn lamp is LED, so that isn't a problem.
I'm thinking I need to find a kit with 18 or 16 gauge or maybe a 2-wire connector just for the headlight. I'd rather keep it to a single connector for the hack frame and a second connector for hack accessories. The idea being that if I swap out the tub for a cartop carrier, that the single flat-4 will continue to support required lighting.
Solutions:
- find a flat-4 or flat-5 kit with 18 or 16 gauge wires
- go with a second one or two conductor connector just for the headlight
- go with a lower wattage (LED??) headlamp
Thanks all!
EDIT:
This prolly isn't DOT kosher, but does the hack's headlight need to be up to DOT headlight specs?
http://www.etrailer.com/p-LS-108.html
Thanks for the advice of cliches. I'll look a little lace in the round buttons are not only more expensive, require special tools to install.
A big day today! I'm officially a "Sidecarist in Training!" No interior yet, so I'll use my tools to provide ballast while I practice.
I managed to get 'er nice and level too (as seen from the roof of the trunk)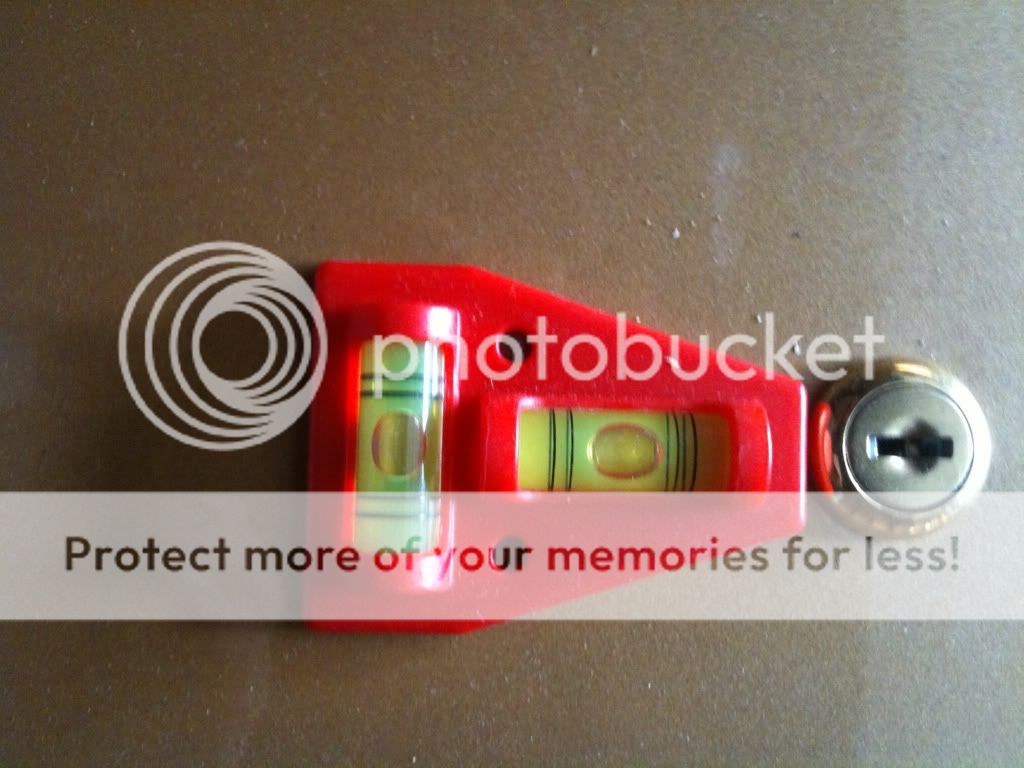
Much to do yet
- head/tail/turn/brake light hook ups
- carpet
- chair
- windscreen
- canopy arch
- canopy
- swamp cooler
I think I need to beef up the front suspension too. Bottoms pretty easily. Think I'll put in a spacer on top of the springs and see if that'll help. I did just replace the fork seals and bushings up there and put in 20w fork oil. The stock springs are longer then spec, but they are stock from what I can tell.
Looking good. I see the key/lock in the pick with the level. Does it appear that someone had put a lock on the previous seatback or what is that for?
SideCar - 7/11/2011 9:15 AM
Looking good. I see the key/lock in the pick with the level. Does it appear that someone had put a lock on the previous seatback or what is that for?
Yes, that tumbler locks the seatback thus securing the "trunk".
- 29 Forums
- 11.9 K Topics
- 93.5 K Posts
- 3 Online
- 5,617 Members


