The 2026 Sidecar Rally registration is now open! Click here: USCA 2026 Rally Registration Form
Gary,
Thanks for the advice on the snaps. I'm going to look in snaps a little closer as turn buttons are not only more expensive, they require special tools to install. And those tools are CRAZY money! So much so that I was just going to farm out the top to a custom boat cover maker. That would be an expensive option too, but the results would prolly be much better.
I imagine the setup will be 80% sidecar, 10% hauler and 10% solo. Those numbers may change if my monkey... er.. wife... finds the car uncomfortable. Since we wana take our pooch along with us, she may ride pillion with the dog (and a whole lota ballast) in the car. If that's the case, I may put a lexan bubble and venting in the carrier for the dog and use that more.
I like the flexibility, in theory anyway!
What color are you going with? Any graphics?
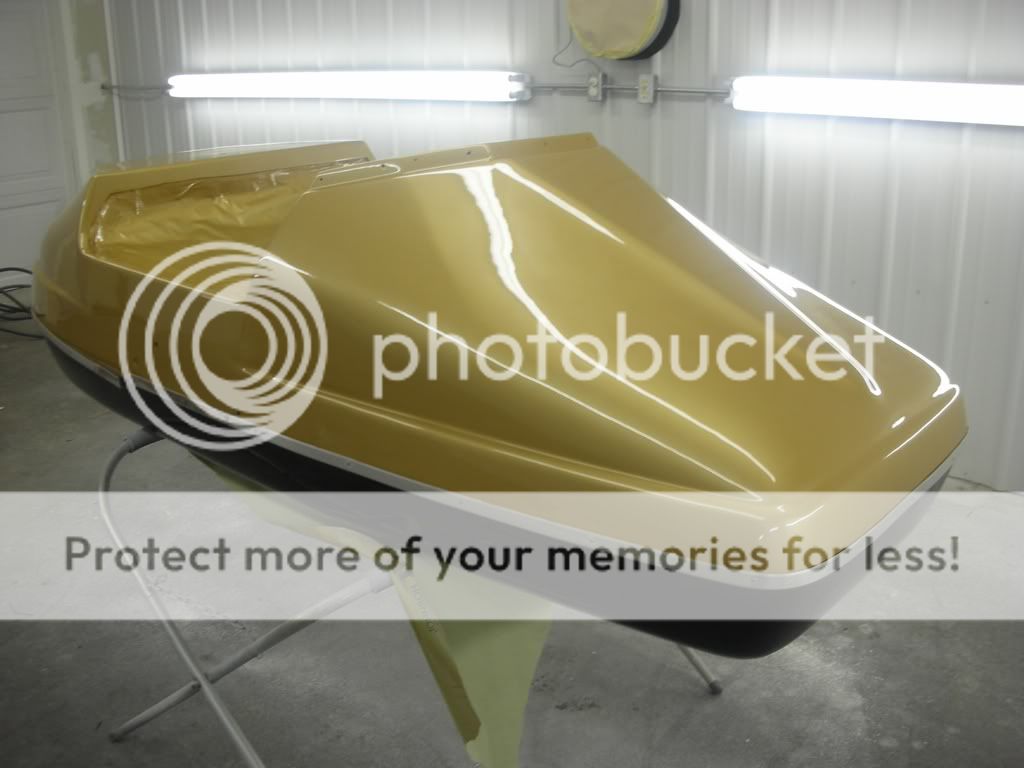
Gloss black on the fender and below the body seam, metalic gold above the seam. Prolly paint the tire rim gold too. And a black convertible cover. No graphics or stripes.
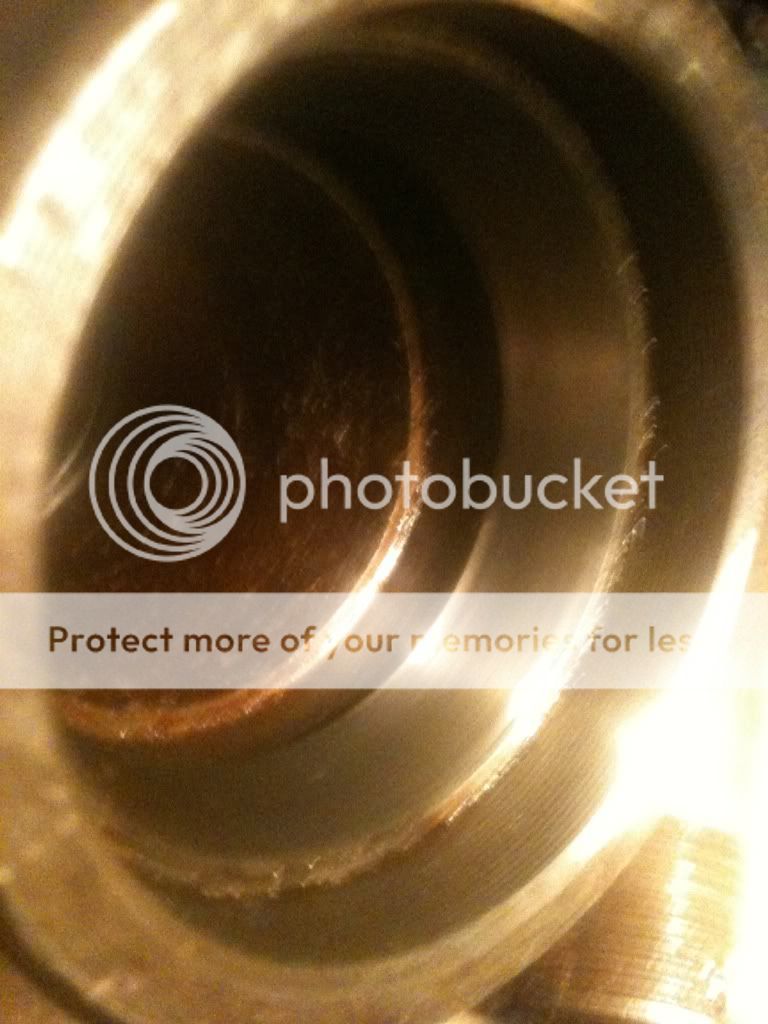
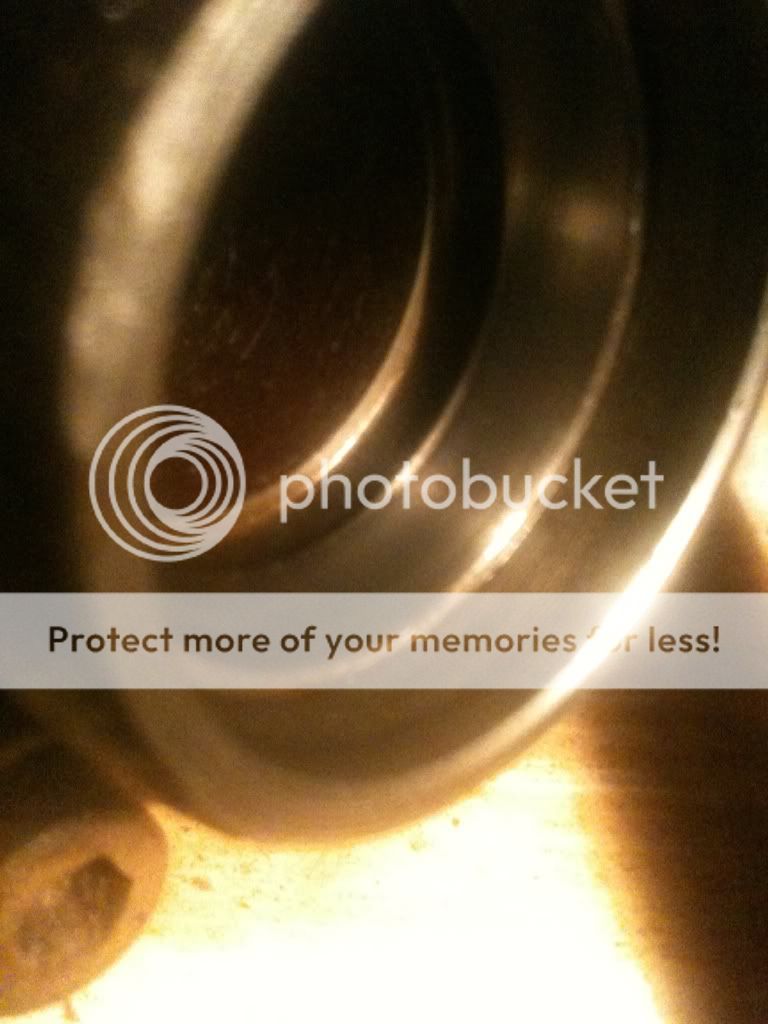
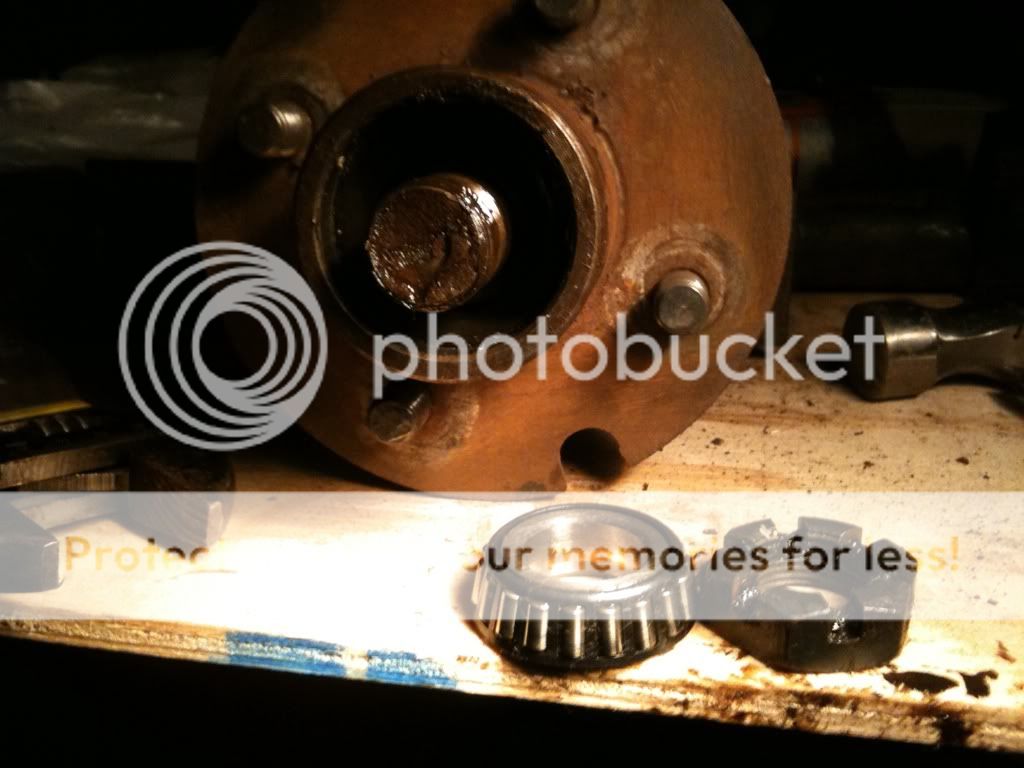
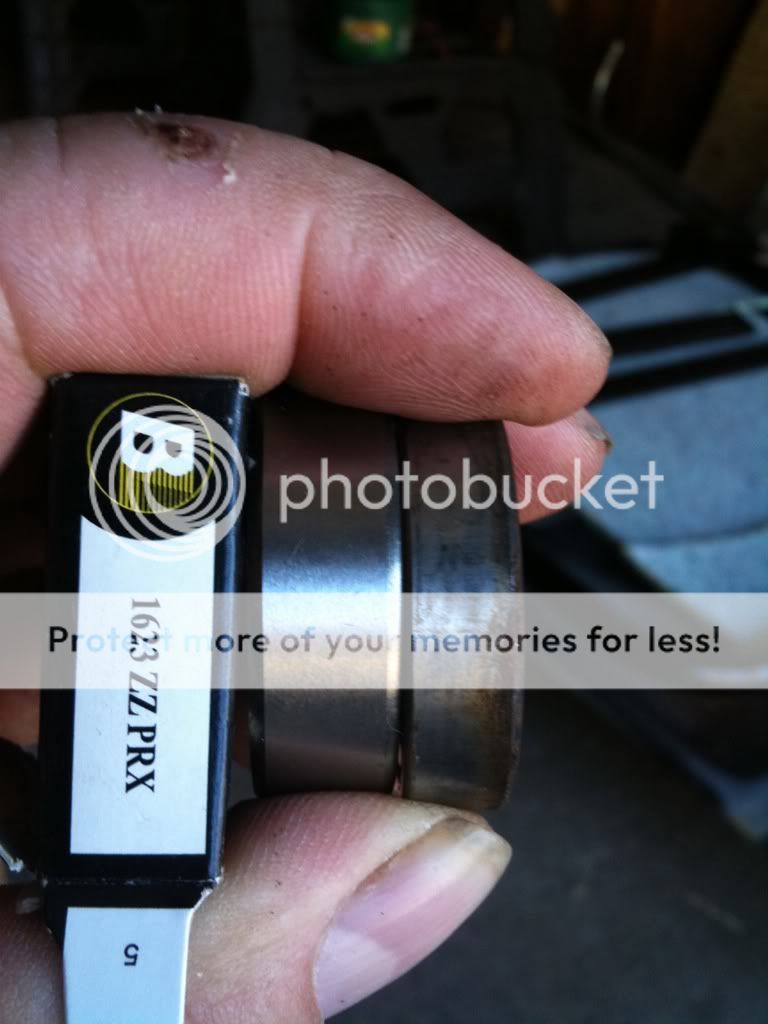
Before I go destroying a perfectly good hub, these bearing faces should be knocked out if I'm replacing the taper roller bearings, correct? The faces seem smooth to the touch and the races roll nicely. But since I'm this far and since a new set is so cheap...
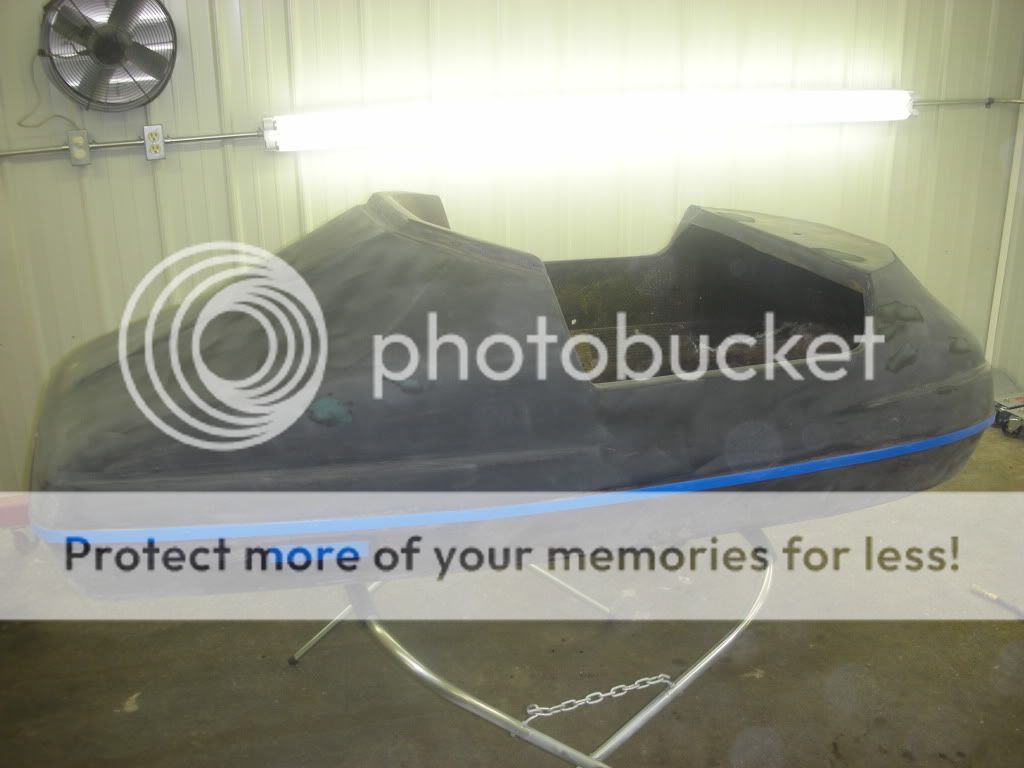
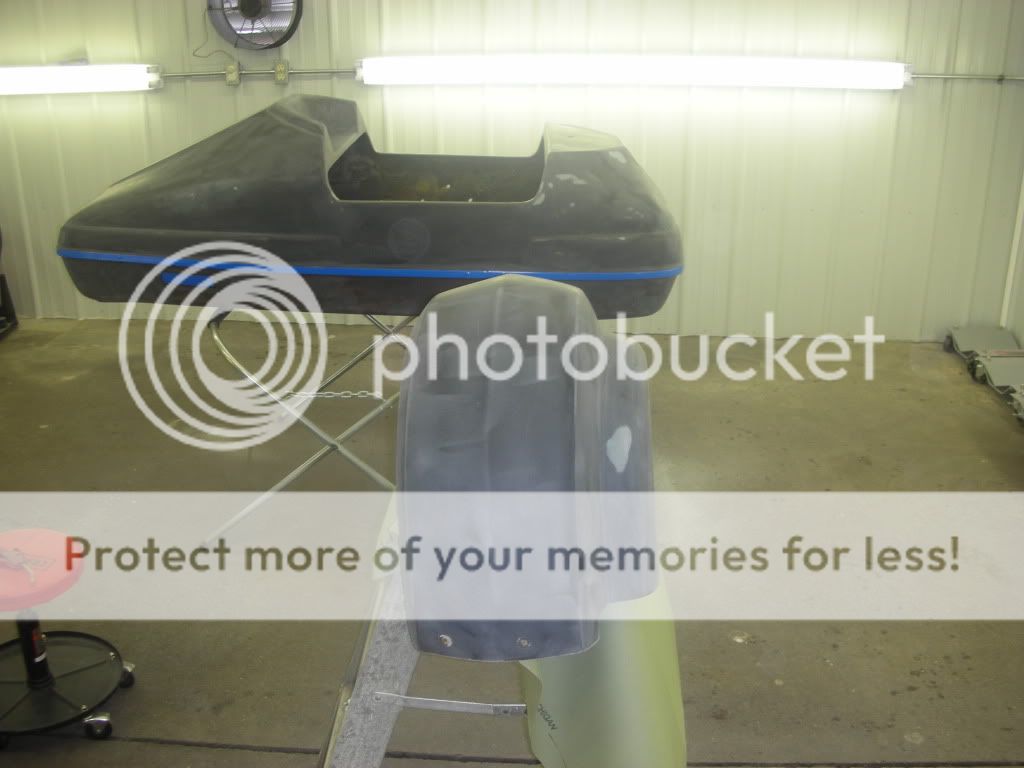
Been a busy week here in the 'ol garage! Finally got the frame all taken apart. Measured up all the fasteners and bought all brand new Grade 8 nuts, bolts and washers where ever possible.
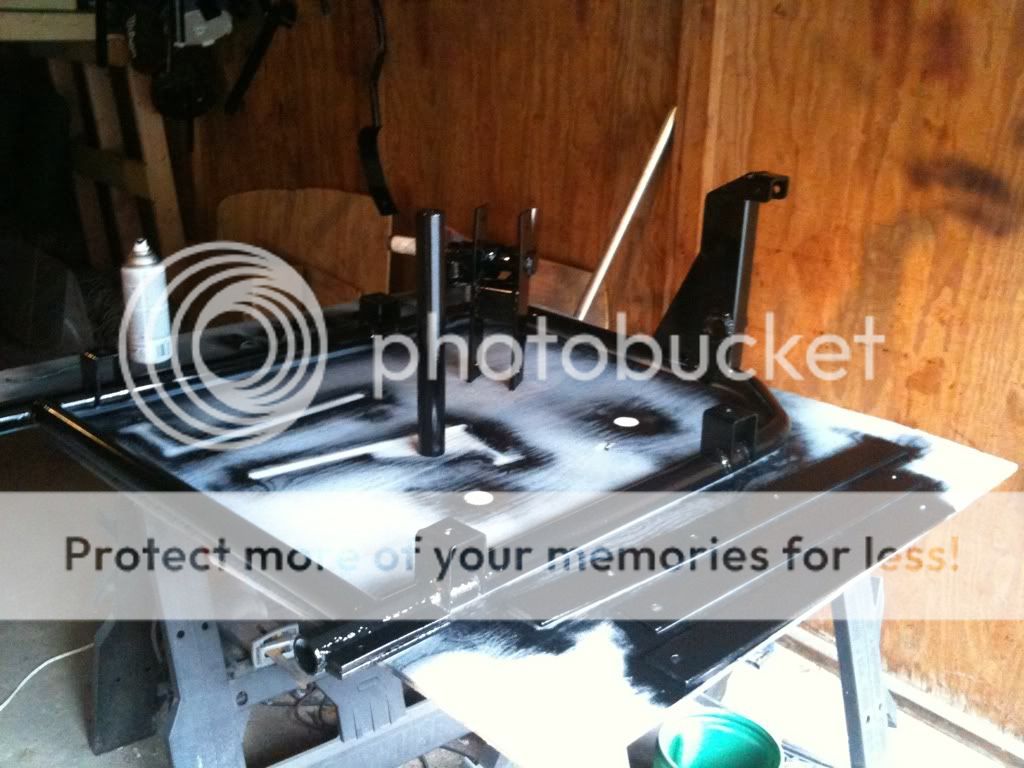
Wire brushed all frame components
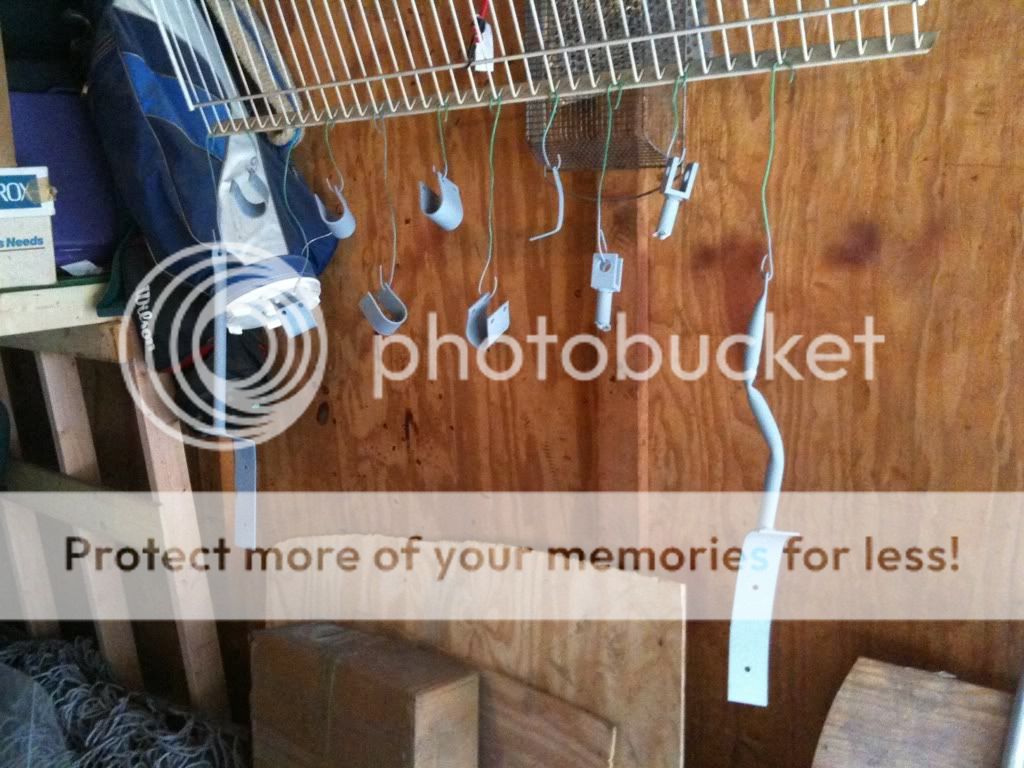
And painted 'em
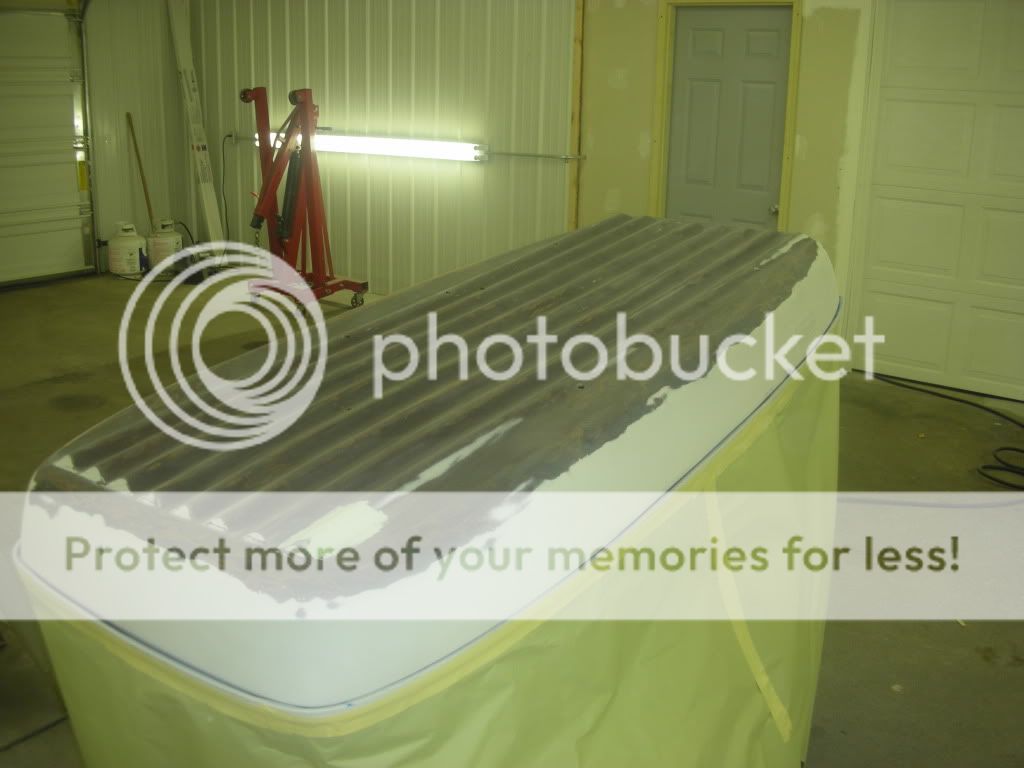
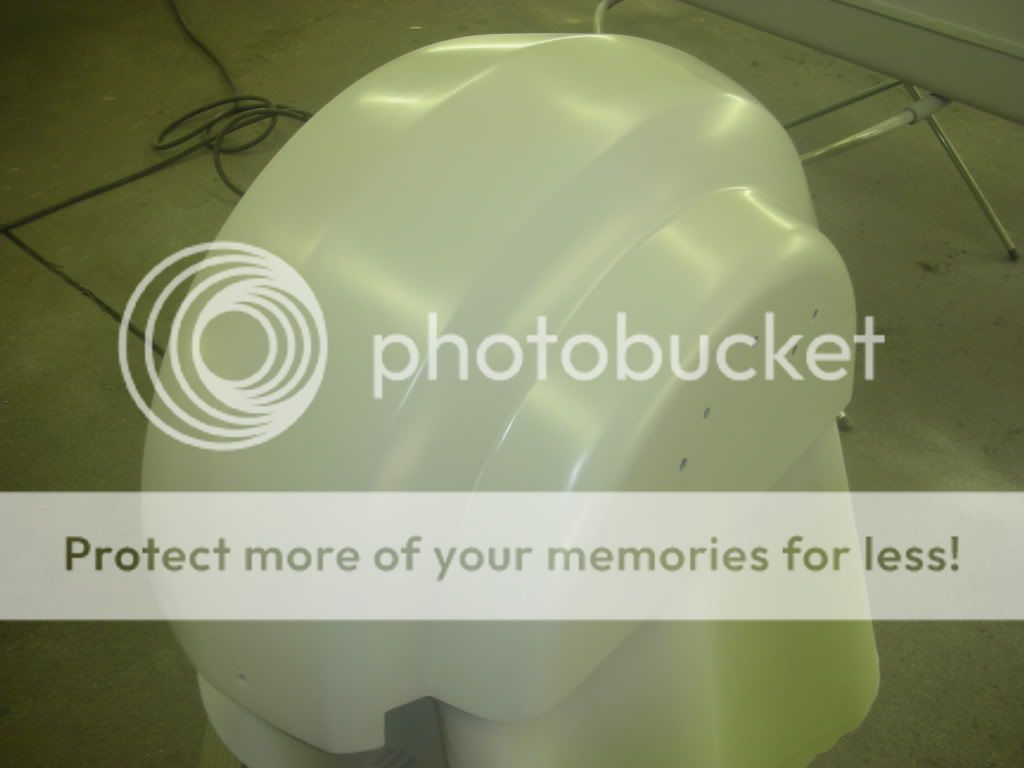
But the BIG event is that the painter has finished the tub!!
The Mrs likes!!
Looks great! Keep the pix coming. You're doing nice work.
Looking really good!
Another busy weekend!
Got the tub home and started preping the frame to receive it.
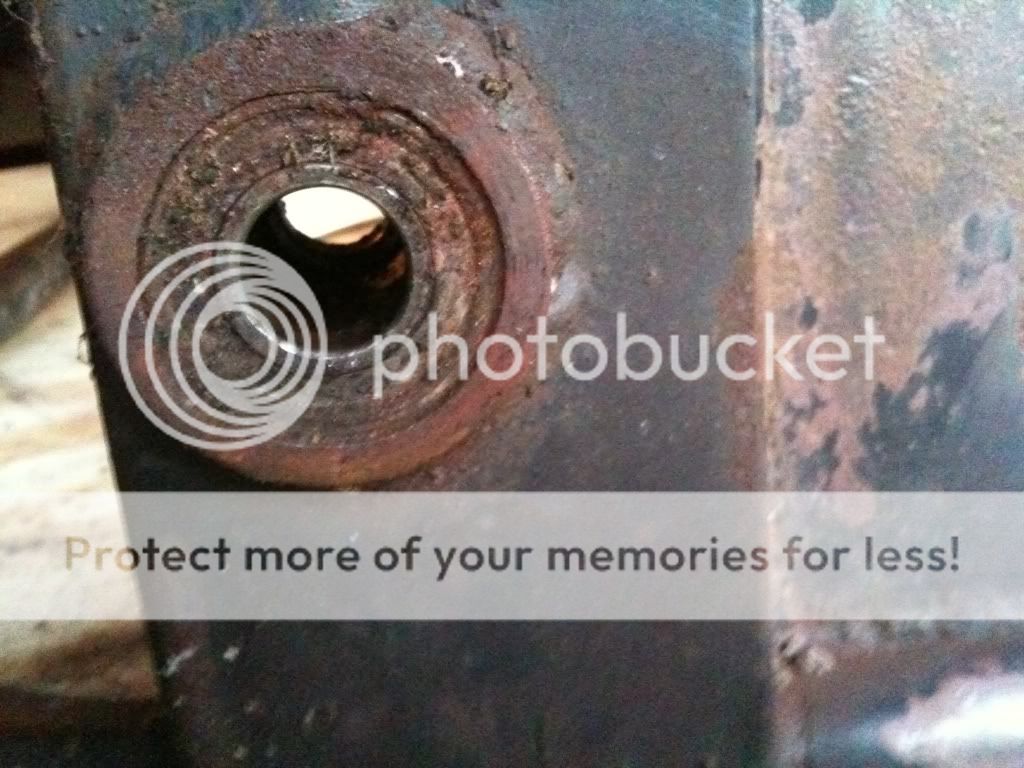
The new swingarm bearings are a wee bit thicker than the originals. I drove the new bearings into place and dry fit the swingarm. I think I may need to shim the pivot shaft to keep the swingarm from binding on the outter race of the bearing. What do the pro fabricators think about the clearance shown in the third photo?
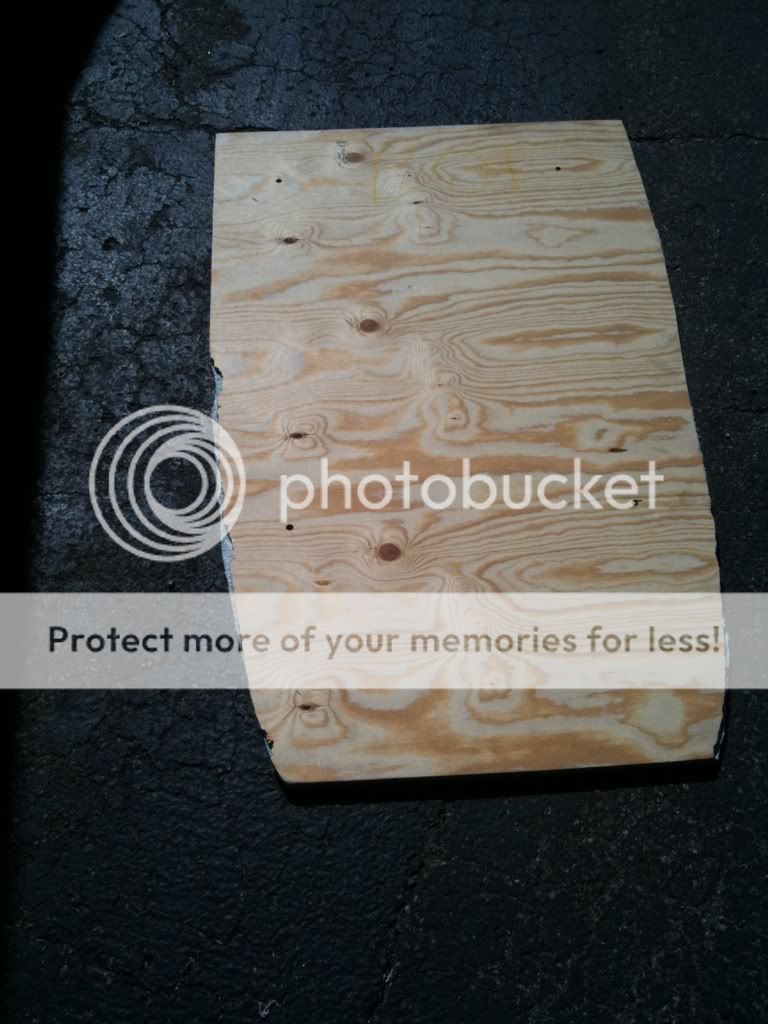
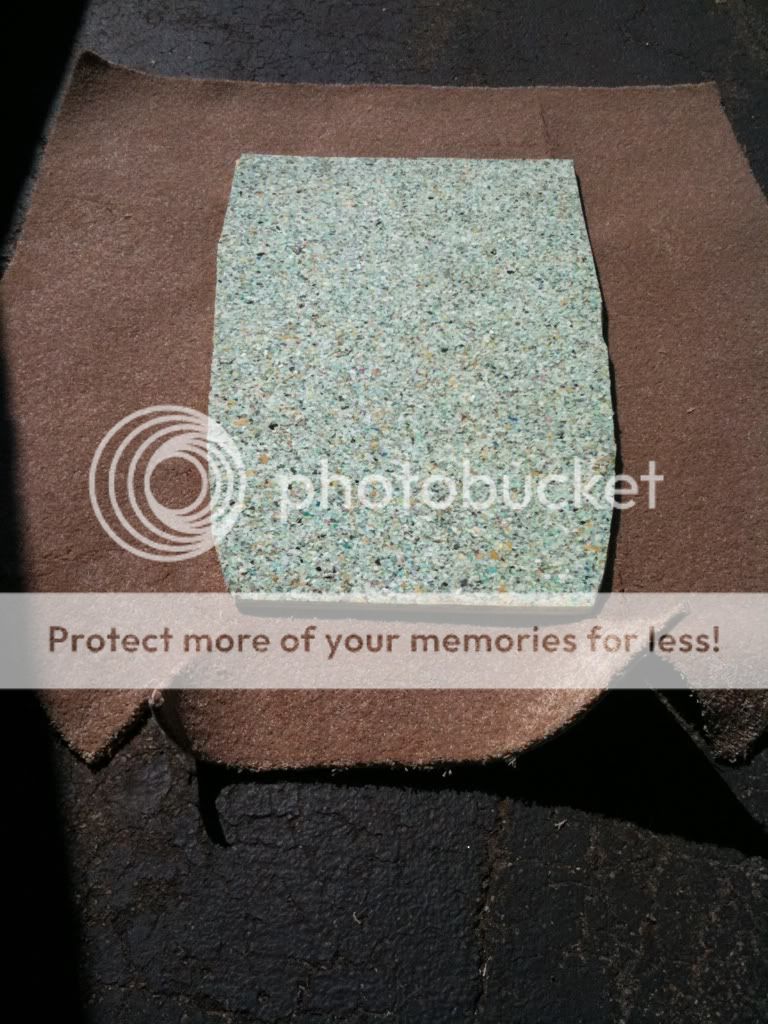
Next, I cut a piece of plywood to act as a subfloor for the interior. Glued some carpet pad to it for rider comfort, sound deadening and to bury the bolt heads that connect the tub to the frame
Cut some carpet to fold up into a bowl shape once I shove it into the nose.
Waiting now on a little help from my neighbor to lower the tub onto the frame so that I can get them bolted together and make the final trimmings to the carpet. Then I'll start in on the bench seat!
You are doing a great job, looks great.
For anyone following this thread, I'm still around and still working on the rig. I've been busy with the tug for the past few weeks, getting 'er buttoned up and ready to mount the hack to it. Here's what I've been (will be*) doing:
Tug is a 1982 Goldwing Interstate (GL1100) bought in November with 49k miles on the clock
- new tires (Dunlop 404s)
- rebuilt rear air shocks (new seals, O-rings, bushings, gaters 20w fork oil)
- cleaned final drive, repacked with Moly-60
- changed final drive oil (75w90)
- rebuilt all three calipers (new seals, new pads)
- new stainless steel braided brake lines all around
- fresh DOT3 brake fluid
- new air filter
- new fuel filter
- new fuel lines
- replaced timing belts (found that the right side was off by a tooth!)
- new radiator hoses, thermostat and radiator cap
- fresh coolant
- oil & filter change
- tappets adjusted
- new spark plugs
* replaced front fork oil (20w again)
- cleaning up any electrical connections I come across
- converted main fuse to blade (found the PO replaced the main with wire! OH NO!!)
- wiring up marker lights
* new cables (push, pull & clutch)
* new mufflers (free HD take-offs!)
- checked swingarm & head bearings
* guna run her around solo for a bit to make sure she's all good and to scuff up those new tires!
I'll be get back to the hack, including updated pics, in a week or so. It still needs:
- mount tub to frame
- install air shock
- install fender
- install LED tail/brake/turn light
- LED strip marker lights (red in the rear, amber on the nose
- hack headlight
- paint or replace wheel rim
- new rubber on rim
- finish carpet
- new bench seat
- build arch behind seat
- canopy
- mount to tug
- learn how to pilot the dang thing!
OldSchool that is way to cool.
Coming along nicely. Keep us posted.
Lee
MB5+TW200+CRF250L+GTV300+INT650
XL883R w/Texas Ranger Sidecar
Zuma 50F + Burgman w/Texas Sidecar<Mrs. SwampFox
- 29 Forums
- 11.9 K Topics
- 93.5 K Posts
- 3 Online
- 5,617 Members
