The 2026 Sidecar Rally registration is now open! Click here: USCA 2026 Rally Registration Form
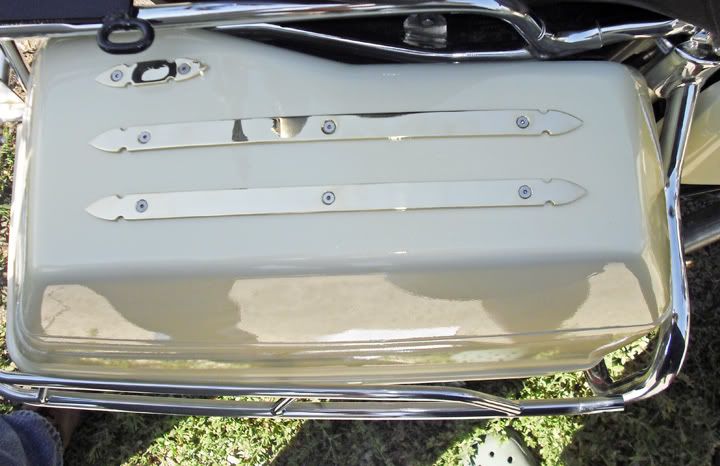
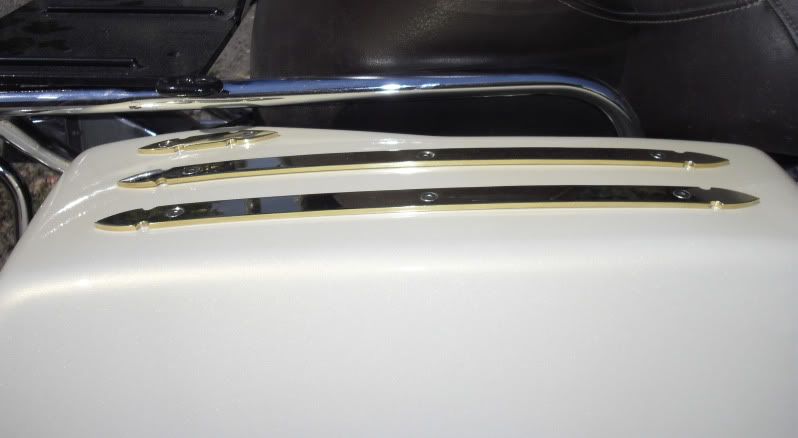
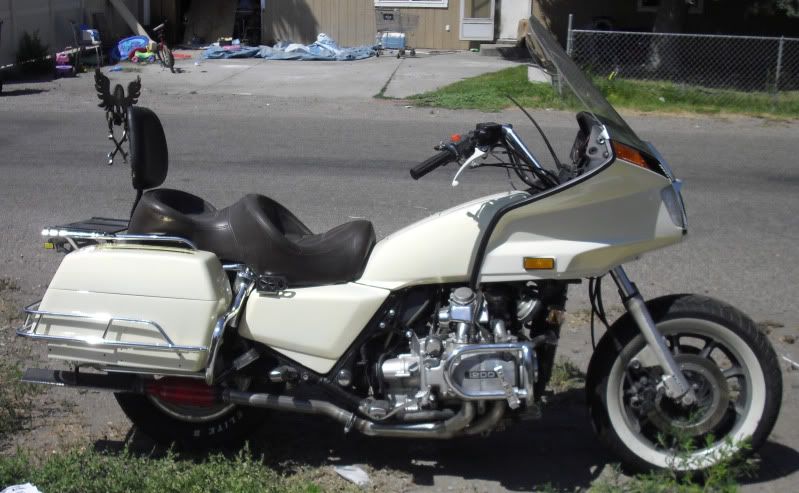
I got the paint done last week. Here is a couple better pictures.
I set one of the saddlebags on for this picture.
I had the lower fairings on earlier. should have snapped a picture.
I took her for a spin today. The Neighbors are just going to LOVE my new pipes at 4:45 in the morning:o)
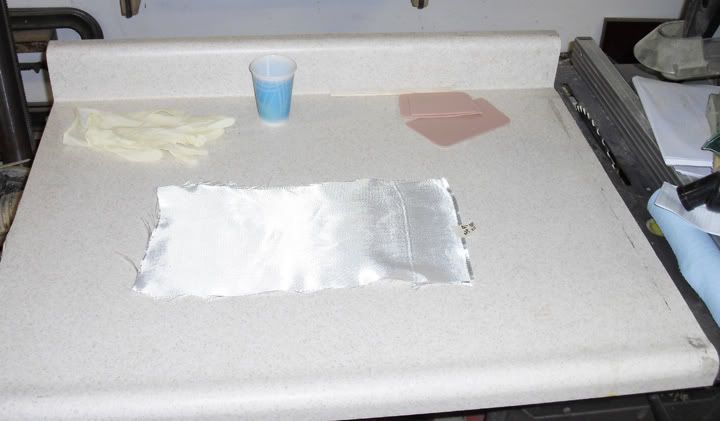
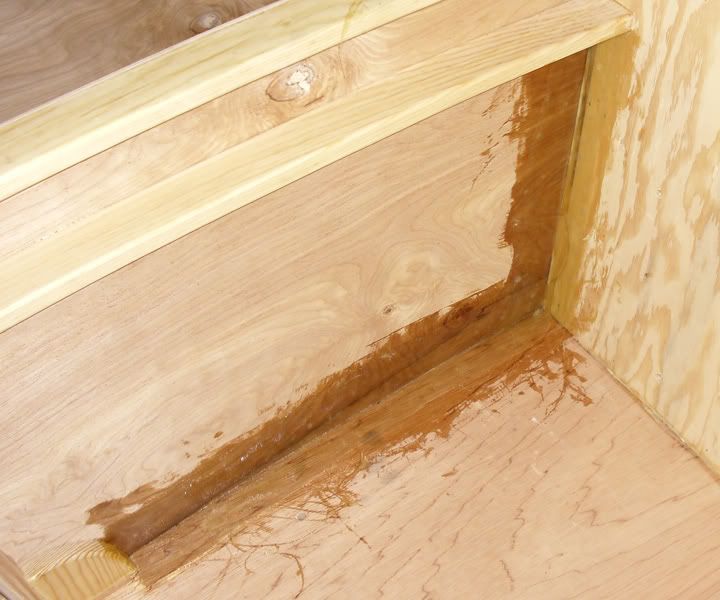
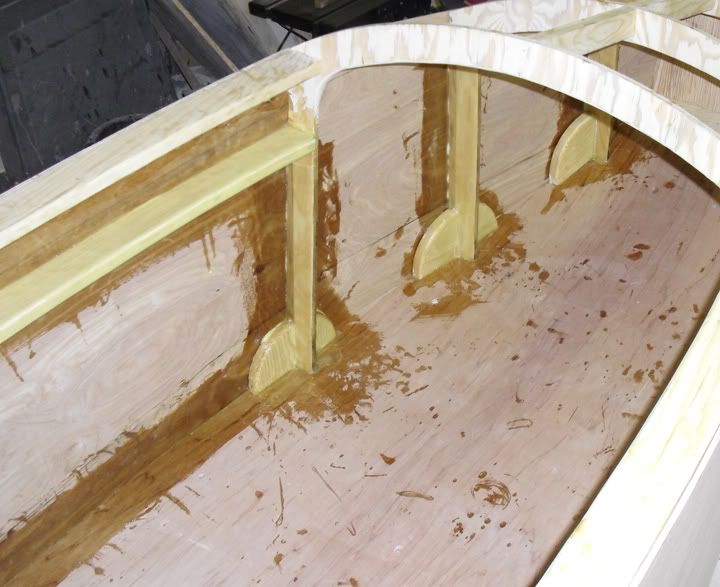
I made more progress on the fiberglass / I changed my method just a little. I'm using a flat surface and a squeegee the get resin into the cloth, before I put the cloth onto the body.
This is working a lot better and faster. I am also using less resin.
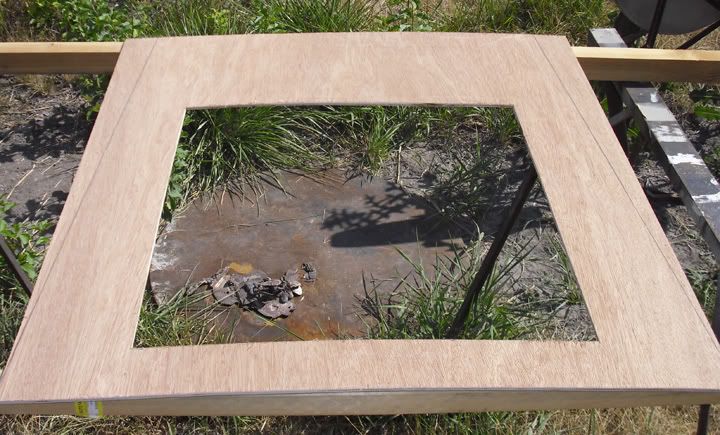
I started on the piece of Ply for the back. I had to grove the back side of it, so it would bend a little sharper.
Here is where I am now. I glued and nailed the bottom edge. This way I won't have to try and get it with clamps.
Later, I'll glue the rest down. As hot as it is, It won't take much longer for the glue to dry.
Wes, you've inspired me. Due to lack of funds, I have started to build my own sidecar. I had the sub-frame built already and started the swing-arm last week.
Good timing Mark,
You'll have plenty of time to work on it as it cools off up there.
Might consider a ski this winter instead of that wheel. lol
Good luck with it,
Lonnie
I'd like to have it ready for winter riding. I need to figure out how to adapt a 16" rear wheel. There aren't too many aggressive tire options for 15" rims.
Just put a 15" snow tire on it.
There isn't clearance on the swing arm for anything larger than 5 3/4 inches wide, not to mention the warnings about car tires on 15" rims.
Hello Friends,
this is a post that was waiting since yesterday because of the servers error.
“Microsoft JET Database Engine error '80004005'
System resource exceeded. /megabbs/includes/include.asp, line 377 “
In the 80tees in Herzberg, Harz-mountains, was a fellow “Hans” who designed a pushed swing with inclined pivot shaft and a standard shock. It took him 2 years to find out the perfect design.
With load the toe in of the sidecar wheel would go further in to compensate
the dive in caused by the load, stearing the s/c wheel more to the left, so the rig was nearly allways handleling neutral.
At breaking the sidecar wouldn't come up nor dive in. (same as his front Earles fork)
I saw it not only slick but genious. Accourding to him it worked very well.
Regards
Sven Peter
Looking good Mark!!! I'll have to try and come up and see it:o) Make sure you post lots of pictures!!!
I tried to put a 165R15 tire on my rim. It would not!!! go on. Had over 100 PSI and no go. I think the problem is with the narrow rim. The side of the tire seals before the bead gets in place. By this time there is too much pressure to let the bead move at all and it gets stuck off the bead area. I hope that made sense ;o)
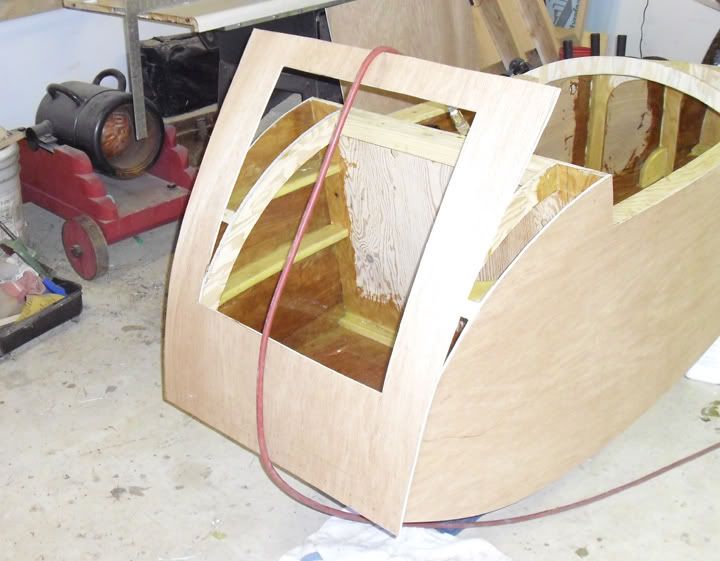
I want to get the front lid glued in place this weekend. I need it in place before I can make a windshield template. I have the windshield attachment figured out and I want to get cracking on it! Maybe a bad choice of words there? But you know what i mean:o)
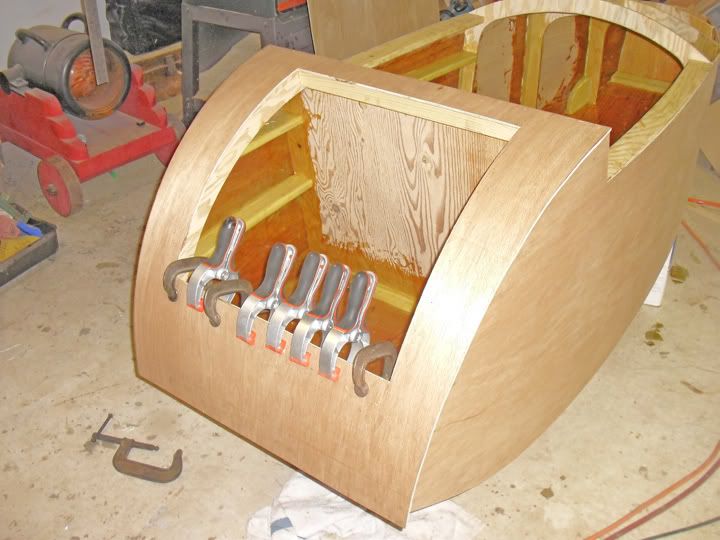
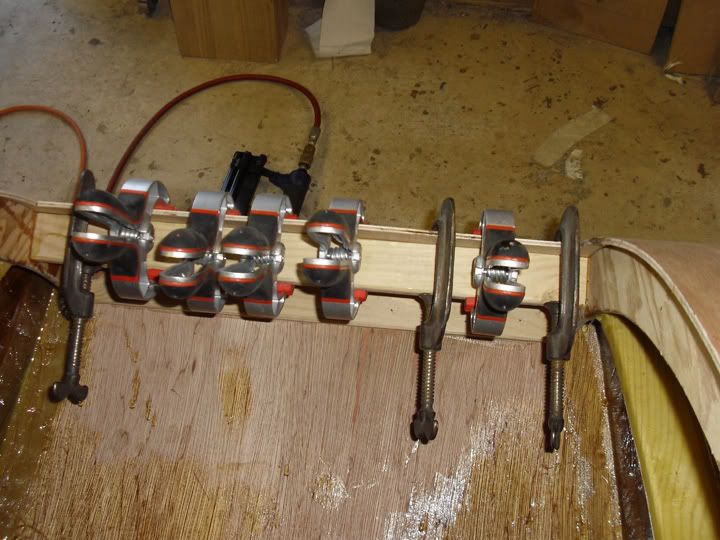
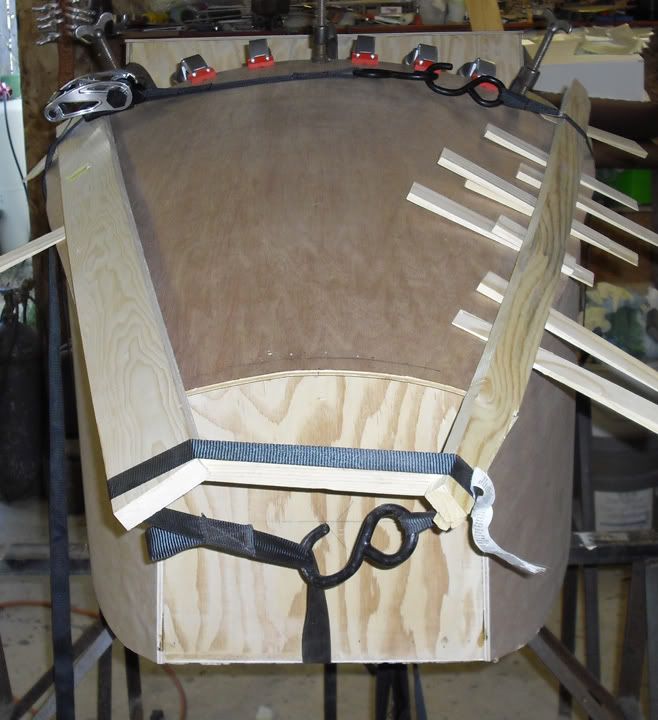
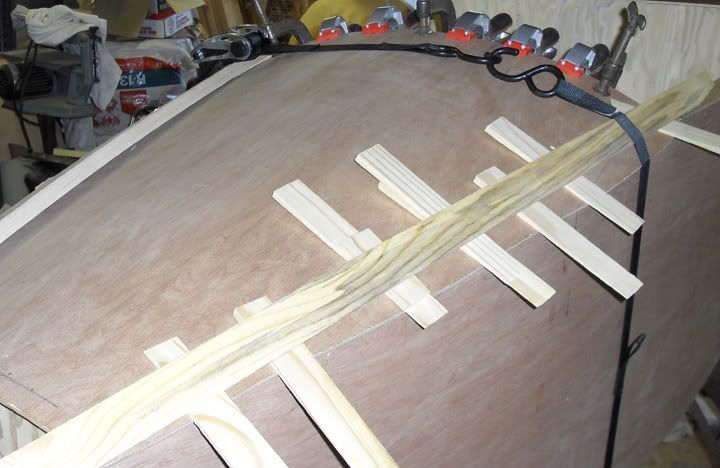
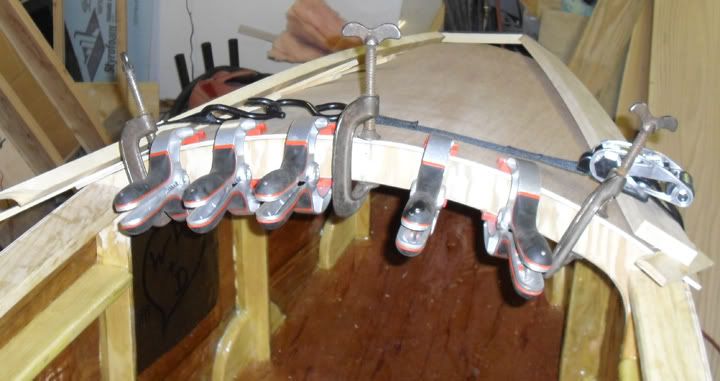
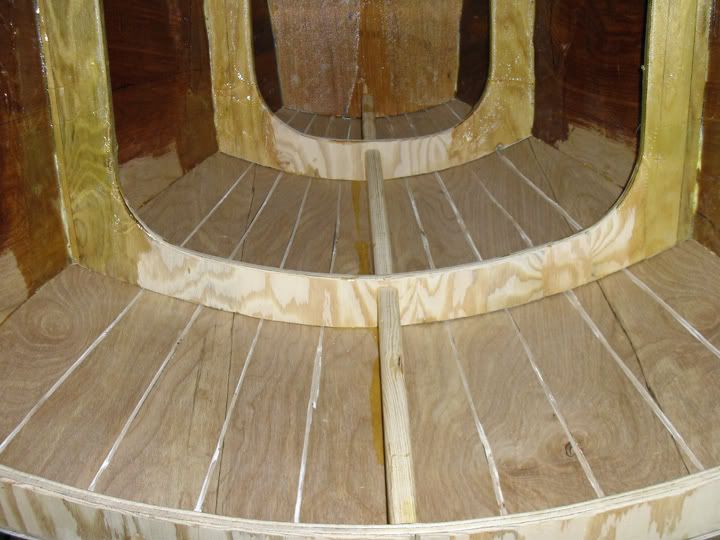
Top is glued on / I had a time getting this done! I did several "dry runs" without glue. and finally came up with this.
It took some door shims...
And I still don't have ENOUGH clamps. MUST go to Harbor Freight:o)
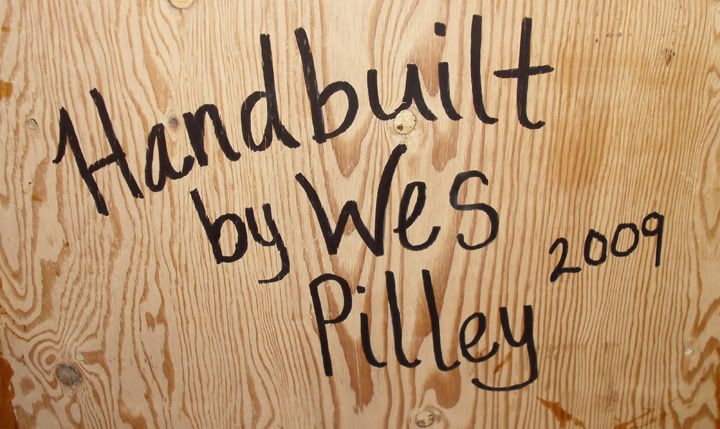
An Artist signs his work.
I'll start to trim things up a bit tomorrow.
Stay tuned.....
A masterful job of clamping.
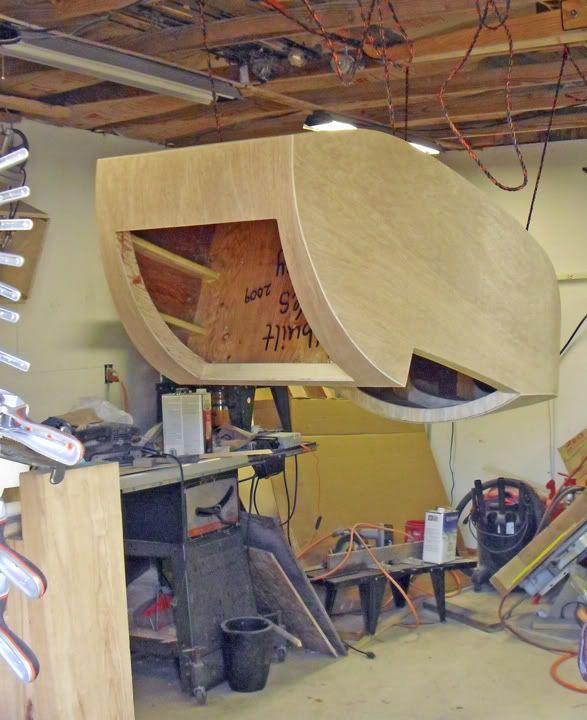
I managed to get quite a bit done today. I trimmed all the extra wood off the top and back. I decided that my best bet would be a hand held belt sander. It worked good. I got it within 1/32" and used a very sharp wood chisel to remove the rest. A friend came over and we hung the car upside down from the rafters.
This way I can stand up inside and finish glassing the top side.
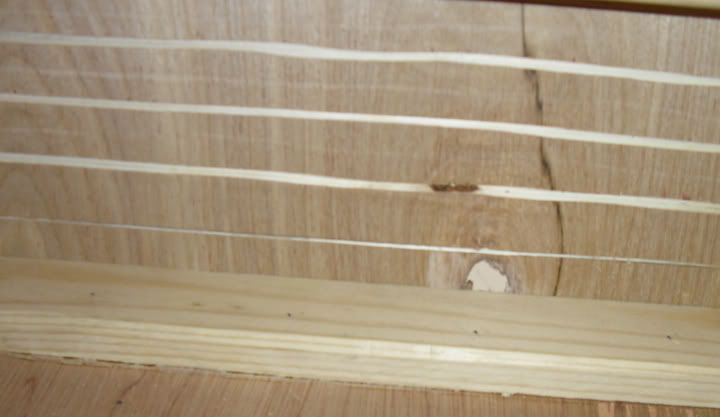
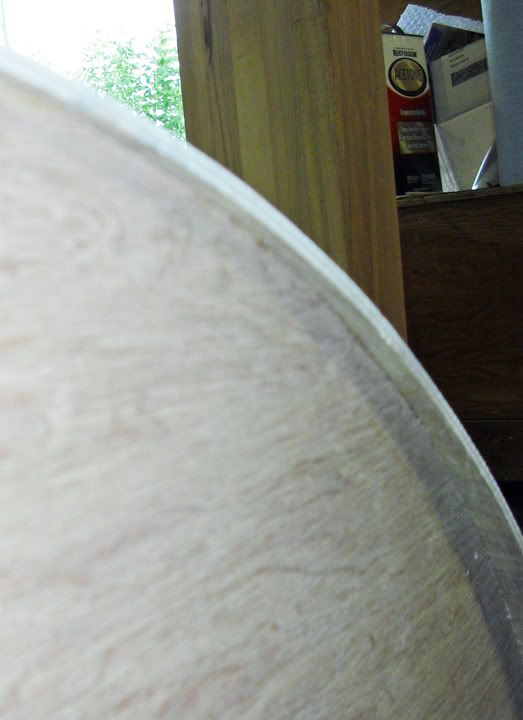
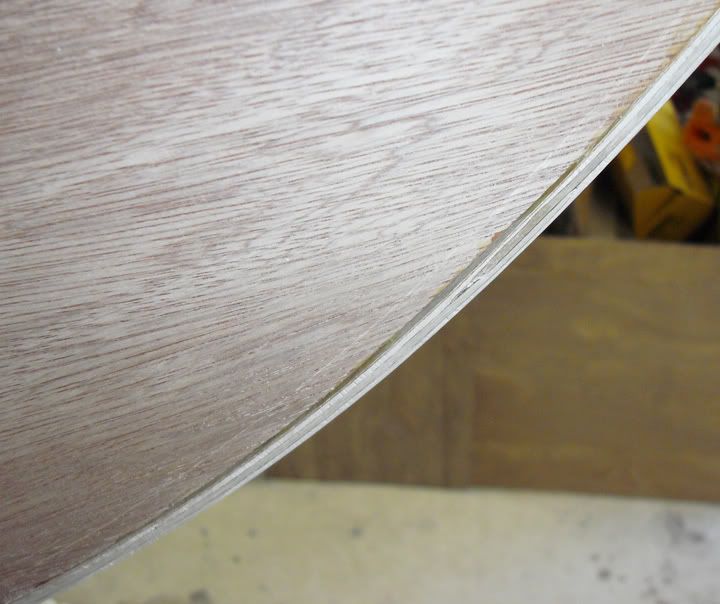
Here is the worst joint I could find on the outside. I cant look, is it bad?
I did a batch of glass today. It turned out great. Areas of the inside, I can only do small batches. It's working, so, I'm sticking with it:o)
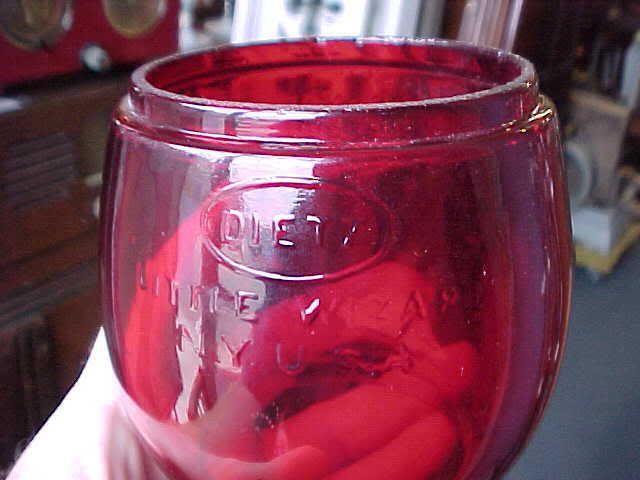
I'm going to make a seperate turn signal. I found a red glob about 4" in diameter and a piece of scrap brass that I can make a reflector out of. I mainly need to keep the red light pointed backwards.
Boy this is fun:o)
Damm Wess,,,it's looking really good. If you decide to use LED's in your lights make sure that the lights behind the red lens is a red light, the white LED's are in the blue white range and the red lens will filter out the blue leaving a faint light, if you going to use incandescent lights rather than unseeing polished brass, which won't reflect a bright light, use good O alum foil, you'd be surprised how well it reflects light especially if it's crinkled up a bit, defuses the light really well.
- 29 Forums
- 11.9 K Topics
- 93.5 K Posts
- 3 Online
- 5,624 Members
