I think a few of you may have seen the build thread I posted on another site, but here are a few pics of the build for what is turning out to be an outstanding Leading Link front end on my 2021 Honda Africa Twin rig. A few also know that I was less than satisfied with the one that came on the rig as part of the original build. Chuck Loftin, out of Eugene OR, built the new one, and I really could not be happier with it. It goes down the road straight, doesn't pull to the right, and seems to handle some reasonably challenging dirt work.
Let's see if I can follow @Drone's instructions for posting photos into the middle of text:
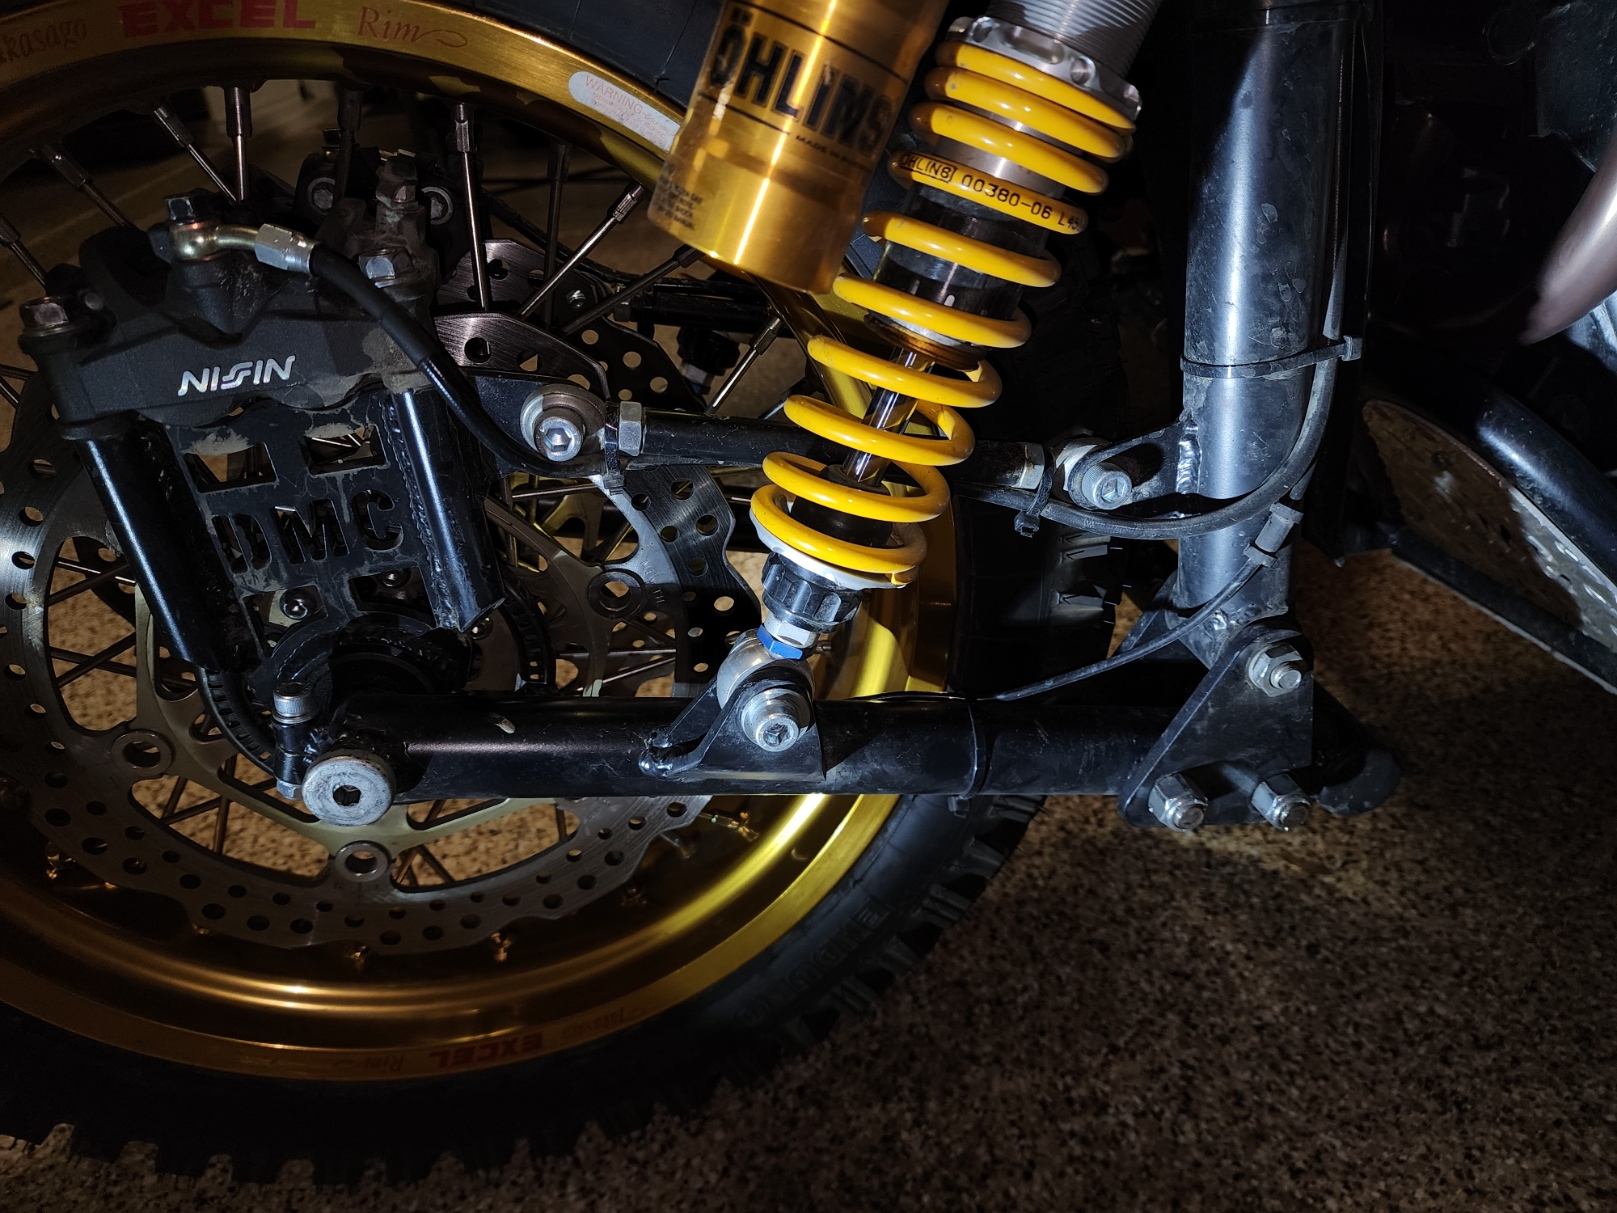
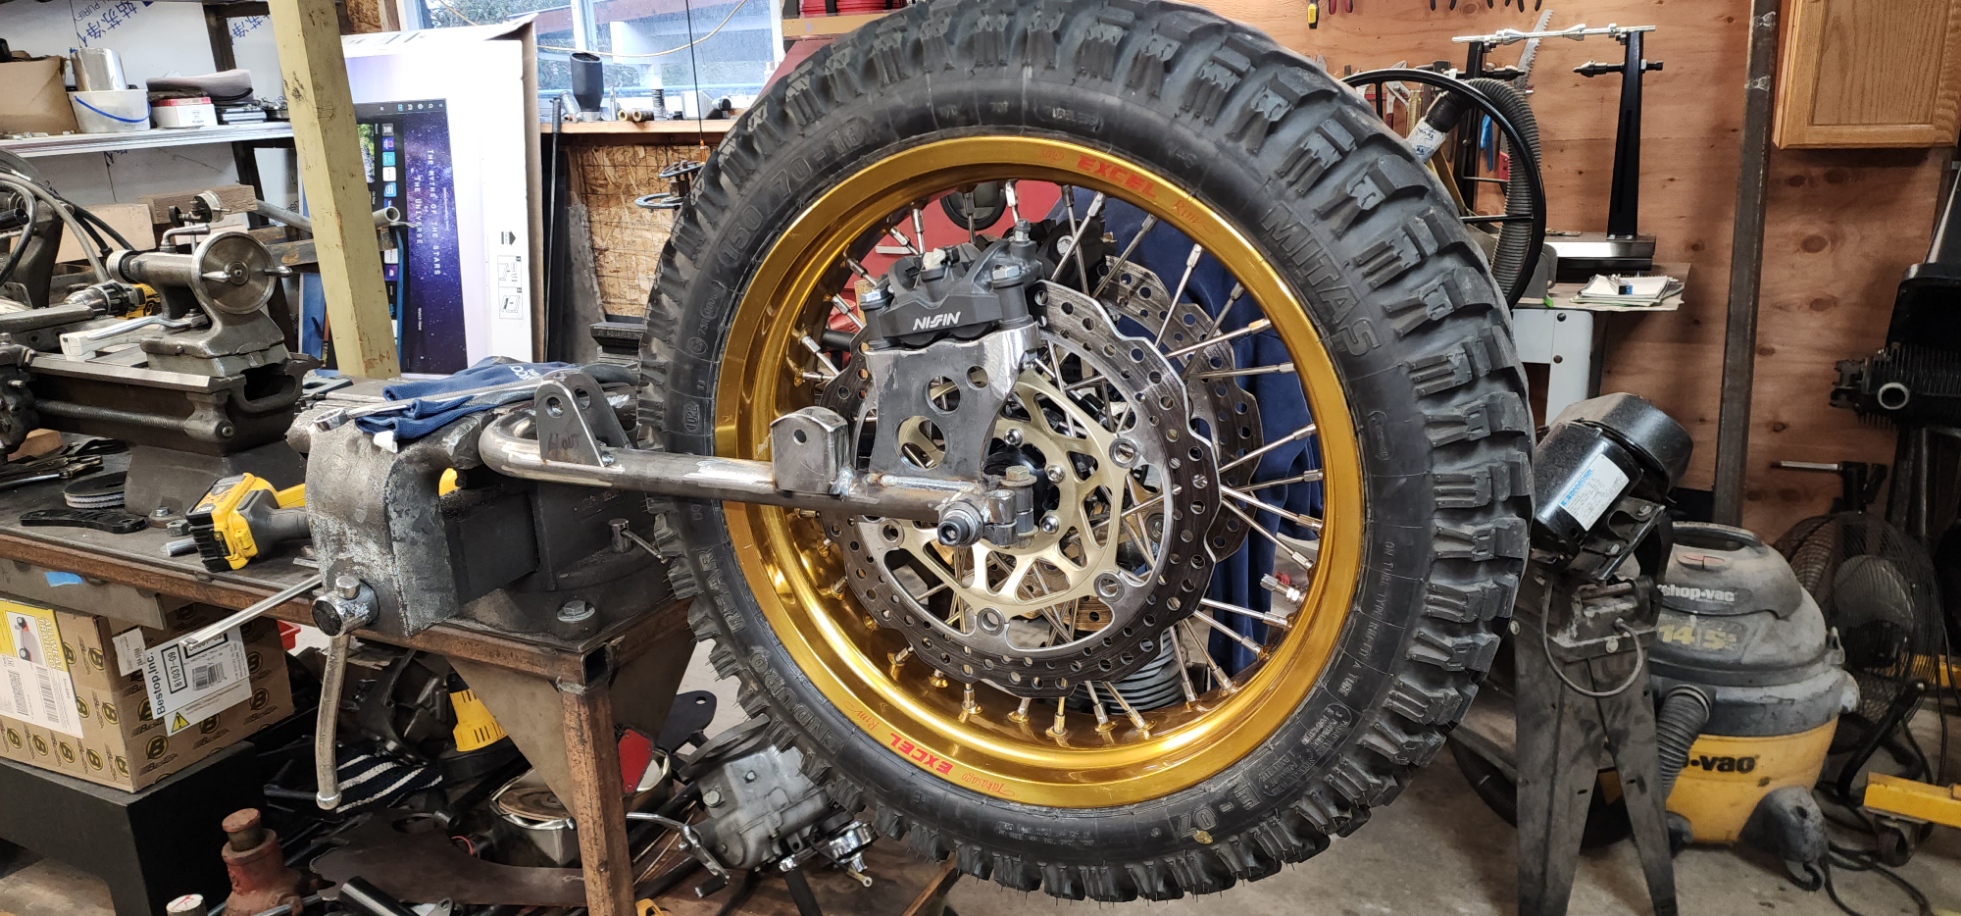
Here is a picture of the LL being discarded and recycled: Salvaged the shocks, wheel, axle, and brake calipers for reuse.
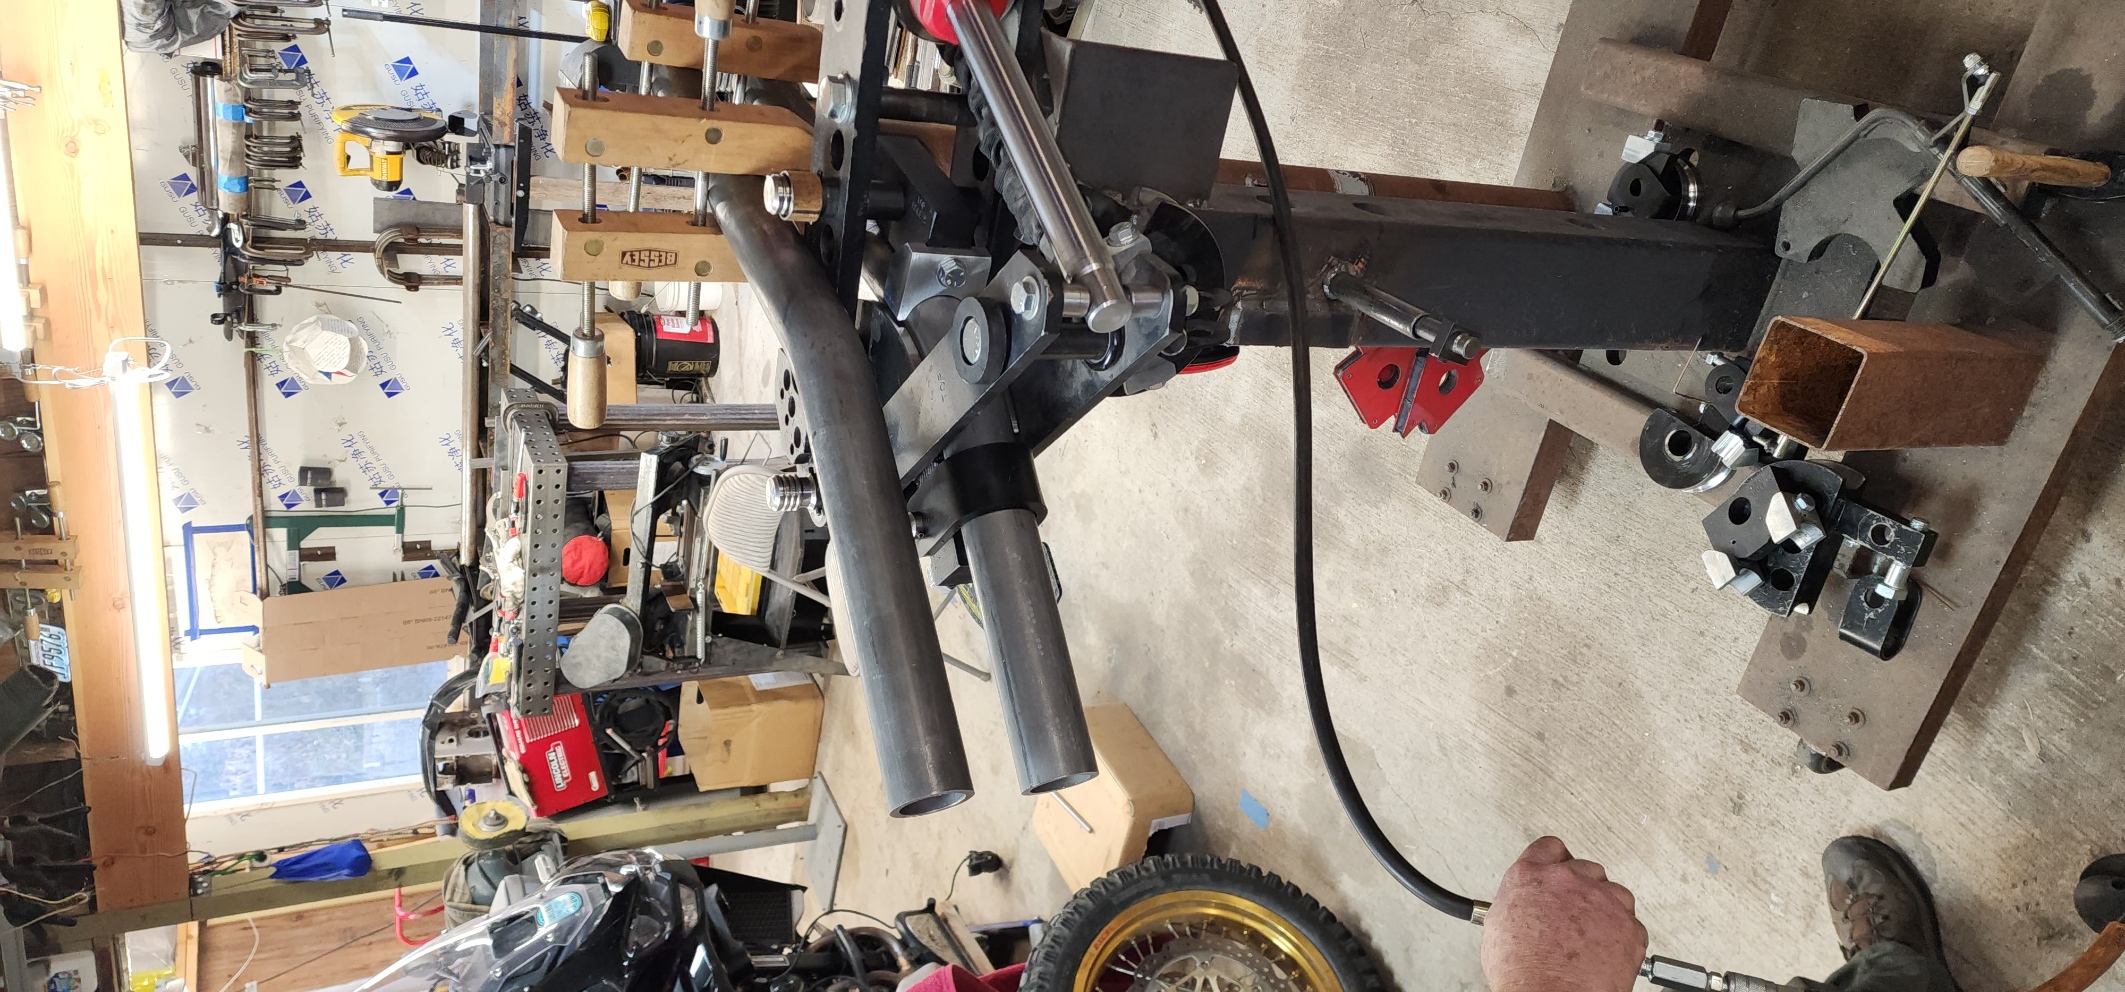
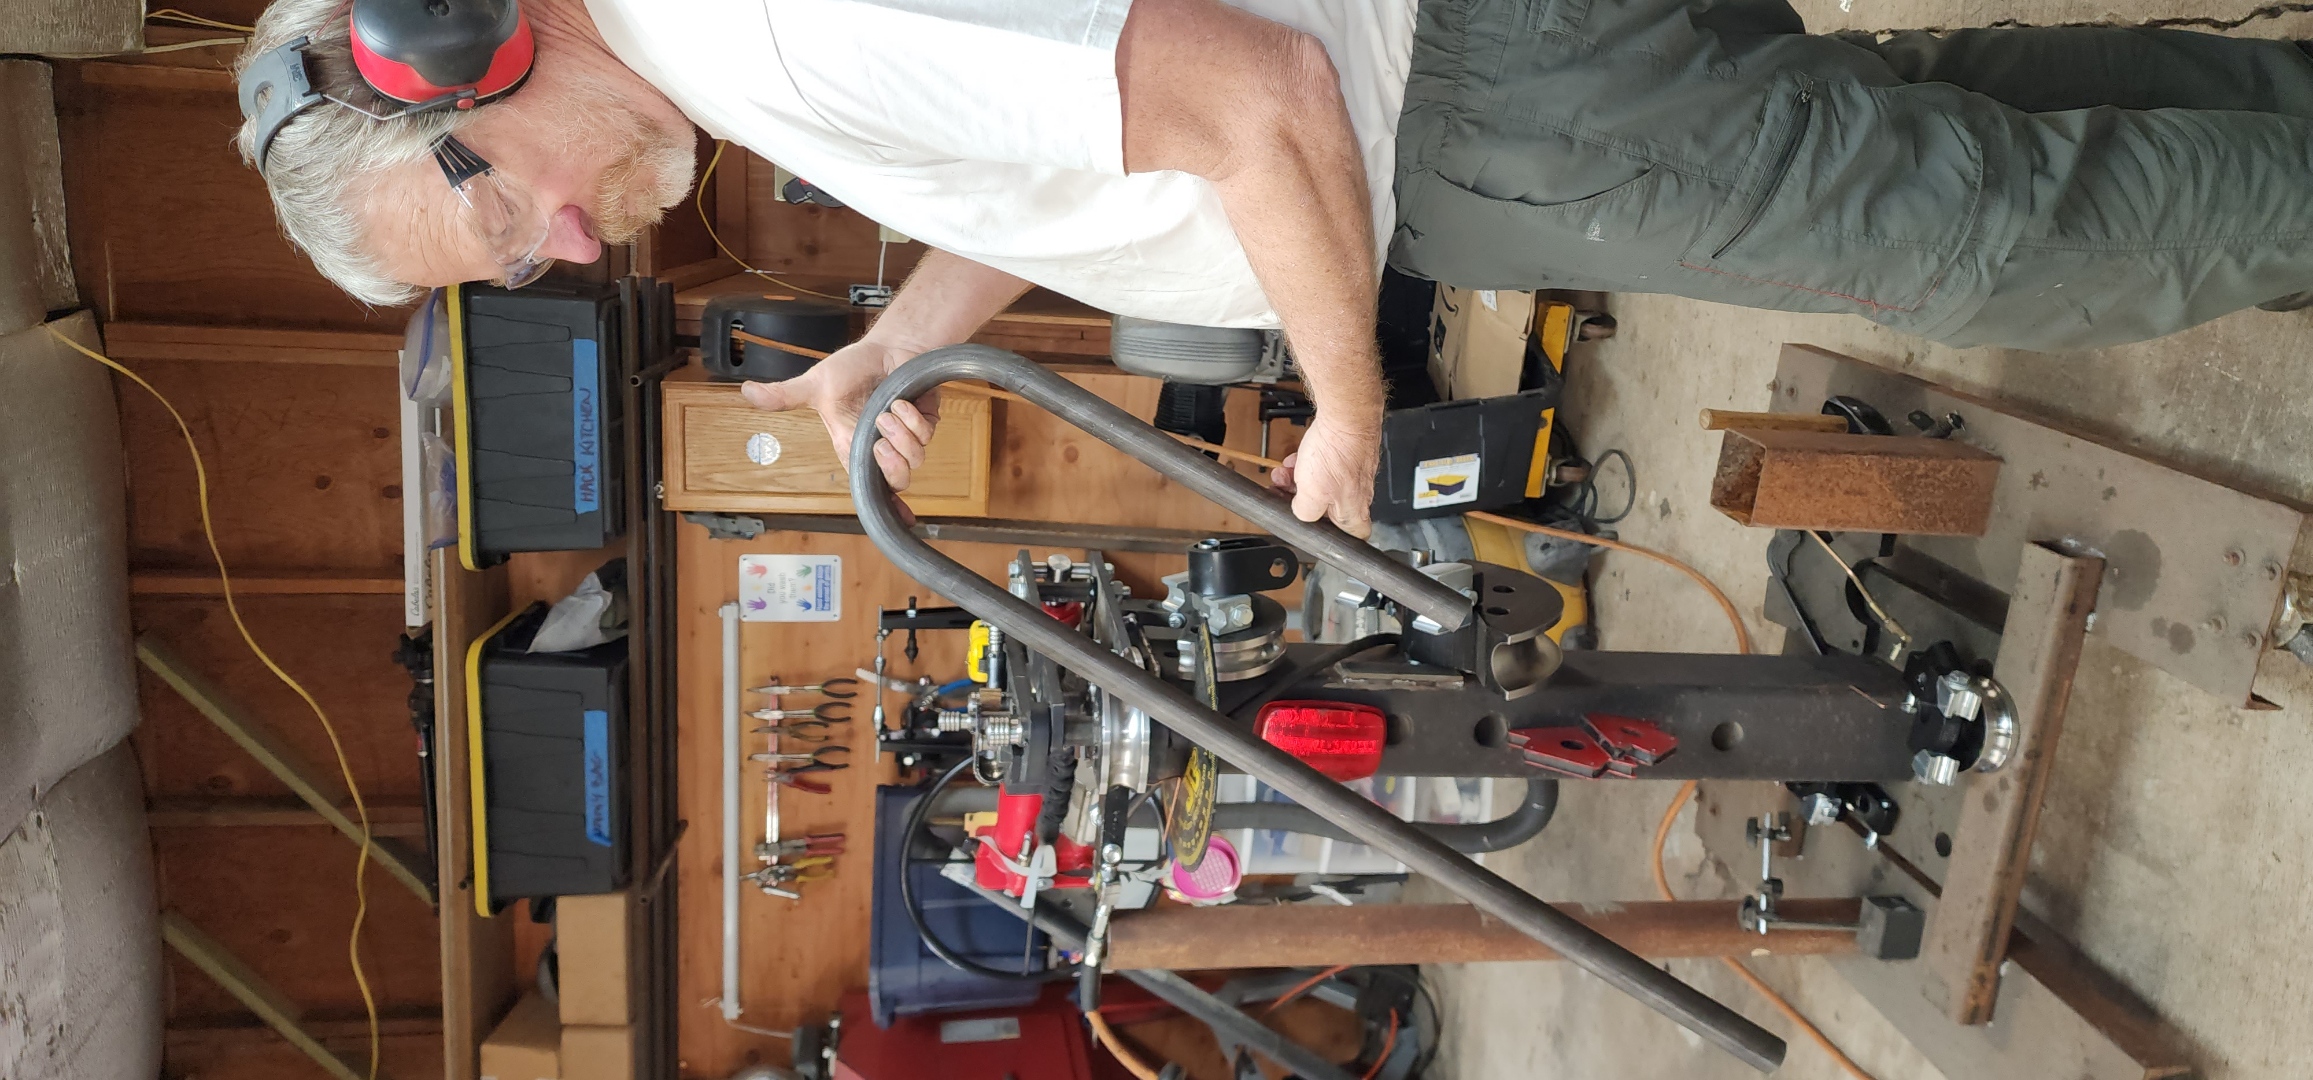
Chuck, bending the new 57mm fork legs, 0.240" DOM wall thickness. Made the tubing bender chug a bit...

Carefully comparing fork leg bends to get them the same! Bike frame has 27.5 degrees of rake, tubes bent to that number for vertical legs at pivot point.
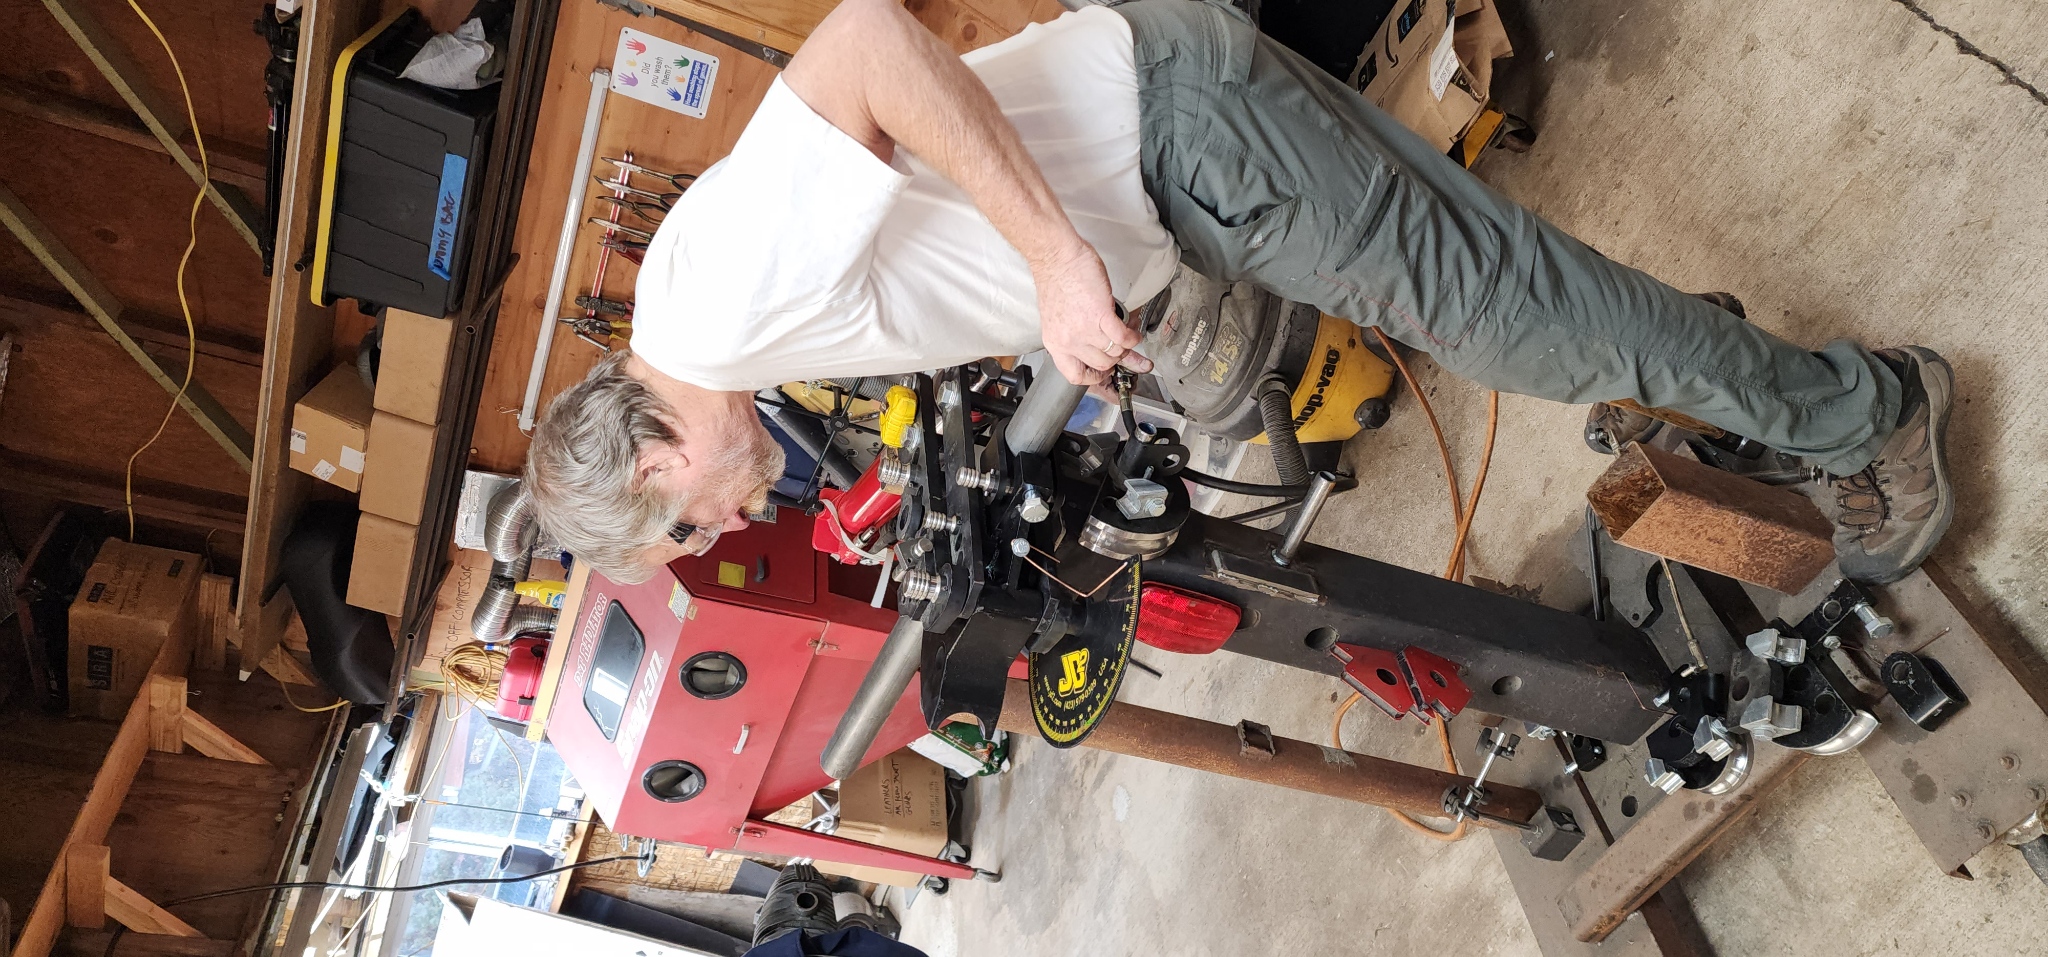
Fancy fork leg ends co-designed by Chuck, a couple of friends and myself to accommodate a greaseable aluminum-bronze 5/8" bushing and thrust-washer system. Welded into fork leg ends, drilled and tapped for grease zerk and grease flow.
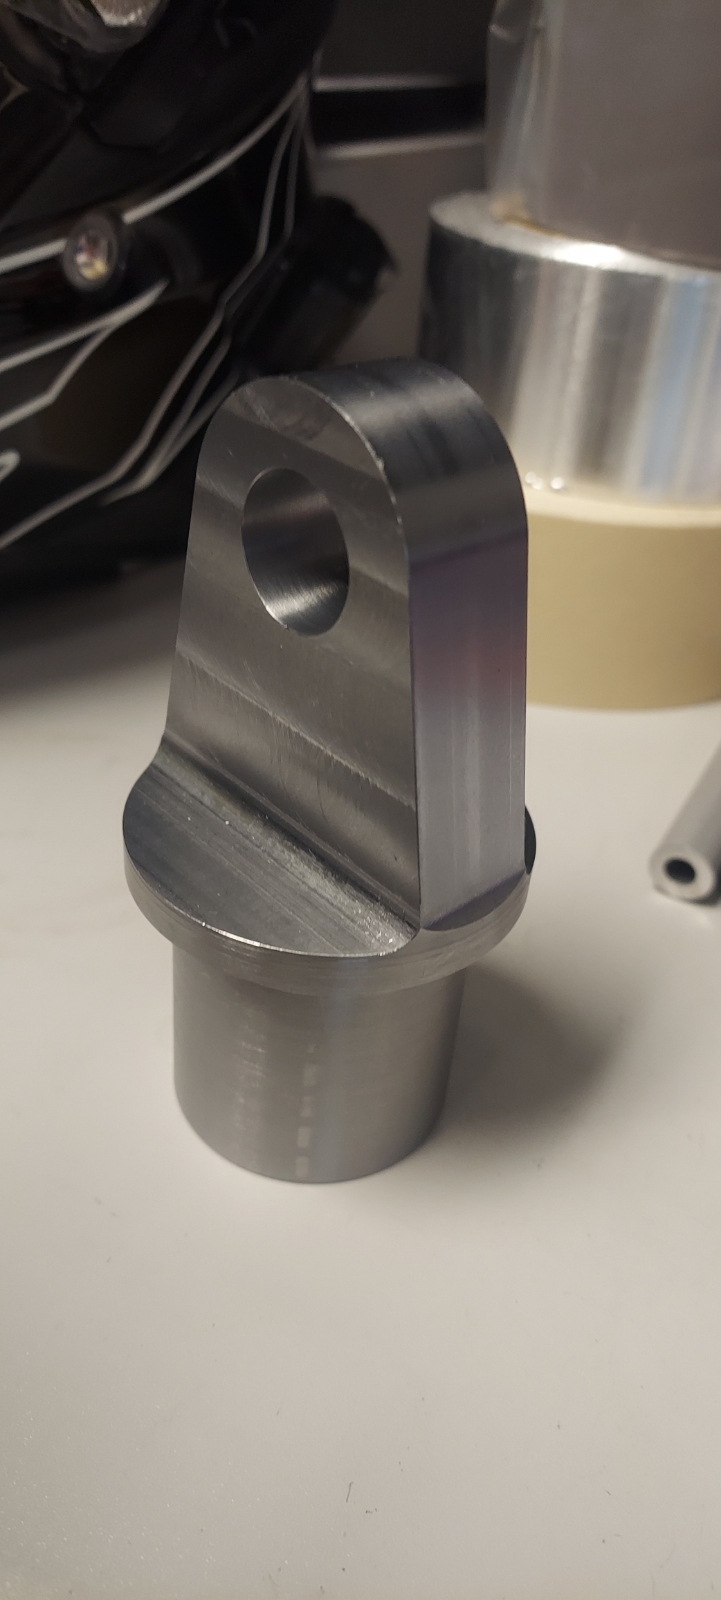
Links to the bushing/washer combination used. I sort of insisted on the greaseable feature, since the rig spends time in the dirt and I think forcing some clean grease through, from time to time, will help keep grit out of the wear areas, to some small extent, at least. No idea how long these will actually last, but they are pretty cheap and easy to replace, when the time comes. Bought spares to start out with.
Swing arm bent up out of 0.188" wall DOM

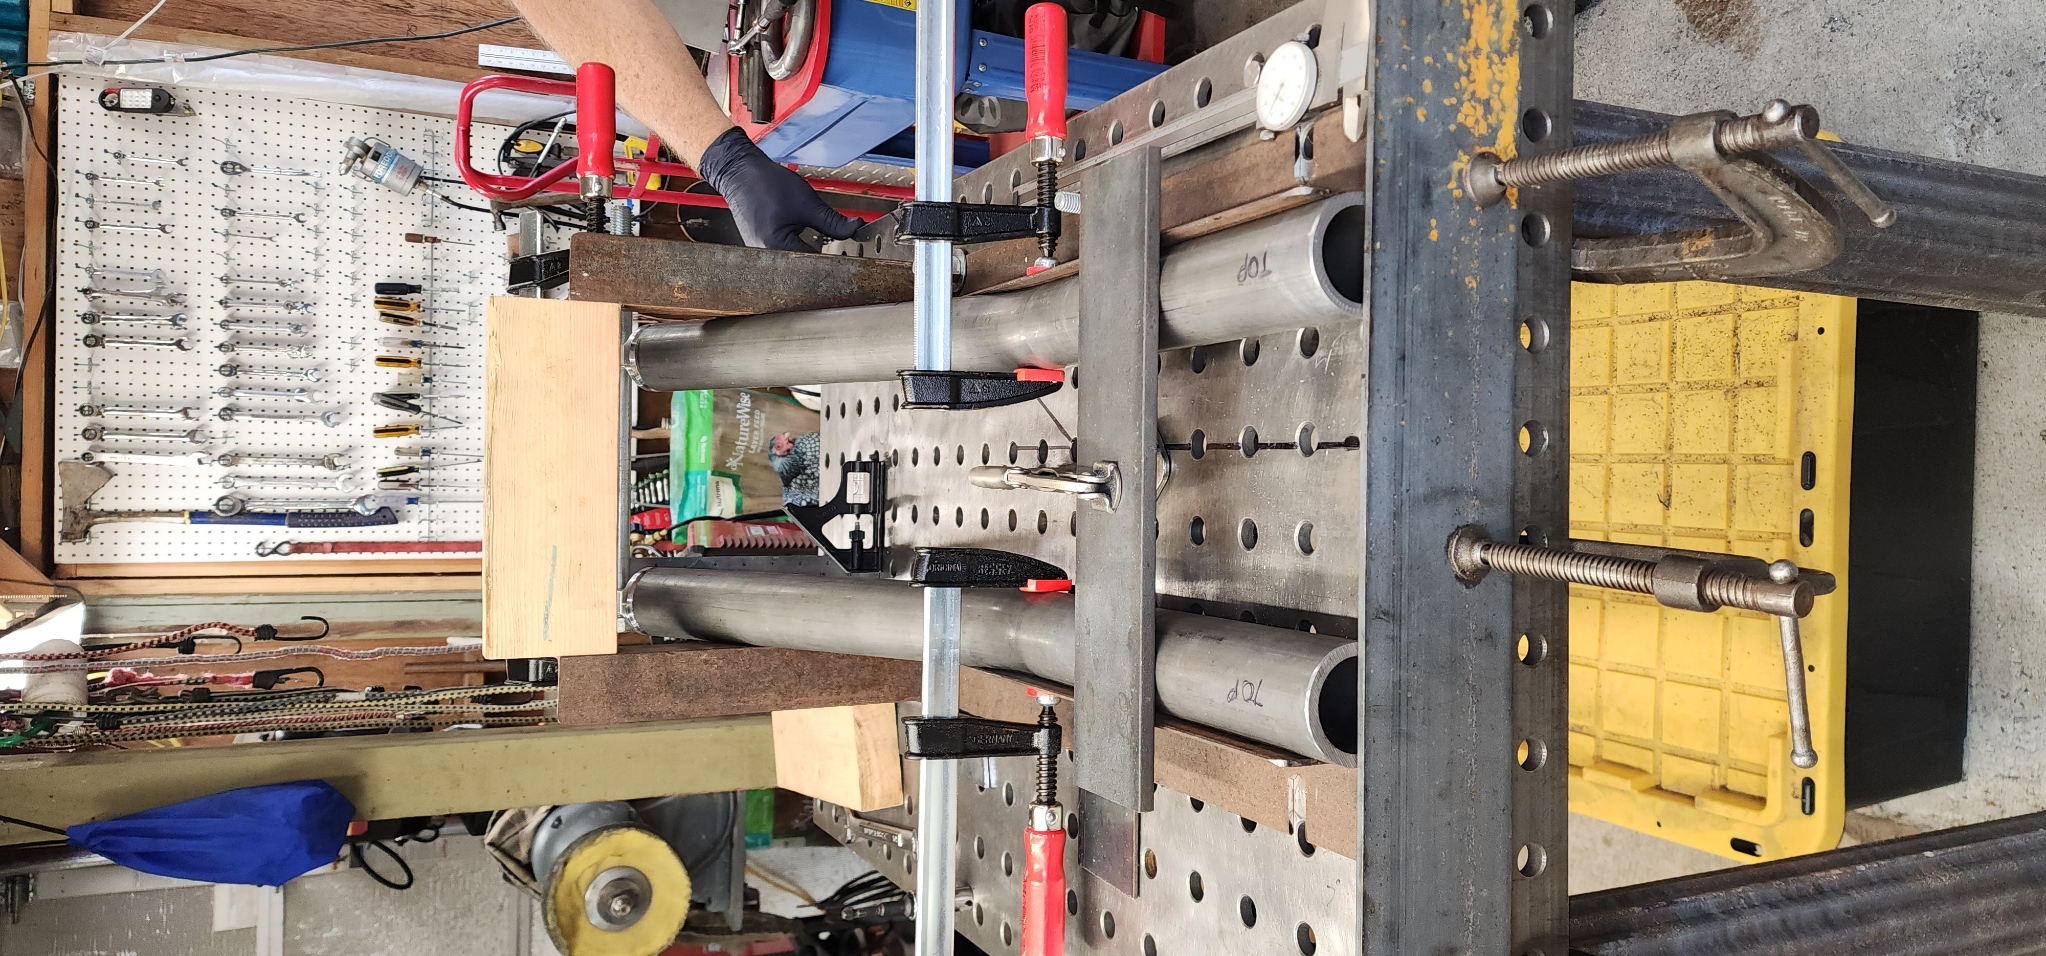
Fork legs clamped up and aligned on weld table.

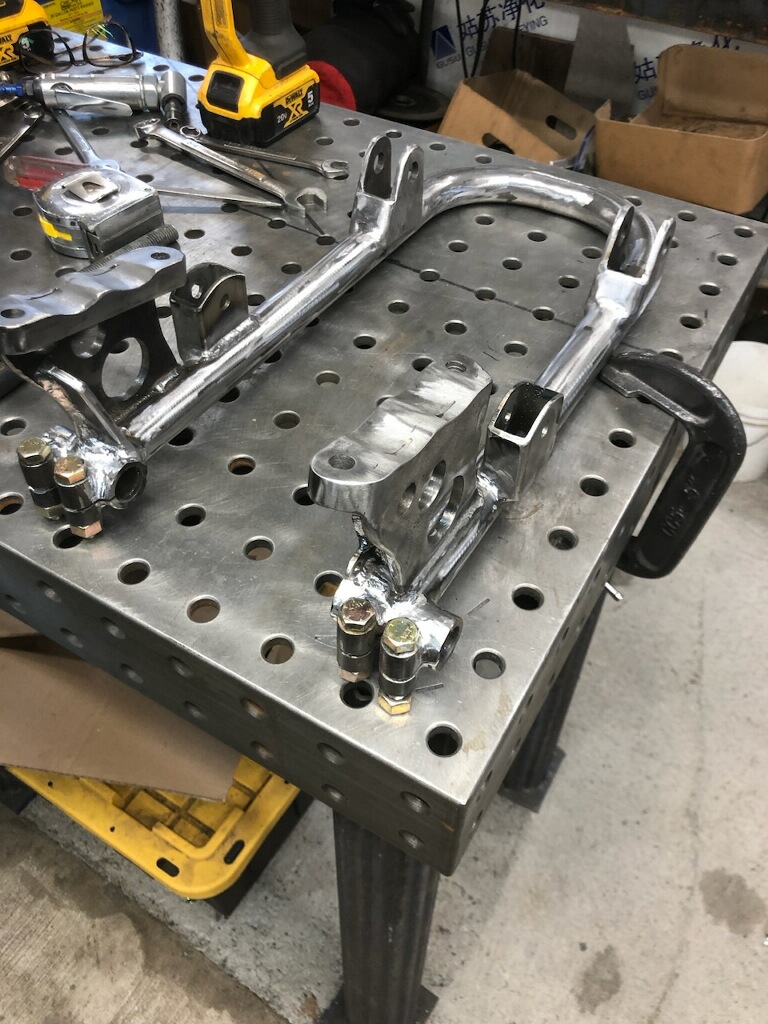
Swing arm with shock mounts and caliper mounts. We elected to not go with a floating caliper design, for simplicity and rigidity. There was some fear that this might induce rising of the front end under hard braking, but this seems to not be the case, after riding it a few thousand miles.

LOT's of test fitting and actuation testing as part of the Work In Progress quality control. Chuck takes this very seriously! It was effective... everything slid into the fork clamps without force or bad language. We did some road tests, pre-brake mount, to test out geometry for trail reduction. Trail started life at 4.4" on the original bike. It has been reduced by almost exactly 4" with this build. Surprisingly, the rig is light steering and not twitchy in the least. Highest speed to date has just touched triple digits (on a closed track of course!)

Fork legs wearing some primer. Timing of my trip up to Eugene was not good with the local power coating folks, so I will get that done later. Chuck painted the forks for rust protection, until such time as I get to tear things down and get them coated. (Likely August, when it is too hot to enjoy riding in the Phoenix Valley!)

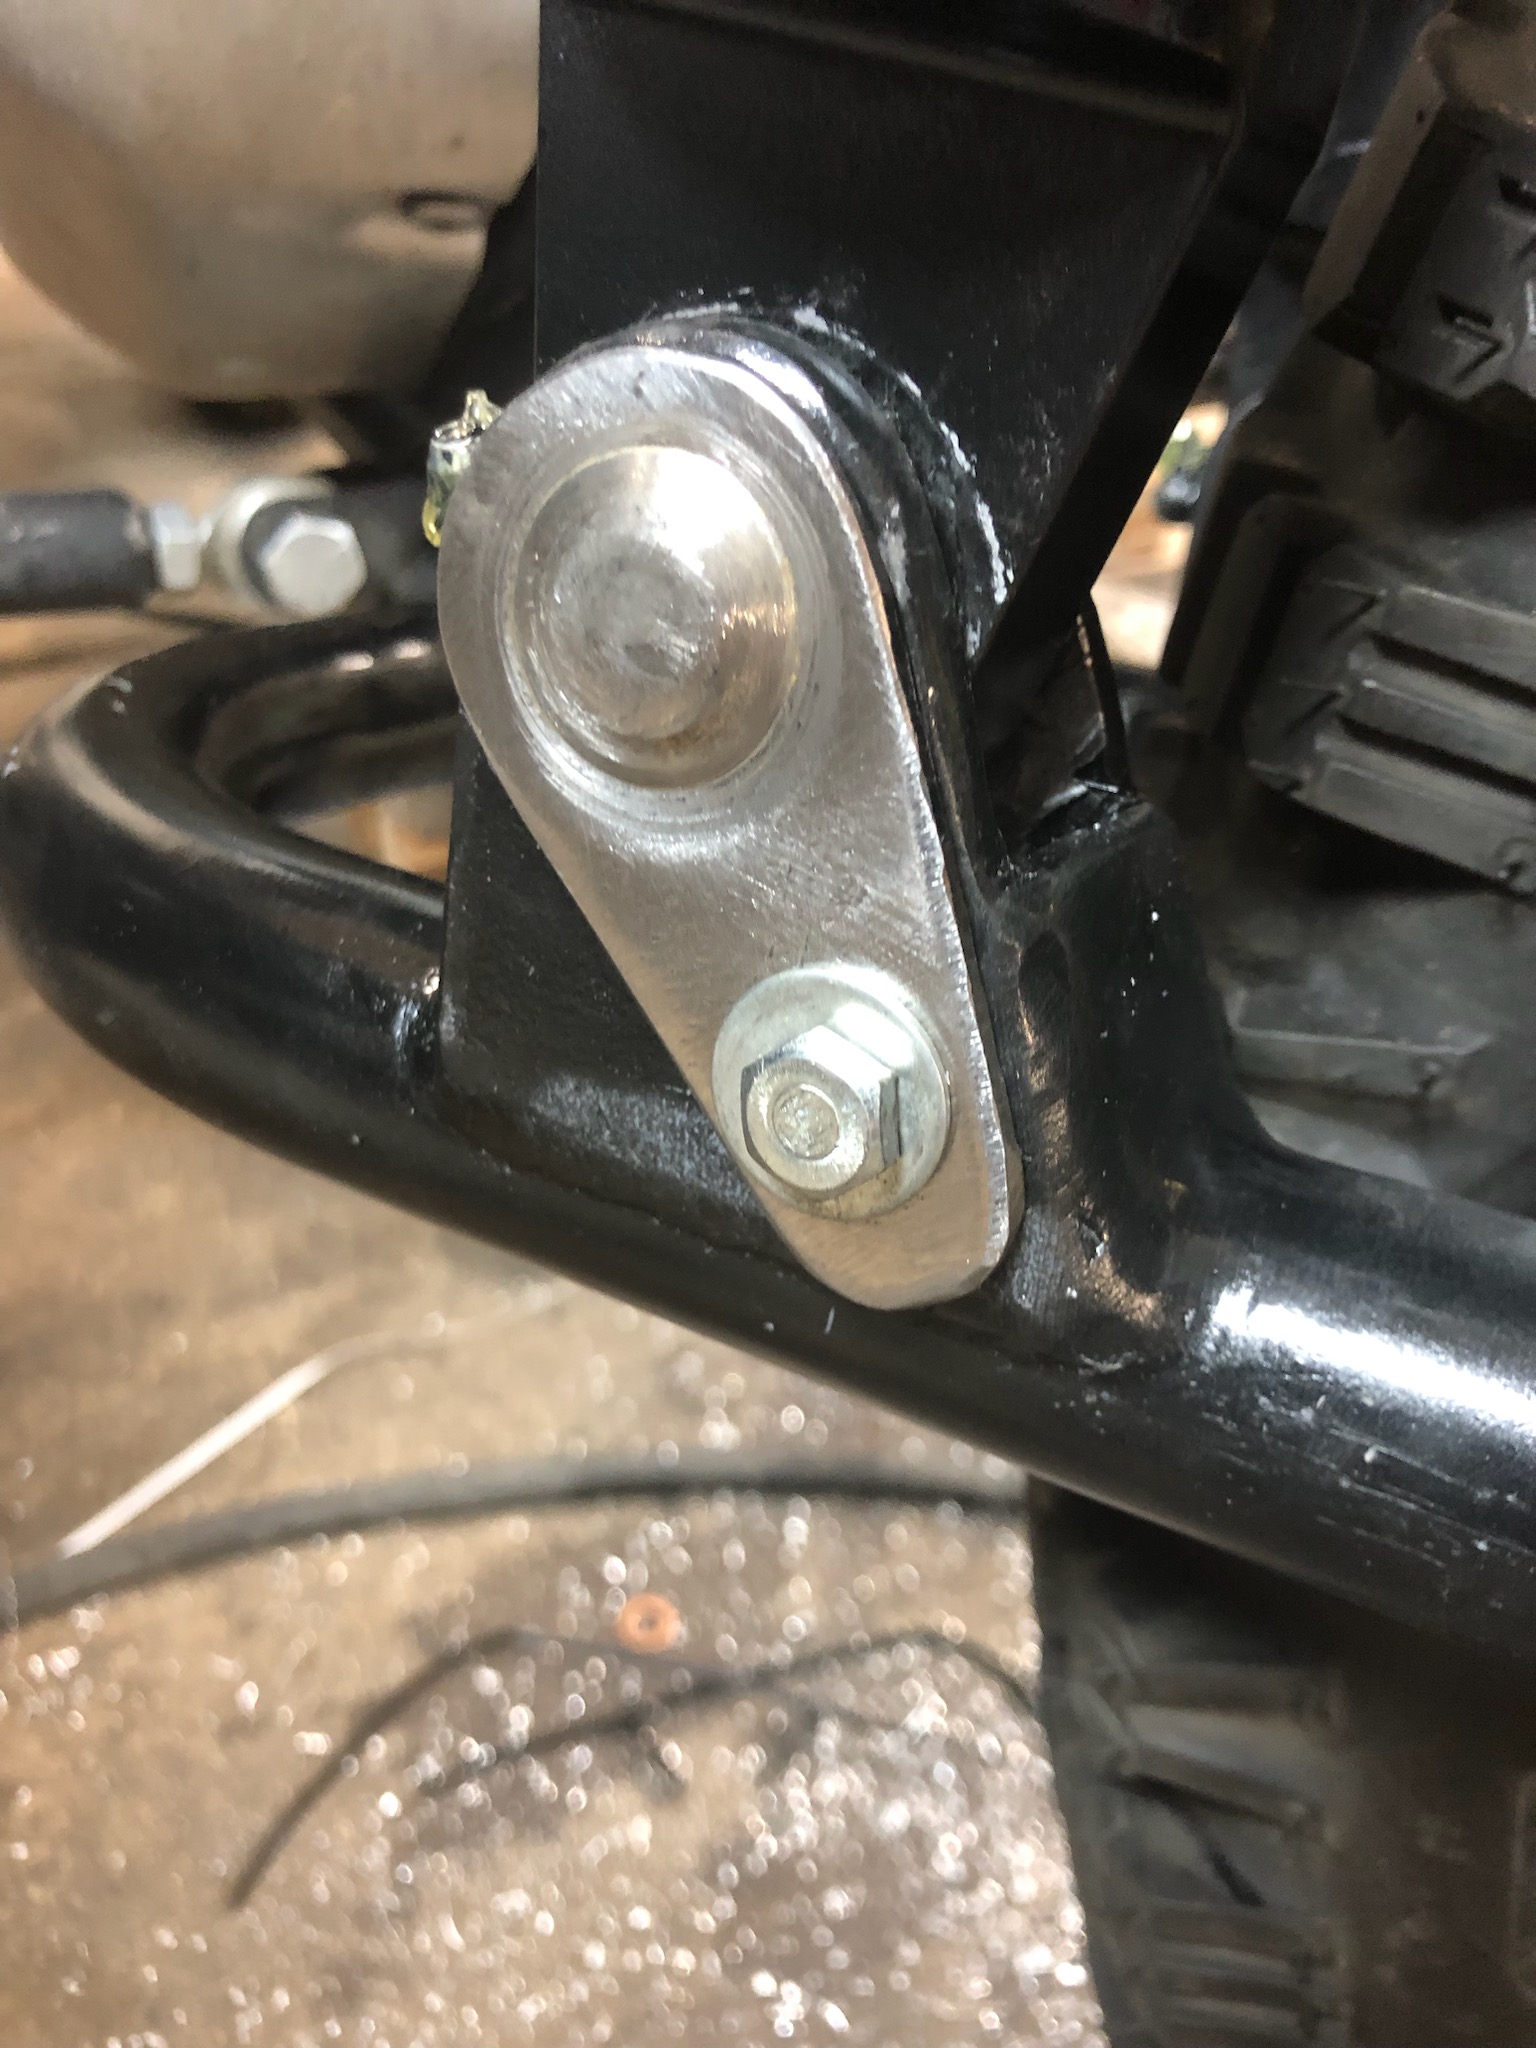
Close up of the nifty pivot bearing shaft and retainer that Chuck designed and built. Easily removes for swing arm removal/bearing service. 5/8" shaft material, polished up nice.
10 picture limit hit, so will continue in a separate post in this thread.


Continued from first post, with a few more pictures:
Apologies for pictures maybe not precisely being in chronological order... I will be happy to answer questions if I left anything important out that you would care to know.
Getting the fork legs to be exactly the same was a key goal that was accomplished: This was done by slow, careful tubing bender operation, with many checks along the way.

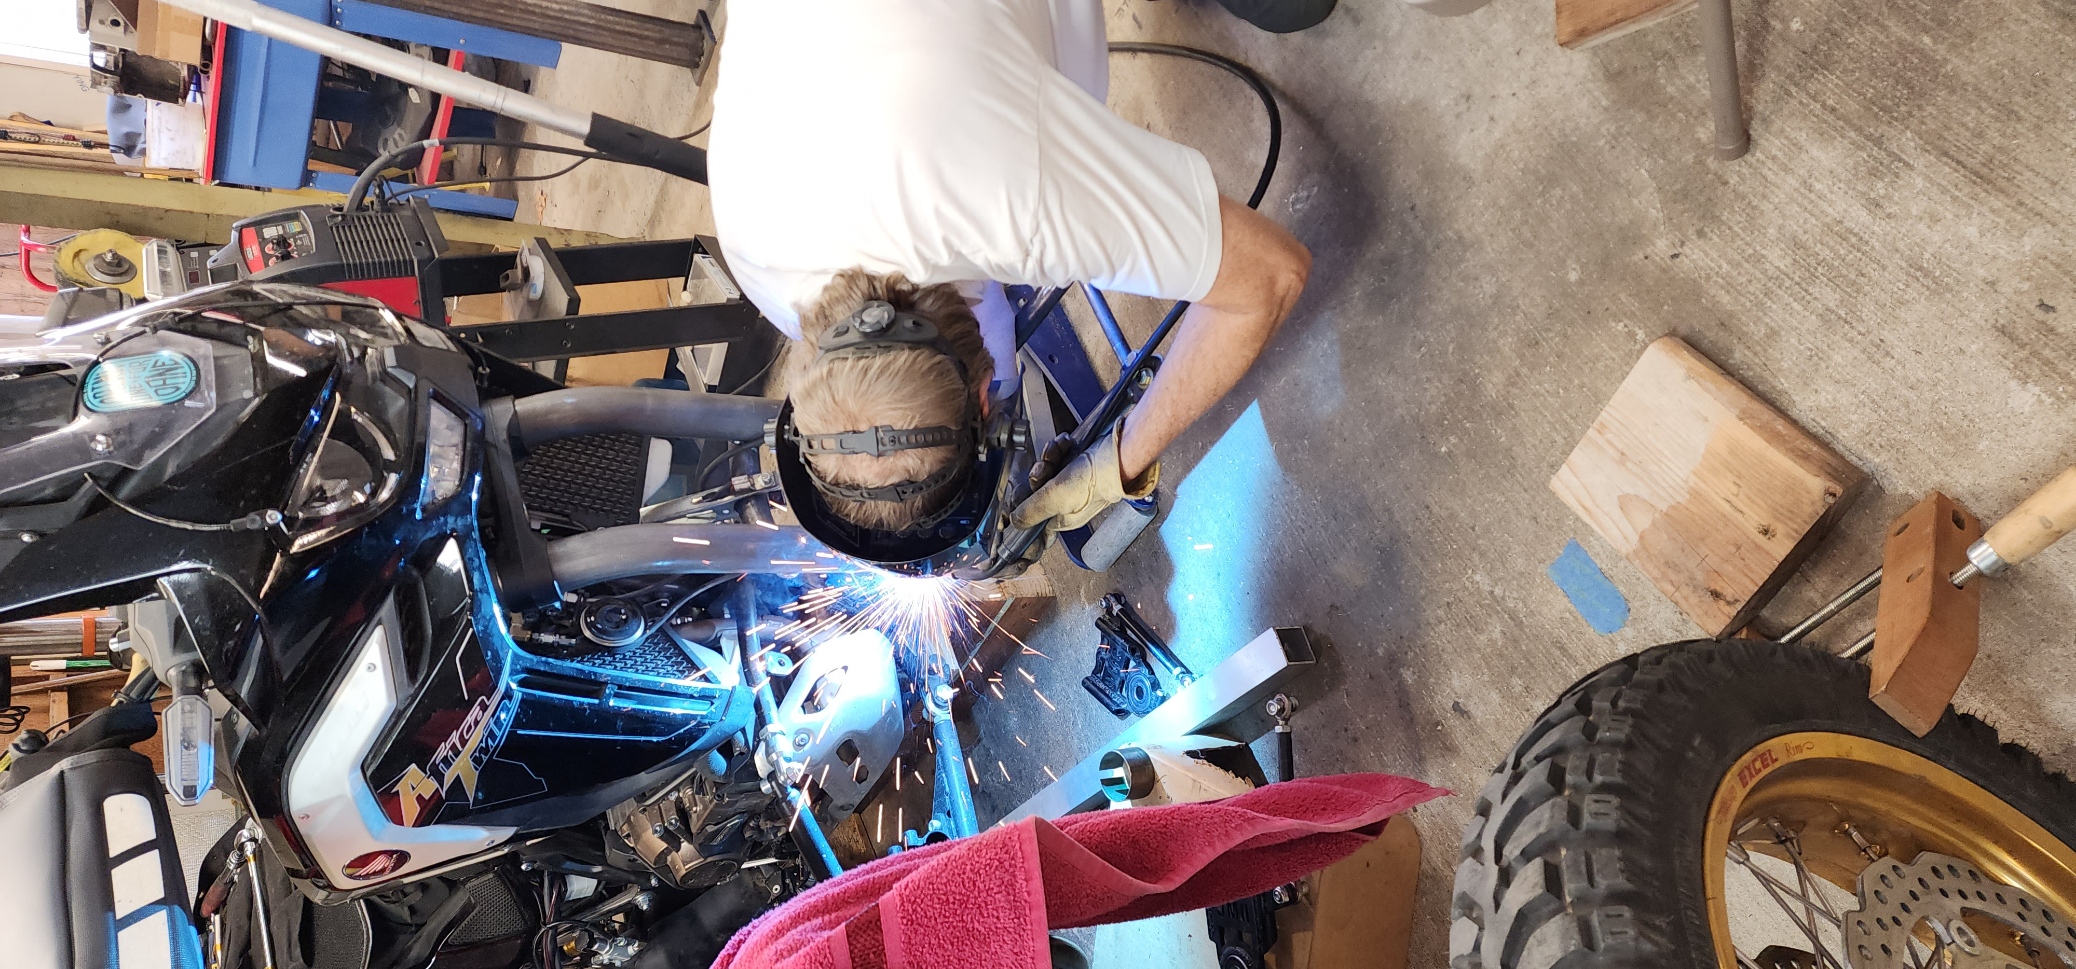
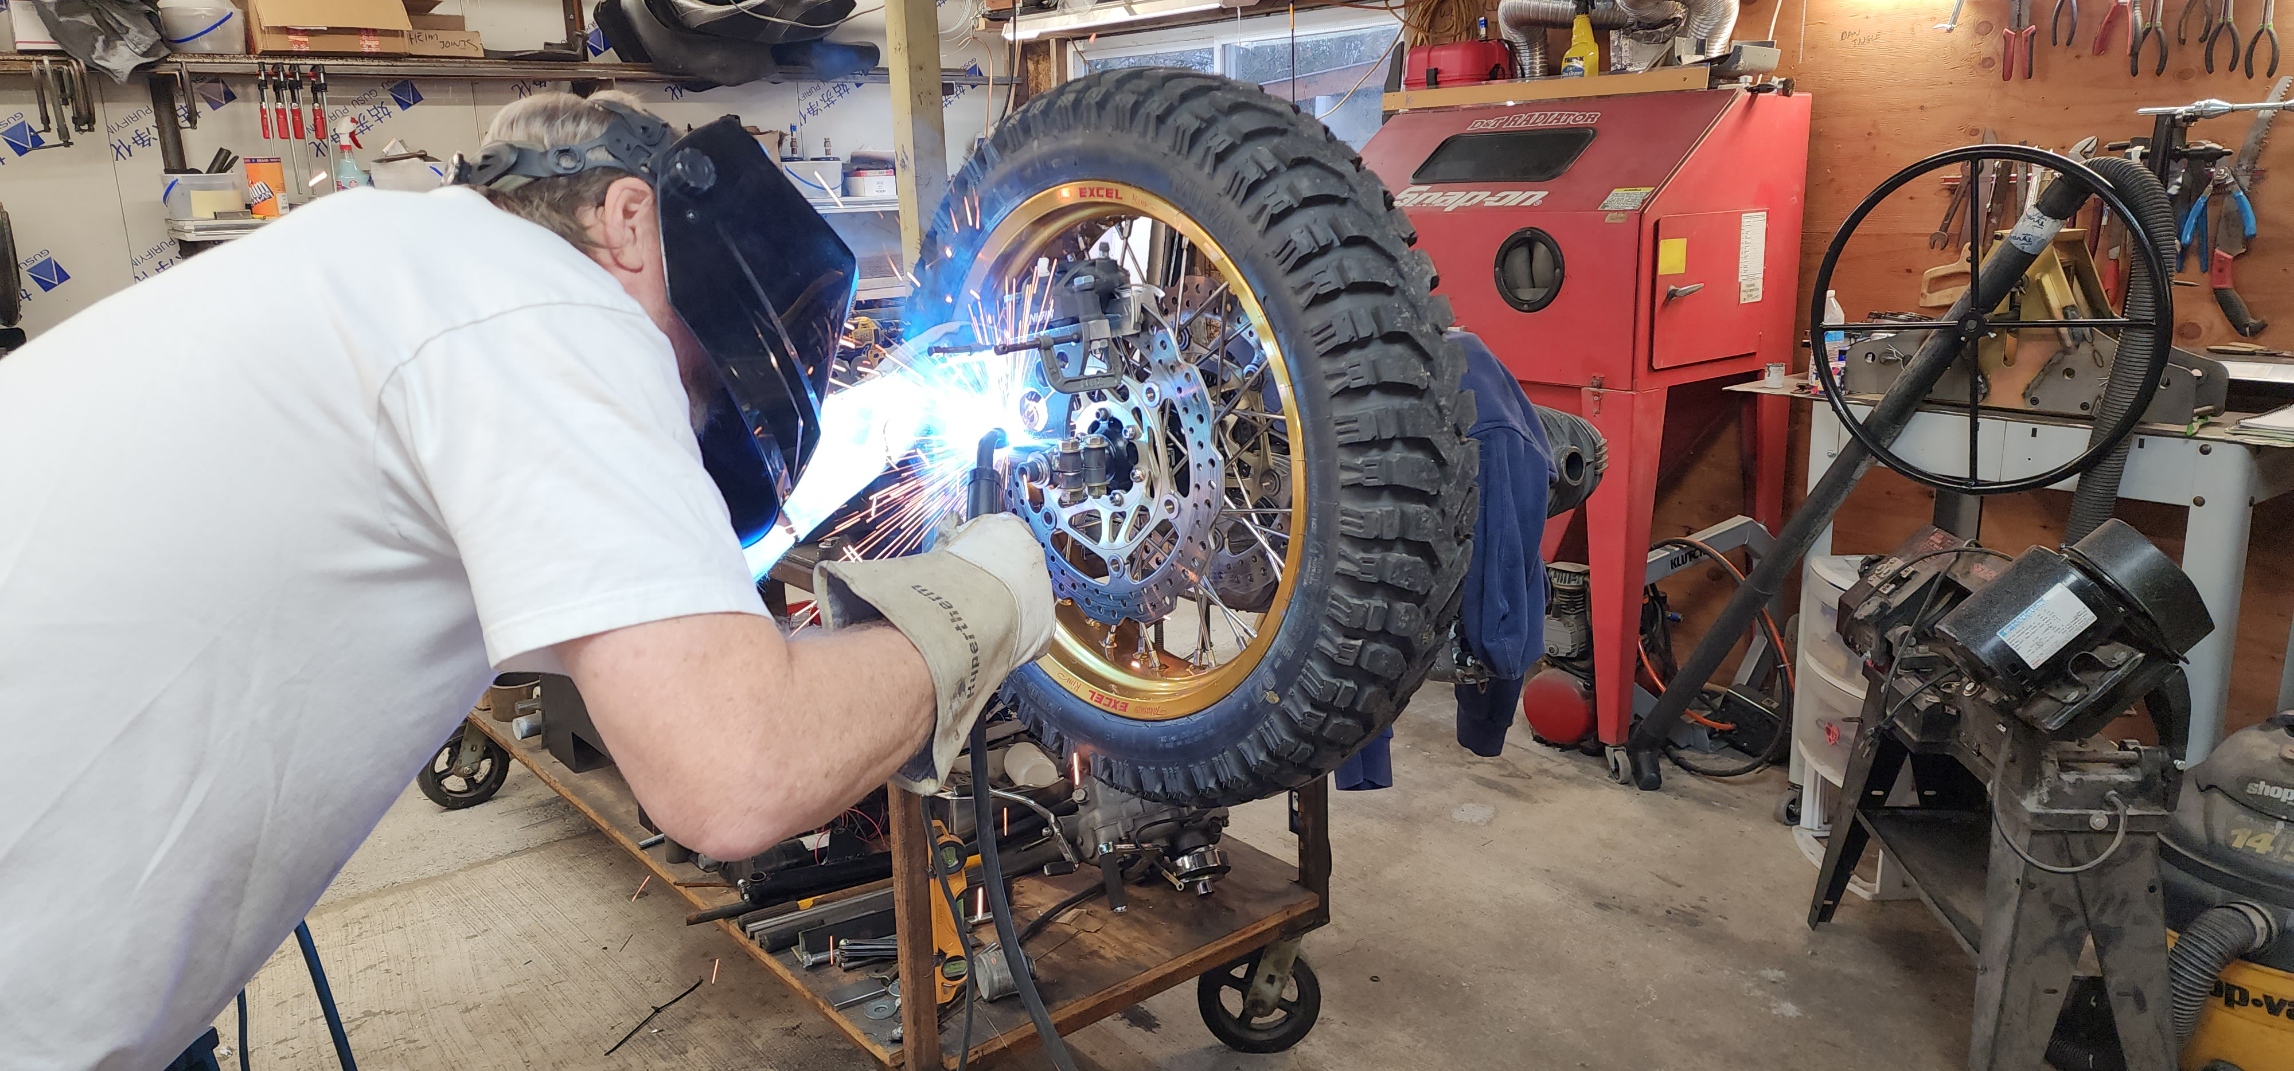
Getting the brake calipers precisely aligned and positioned in relation to the disc rotors was also a key goal that was accomplished. Welding caliper mounts and preventing deformation in the process took a little bit of "art" that Chuck was a master at executing.

Chuck even provided a set of "Guest" welding helmet and ear pro... It was great to be able to participate in the process and learn a little more about metal fab best practices.

Things were tacked in place for low speed test drives to check out steering feel. We had originally thought about two mounting positions for the swingarm pivot attach points, to be able to vary trail reduction. We decided to tack things up and test ride, instead, to get it right.
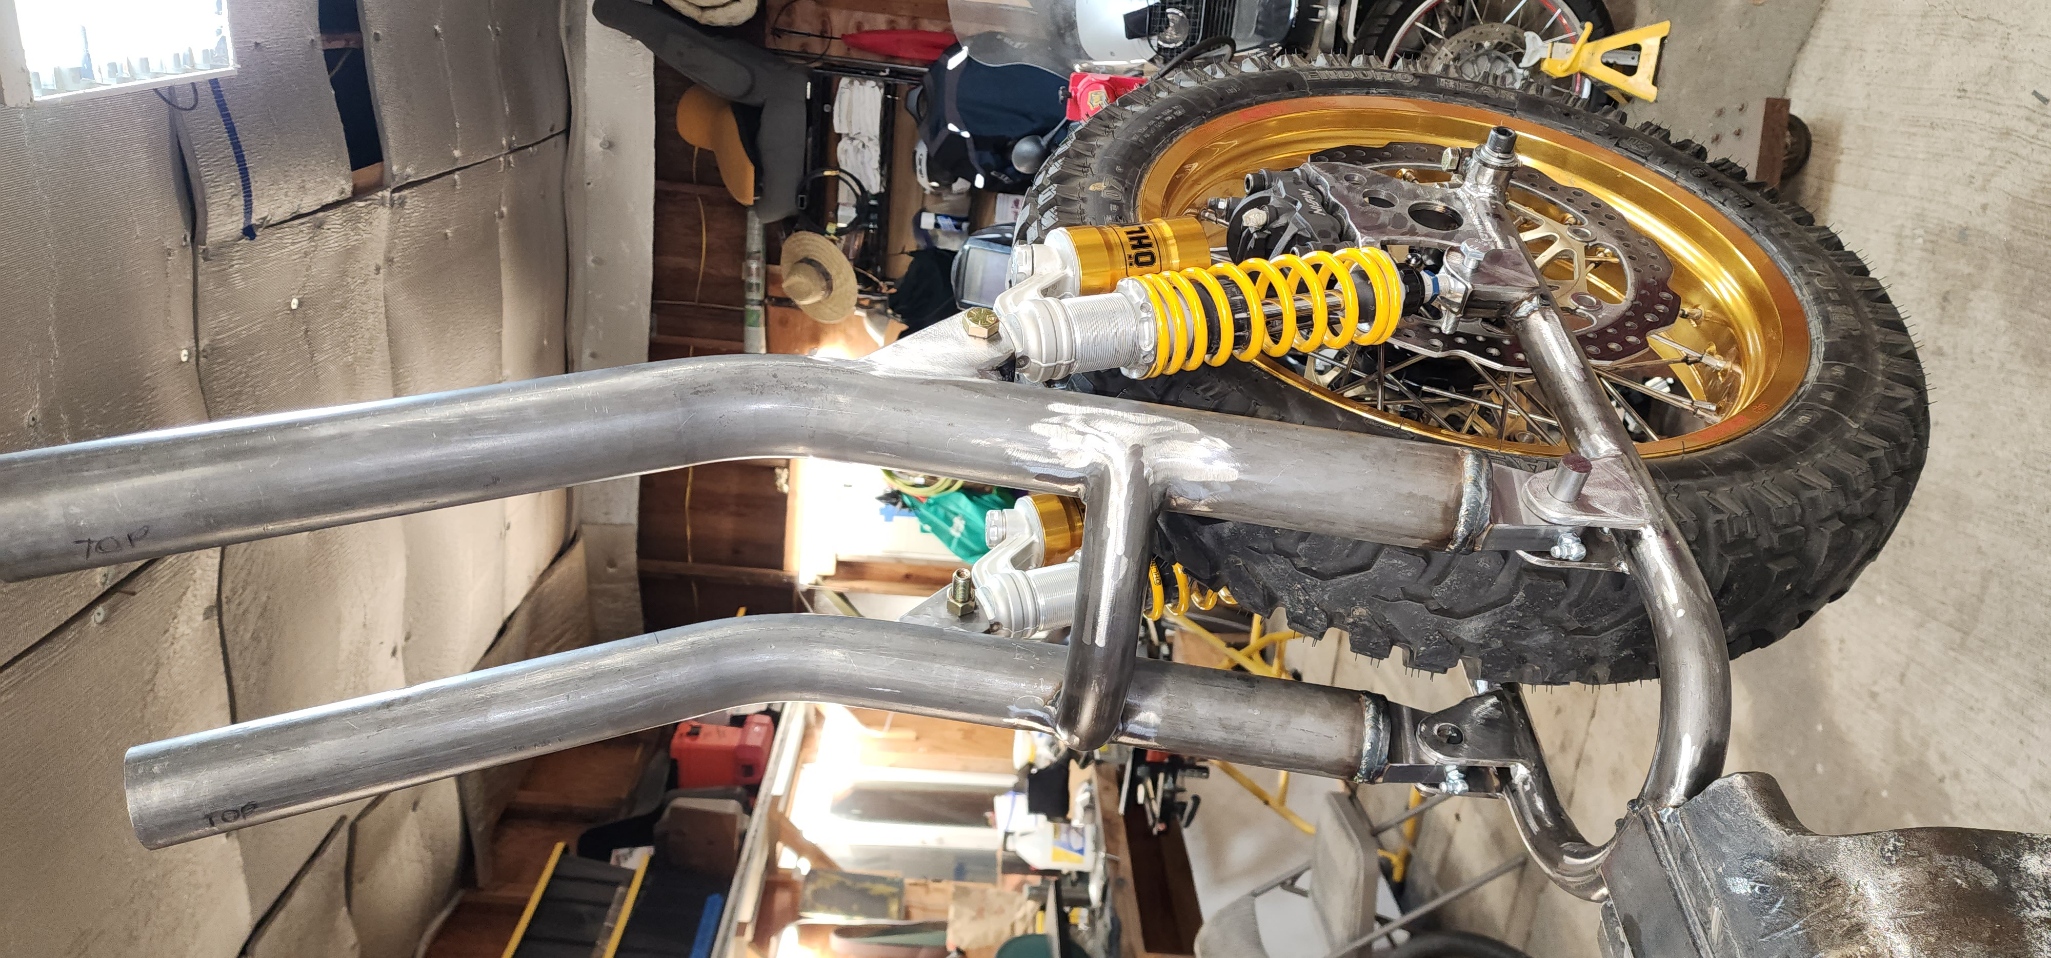
On a stand for convenience. Close up of pivot bearing system, before capping. I like grease zerks... there are many alternatives, but I think for what I want to do with the rig, this system is close to ideal. Note, spring preload is at max, shocks were grossly under-sprung from prior builder; new springs are on their way to correct this.
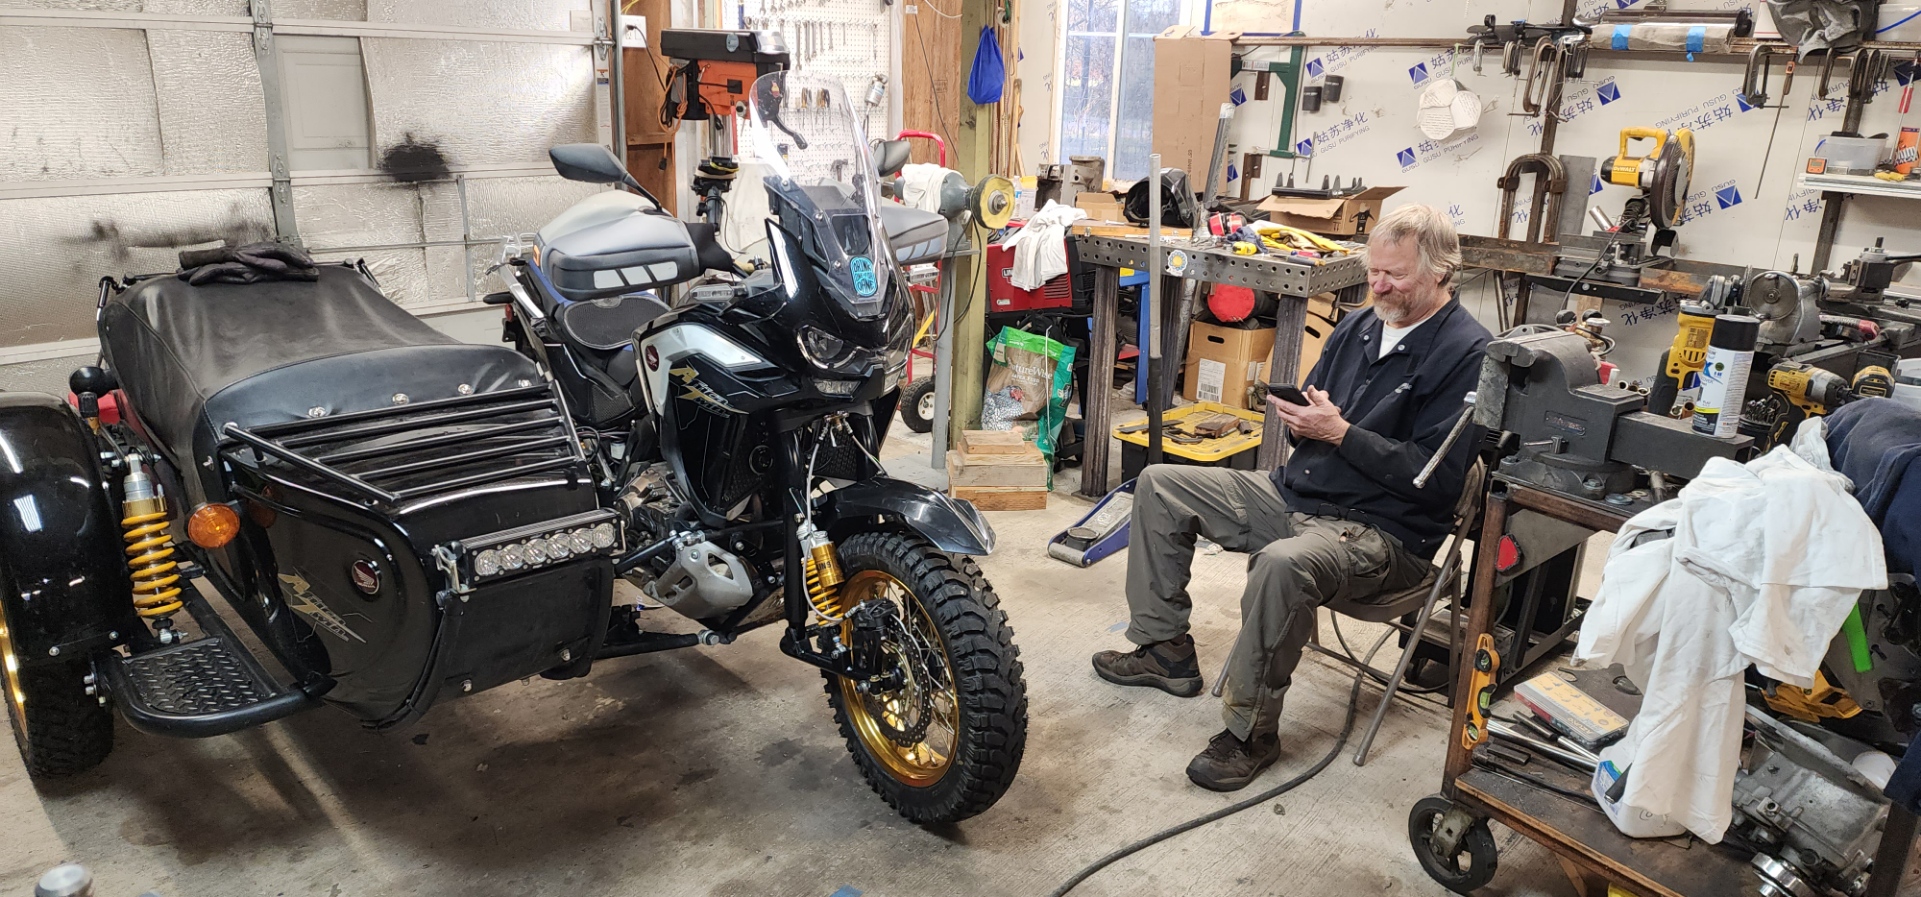
Pretty much as delivered. I will fool with some different brake lines that I will like the routing a little better on; can't look a gift horse in the mouth, though. Chuck pulled these off one of his personal bikes to get me going!

The master finally sits down for a couple minutes after about 20 days straight!

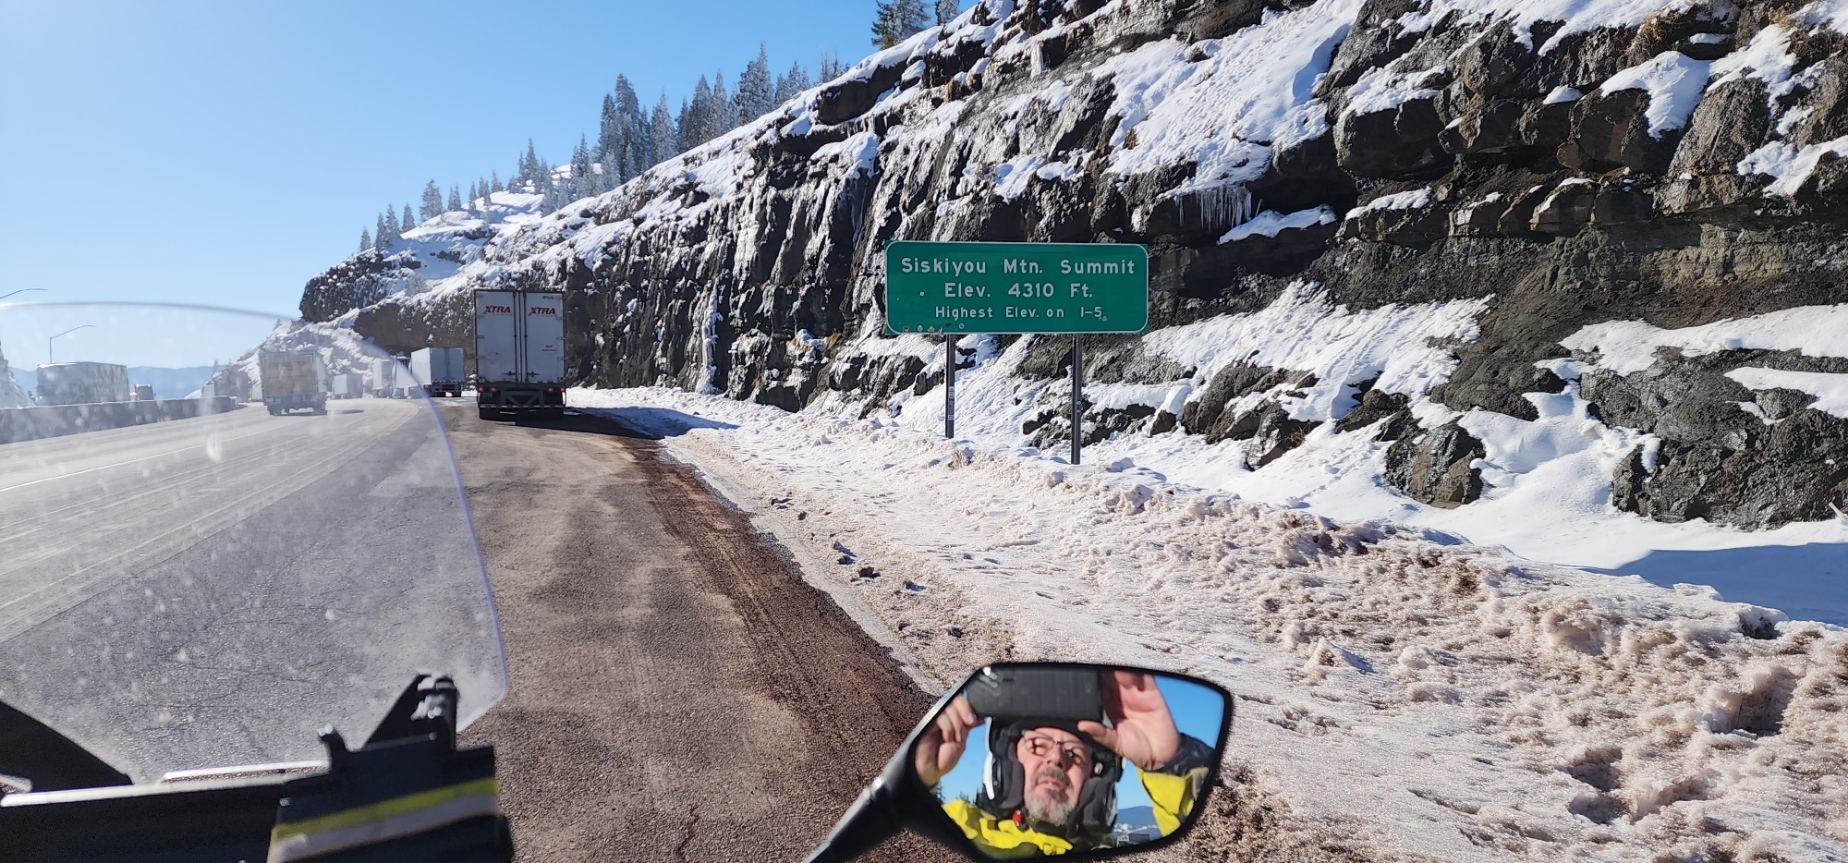
On the way home to Phoenix from Eugene...
Back again, ready for adventure.

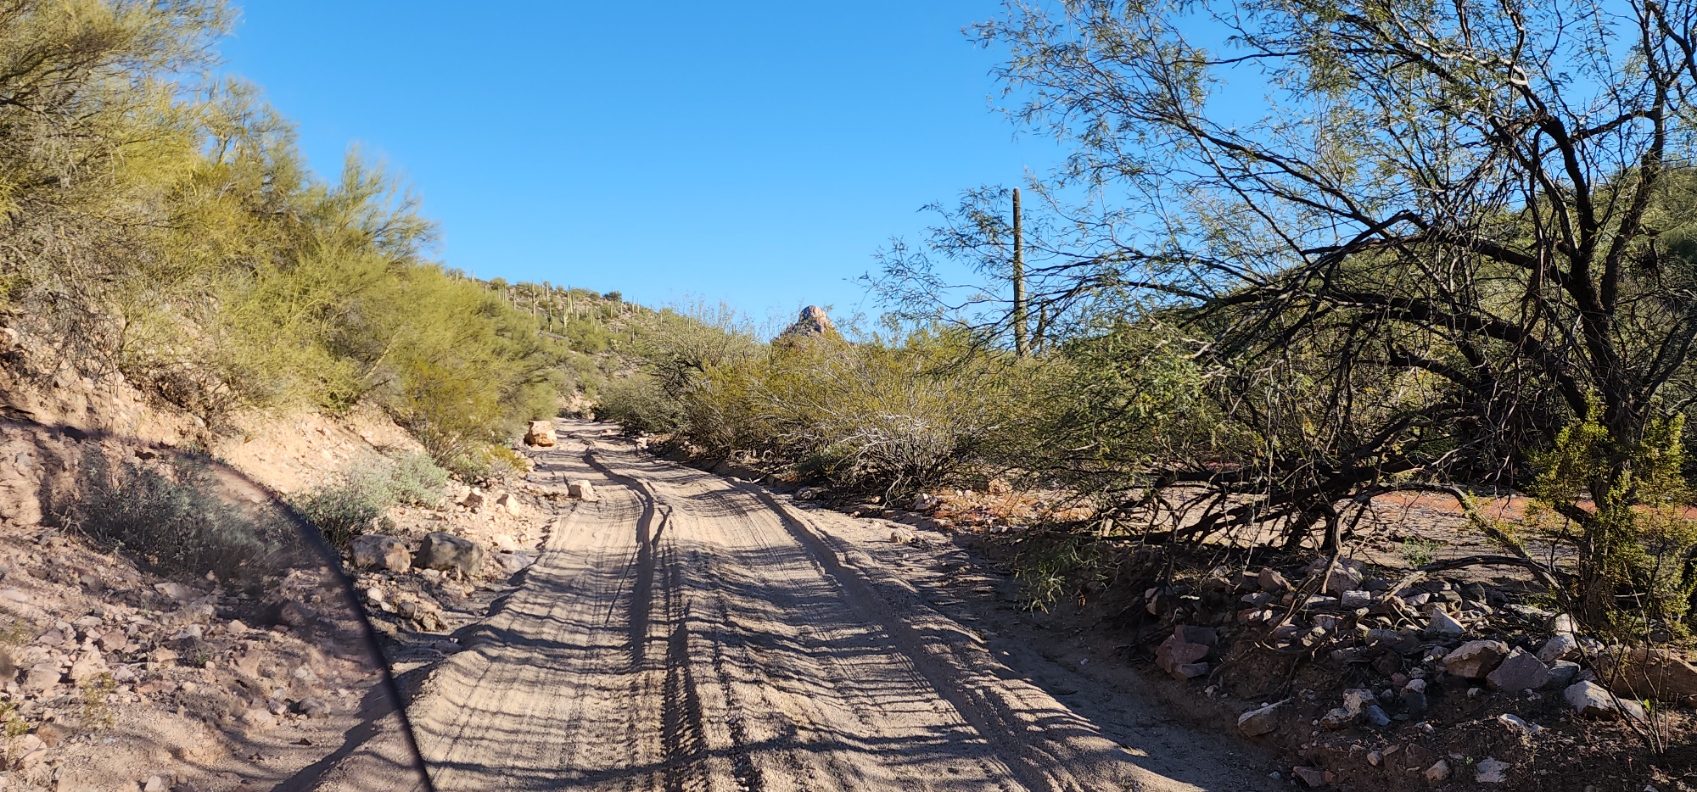
Black Betty gliding through her native element!

I guess, in conclusion, I ended up with a great leading link front end, tailored to how I want to run my rig. I cannot thank Chuck enough for taking the time to "get it right!"


Nice write up Dane. A couple of months and I will be getting mine built.
Dana
