The 2026 Sidecar Rally registration is now open! Click here: USCA 2026 Rally Registration Form
Originally written by Wngnut on 7/20/2009 7:04 PM
Tonight, My lovely wife
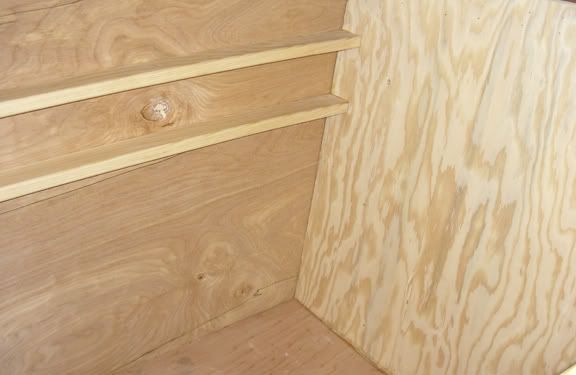
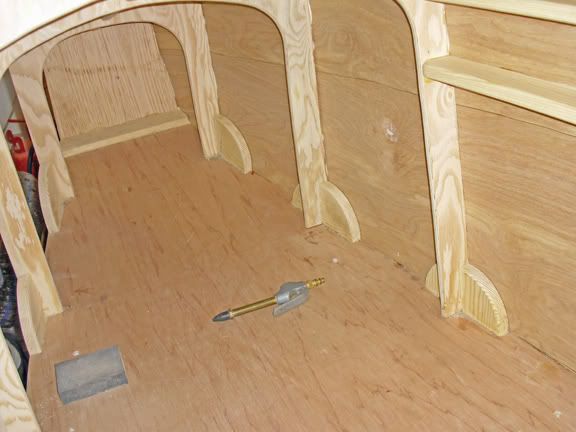
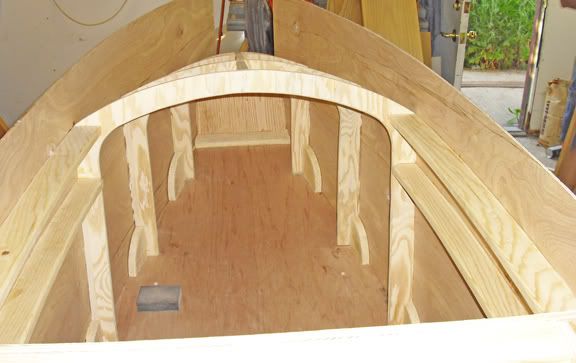
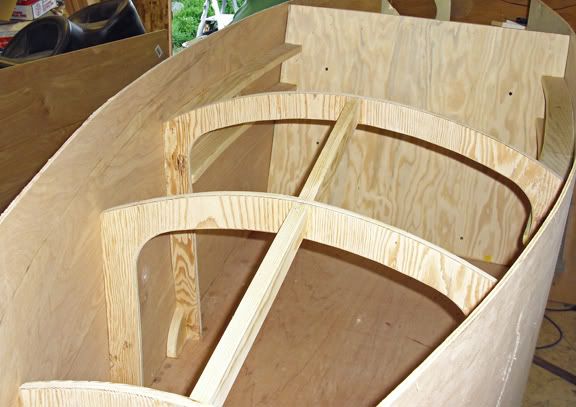
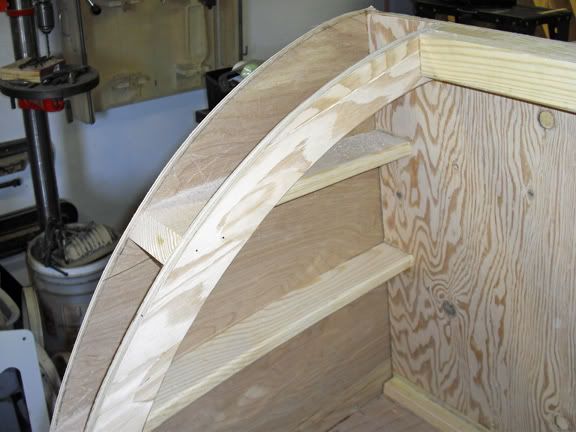
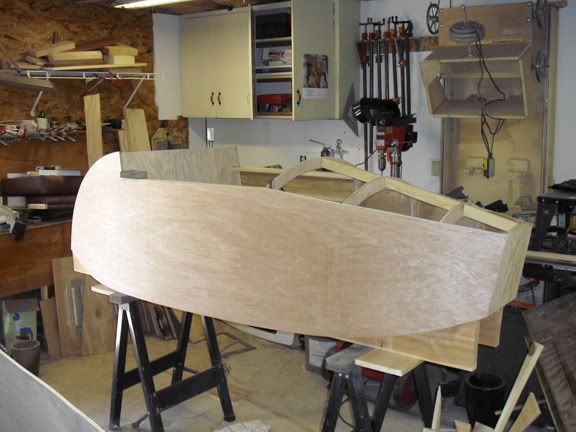
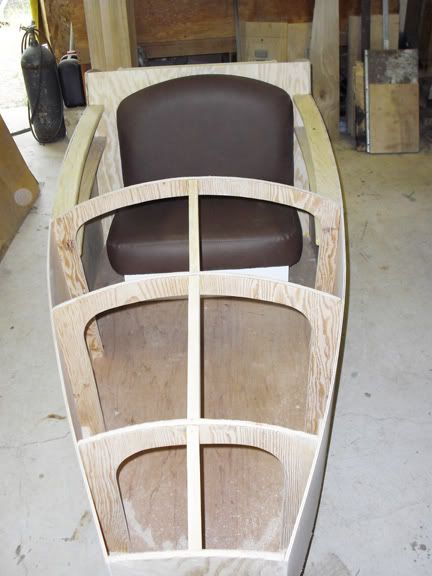
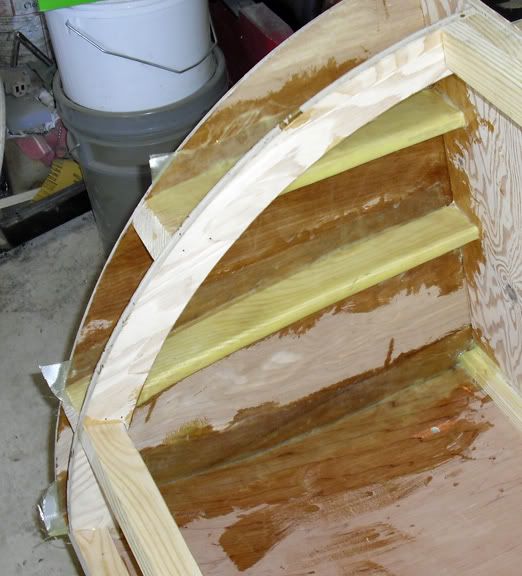
came out to help me finish sanding the body's frame down. It took us about two hours. I was going to seal all the wood before I stuck on the plywood skin, but I think I'm going to wait till after I get the sides on. My thinking is the glue will soak into the pores of the wood better. Making a stronger bond? Sounds good anyway. A buddy is coming over tomorrow to help me cut out the sides and glue them on I'll try and take plenty of pictures.
Have you considered using screws to hold the skin on along with the glue? That's the way the British built their monocoque fighters and bombers. A notable example was the twin engine Mosquito Fighter-Bomber. It had more than a hundred thousand brass screws holding the plywood skin to the wooden frame. It was one of the few all wood aircraft of WWII.
If you are going to glass it over anyway, the screws will give added strength since glue joints can let go under vibration and undue stress.
There I go again, making more work for you. LOL.
I had thought of brass tacks. Even bought some. But I really don't want to do that much work. I'm going to glass all the inside seams . Where all the gussets meet the skin, all corners, everywhere that needs reinforced. It should make things really strong. I've thought about using a few tacks to hold things while the glue sets up. Then pull them. I think I've read they do some boats or airplanes maybe? To save on weight? I'm not worried about that, I just don't want to ruin anything. Glue and wood is kind of a permanent thing. It's hard to unglue wood.
if you use that Monkey Glue (Gorilla) it won't come apart, that is some mean stuff, if you do it will set a lot faster if you dampen the surfaces before applying the glue and don't use too much cause it will foam and the residue is hard to remove, really hard.
Originally written by Wngnut on 7/20/2009 8:53 PM
I had thought of brass tacks. Even bought some. But I really don't want to do that much work. I'm going to glass all the inside seams . Where all the gussets meet the skin, all corners, everywhere that needs reinforced. It should make things really strong. I've thought about using a few tacks to hold things while the glue sets up. Then pull them. I think I've read they do some boats or airplanes maybe? To save on weight? I'm not worried about that, I just don't want to ruin anything. Glue and wood is kind of a permanent thing. It's hard to unglue wood.
Of course, the glue won't come loose. However, since you are using plywood, there is a possibility of delamination if the thing runs into something. I hope that never happens but the weight of a few screws would not be significant, especially given the fact that you haven't gone light on the frame at all.
I'm just sayin'.......
That's looking really GOOD Wes, might want to put some wood on the internal braces in the front section so feet and other things don't get snagged and strengthen the first rib so a hand hold could be applied if nessessary,with the lid off it would be easy to do,,,just a thought.
Very exciting progress Wes. You've got hundreds of people looking over your shoulder, waiting for the next step. No pressure.
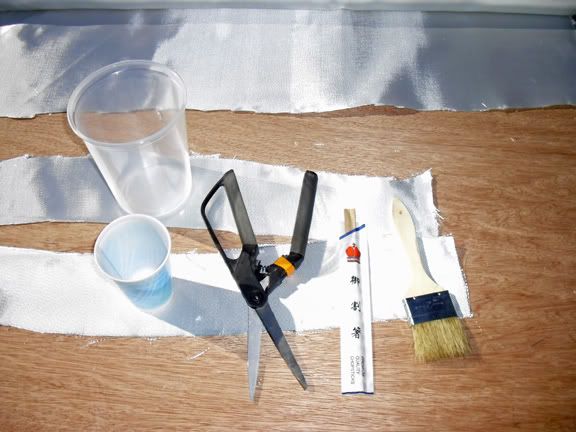
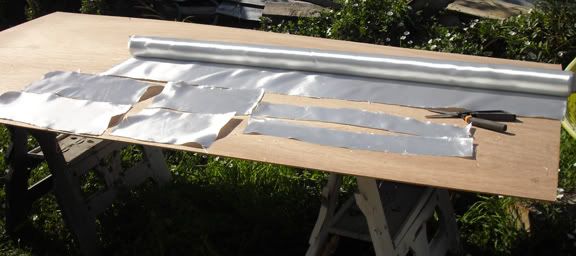
I like your idea of glassing the gussets for strength, but that looks like a tedious and noxious job. Do most of the interior glassing before the lid goes on and save having to squeeze into such a small space.
Here's a picture of my "Cobbercycle" also built out of plywood. The bottom and sides are 3/8 inch. Too thick. I started work on a differnt body a couple weeks ago out of 1/4 inch luan plywood so I could bend it more. I am trying to get it to look like an old wooden boat.
I let my daughter paint the C on the hood as she was a student at Concordia College and my bike is close to the school colors. I'm driving the Director of Alumni Relations in the homecoming parade last fall.
Tom
Nice car! Looks like she was having fun:o) Make sure you post some pictures of the construction. I'd love to see it.
thanks
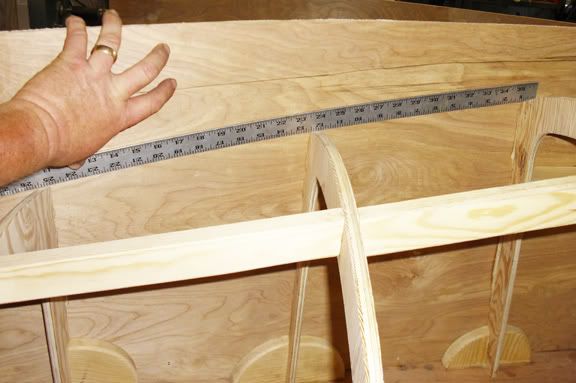
I used a straight edge to mark my lines that I wanted to cut.
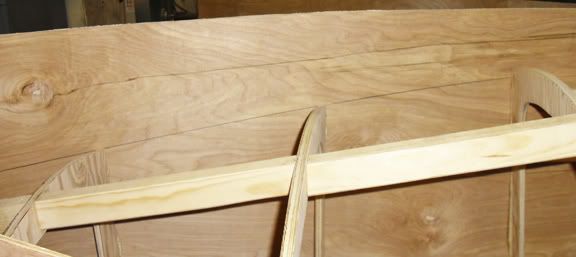
I then used a small drill bit and drilled a hole about 1/4" above the line and connected the dots on the other side. This gave me a cut line.
After I cut off the excess, I just sanded down to the line with a belt sander. Here I have a little left.
The good. We got the timing covers, oil filter cover, oil fill plug, And bottom radiator hose thingy all polished up. I got all that put back together. I finished welding up the exhaust and installed it. I even welded some fancy hangers on so it wont bounce around:o) We started the bike and it sounds really good!!! I can't wait to hit the road!!!!!
The Bad, The water housing leaks. Grrrrrrr! I'll have to get a new O-ring. Have to go to the local dealer. Grrrr! I bought a rear wheel tire conversion. The drive side bearing is loose. No big deal, I'll just sleave it. The drive flange on a 84 wont fit over the wheel. Grrrrr! I'll have to find a flange off of a 86 or 87 I think? Hopefully the splines are the same.
I'm still plugging away. I finally found an O-ring for the radiator thingy. Those shocks I bought were missing a plastic feral. I ended up replacing the plastic T, that came with the shocks, with a brass one. I have the fake tank back on. We have the front end nearly back together. The paint turned out good. A buddy is going to pinstripe it for me. I'm going to put the back tire and saddlebags back on this weekend. I should have the bike on the road tomorrow /
Pretty!
- 29 Forums
- 11.9 K Topics
- 93.5 K Posts
- 3 Online
- 5,624 Members


