Skip to content
Notifications
Clear all

My '81 CLE Rebuild Finally Done!

17 Posts
5 Users
0 Reactions
522 Views
(@willy-g)
Posts: 33
Eminent Member
Topic starter
 

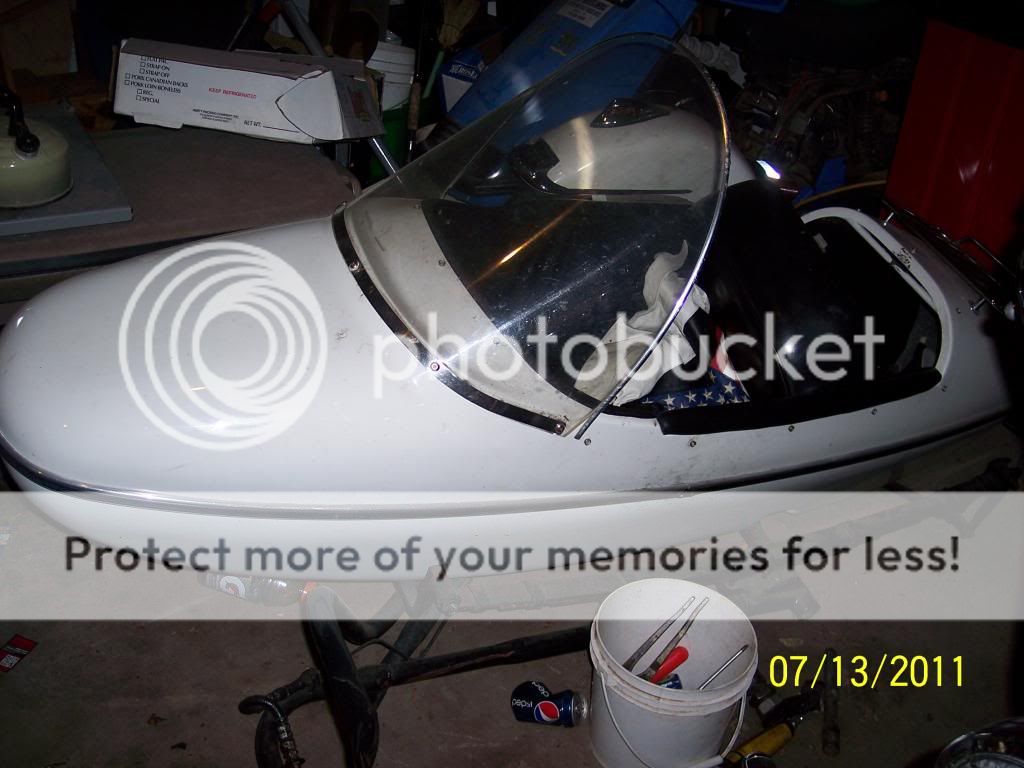
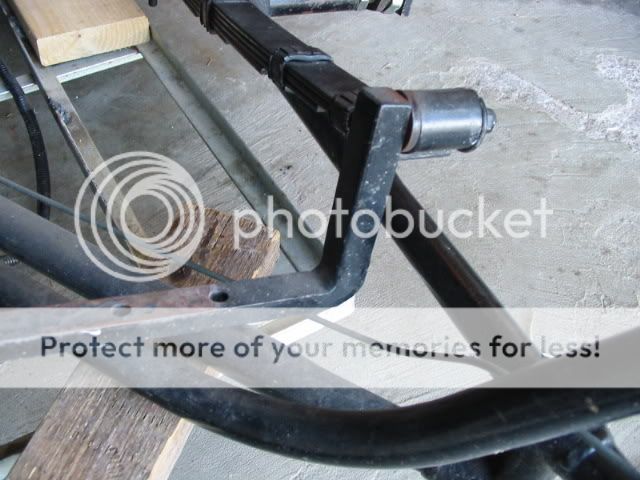
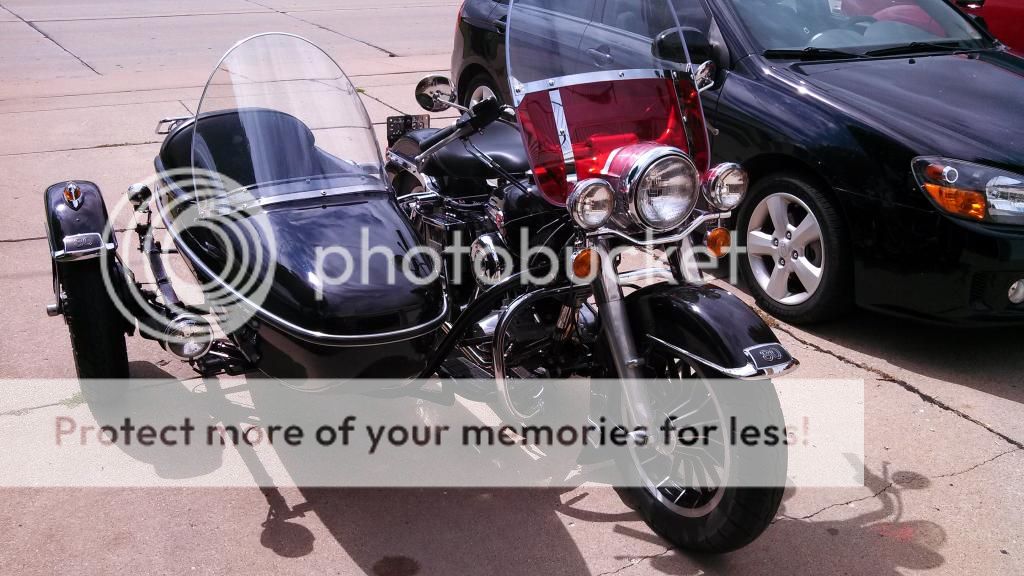
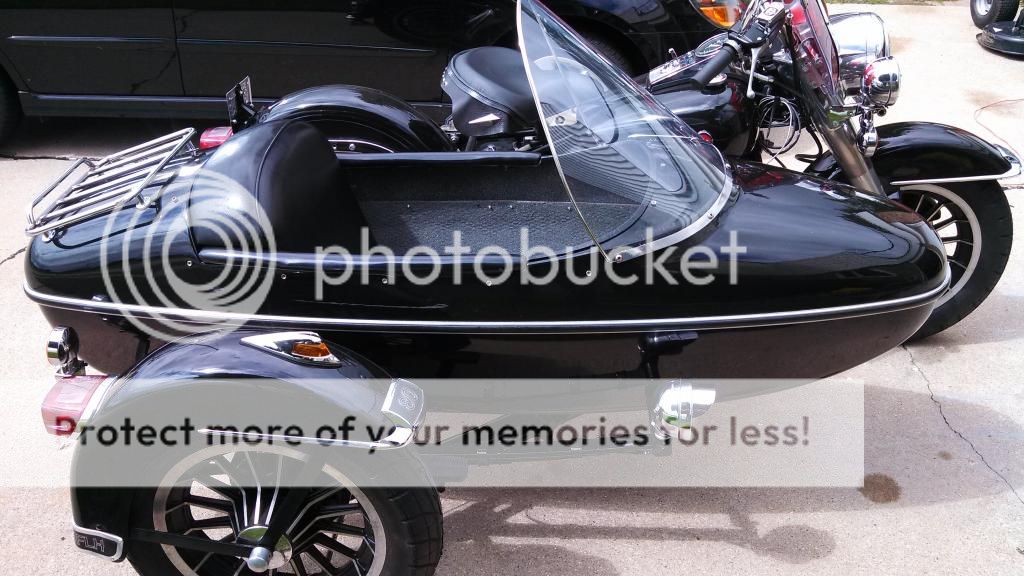
After 3yrs it's finally finished. I bought this and the bike in the fall of '11. Both needed re-doing. The seller only had it on the bike once just to try it when he first got it 8yrs before. The bike took the most time and money but the sidecar had it's own issues. the body had a hole punched in on the bottom, broken fiberglass. It had several layers of paint that would be to thick to do again. Then after posting pic's here someone noticed the shackles were added on to (the front mounting bar also), that made the tub sit lower causing the damage. The first pic is how I found it it. Then disassembly.


Posted : September 1, 2014 4:46 pm
(@willy-g)
Posts: 33
Eminent Member
Topic starter
 

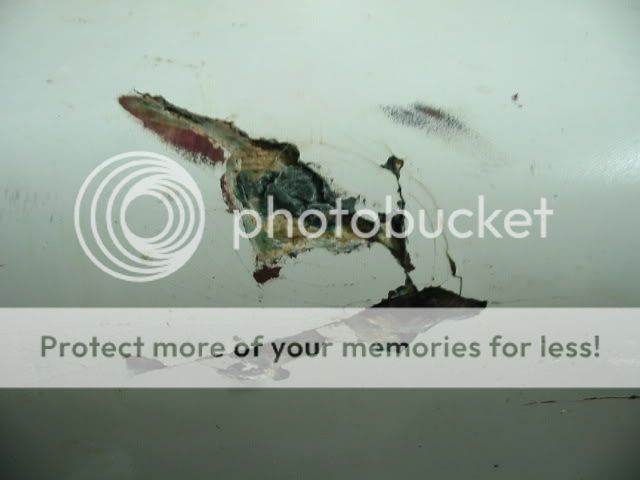
Damaged bottom corner, gouged paint etc. Ended up drilling out the rivets and splitting the top from the bottom body


Posted : September 1, 2014 4:49 pm
(@willy-g)
Posts: 33
Eminent Member
Topic starter
 

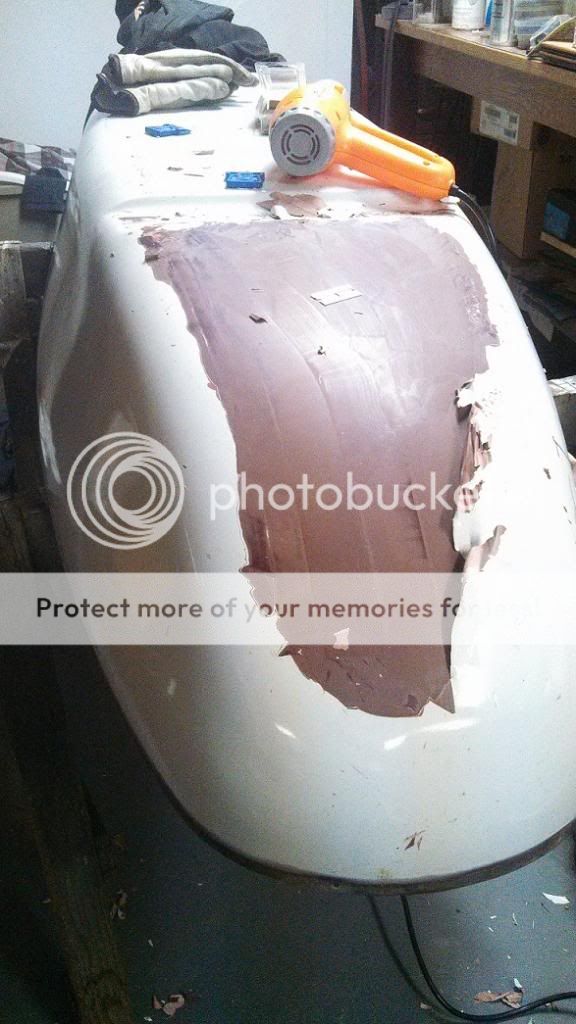
Stripped paint with a single edge blade razor and heat gun. Paint guys said NO paint remover on fiberglass.


Posted : September 1, 2014 4:52 pm
(@willy-g)
Posts: 33
Eminent Member
Topic starter
 

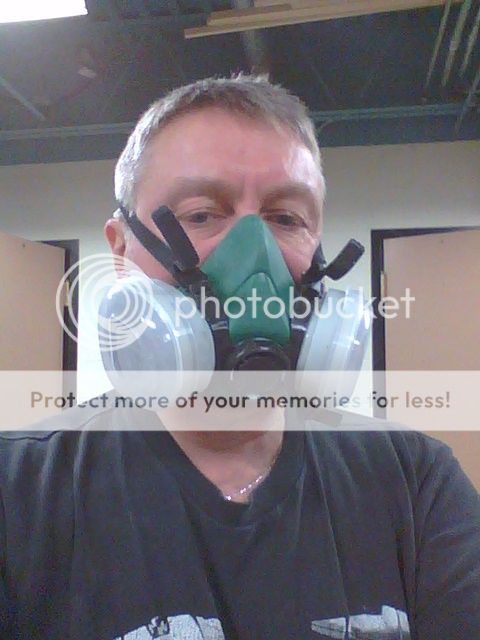
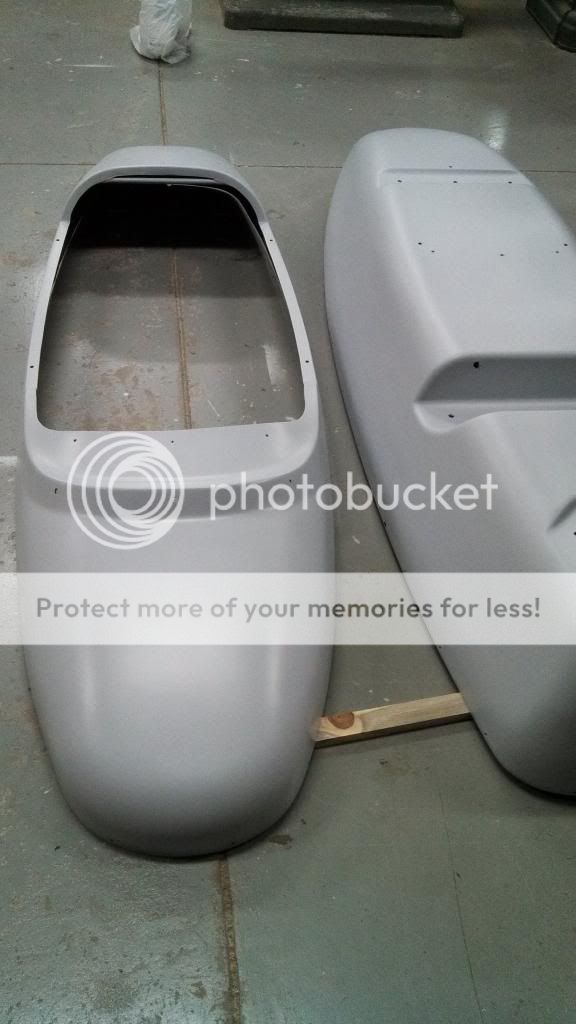
Did all the paint myself. I not a painter but I paint. Forced to keep the budget down because of what the bike itself was costing

Primed and ready -


Posted : September 1, 2014 4:57 pm
(@willy-g)
Posts: 33
Eminent Member
Topic starter
 

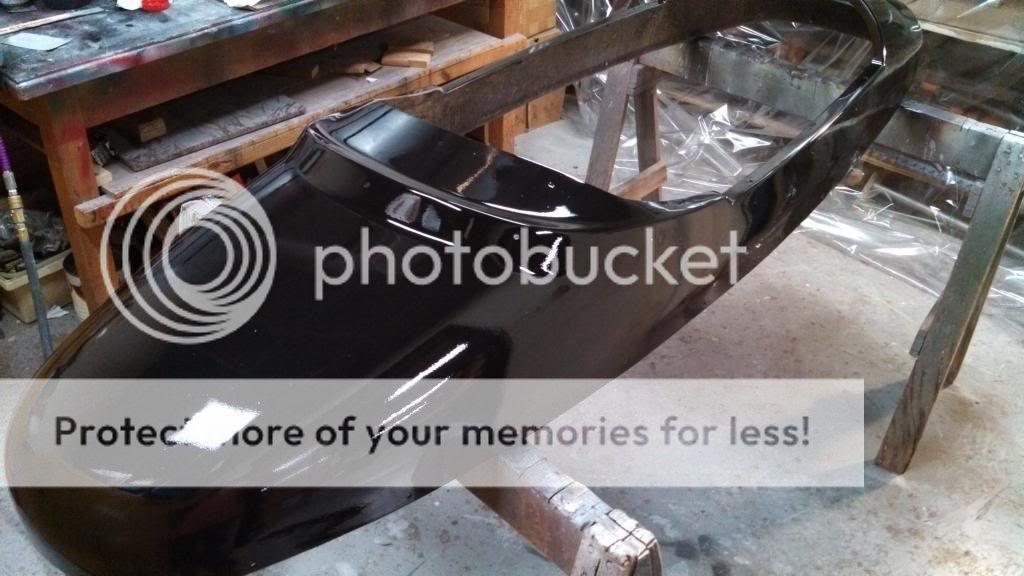
Next the Black!


Posted : September 1, 2014 5:02 pm
(@willy-g)
Posts: 33
Eminent Member
Topic starter
 

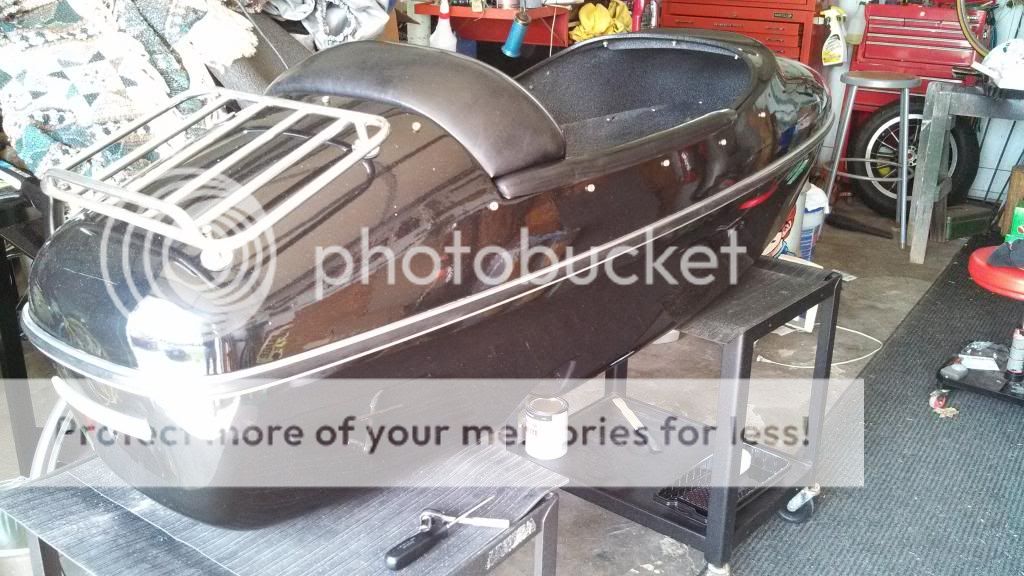
Here's the finished body.


Posted : September 1, 2014 5:07 pm
(@willy-g)
Posts: 33
Eminent Member
Topic starter
 

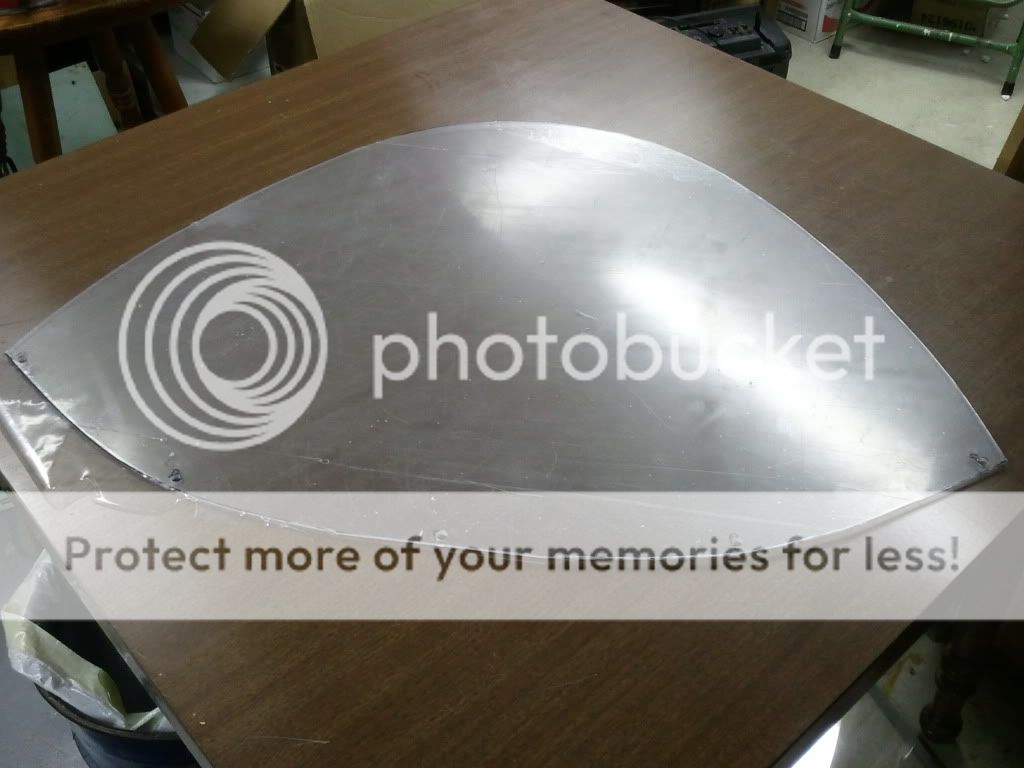
I made a new windshield from .100 Lexan. Used the old one for a pattern.


Posted : September 1, 2014 5:17 pm
(@willy-g)
Posts: 33
Eminent Member
Topic starter
 

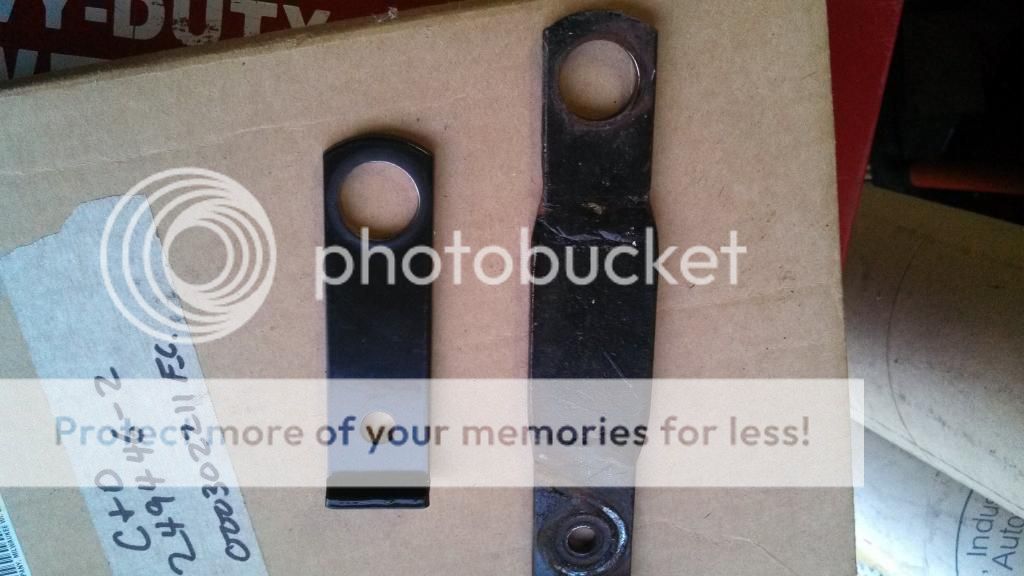
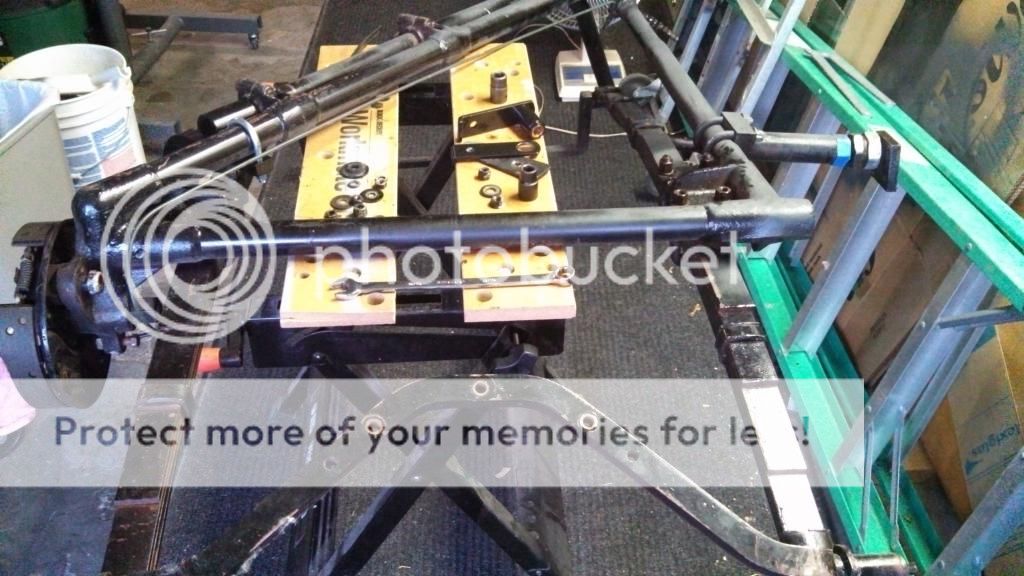
Next were the cobbled up shackles. Replaced with new (still available from the MoCo) and I replaced the front mount bar, it too was added onto.


Posted : September 1, 2014 5:24 pm
(@willy-g)
Posts: 33
Eminent Member
Topic starter
 

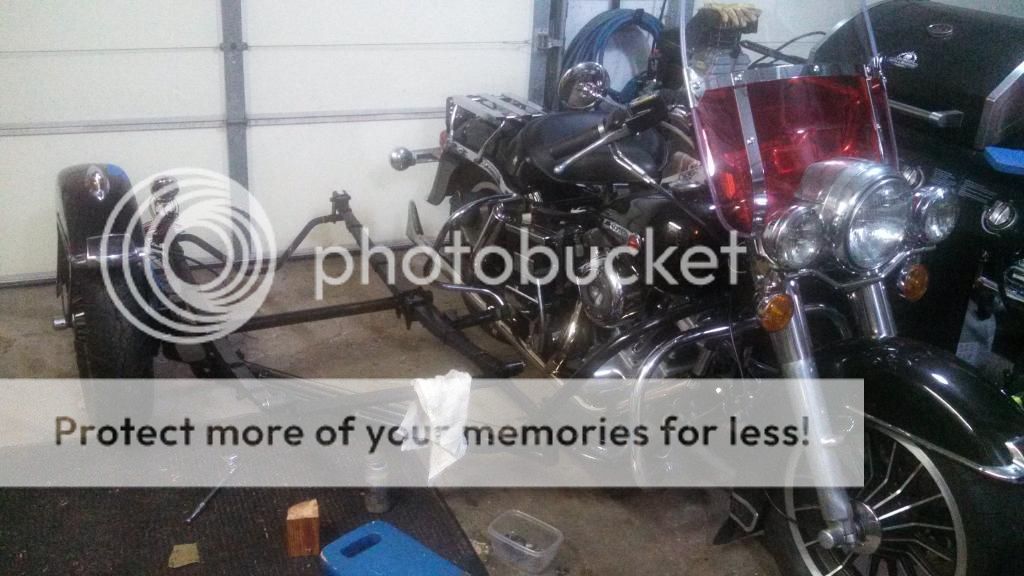
Once assembled It went on the bike for setup


Posted : September 1, 2014 5:27 pm
(@willy-g)
Posts: 33
Eminent Member
Topic starter
 

Now the finished product


Posted : September 1, 2014 5:31 pm
(@davet)
Posts: 203
Estimable Member
 

Looks really good, I was wondering about the inside of the sidecar, did you have carpet glue residue you had to remove? If so, how did you get it off? Thanks, Dave


Posted : September 2, 2014 11:53 am
(@willy-g)
Posts: 33
Eminent Member
Topic starter
 

There was that yellow weather stip glue all over the place from years ago. I just took a corse sanding disk on a orbital sander, 40 and 80 grit and went over it lightly without grinding into the fiberglass. I had new carpet for it, but the older ones didn't have it originally, I decided to not use it. So I just resprayed the interior with a speckle paint and layed some cheap indoor/outdoor carpet for the feet


Posted : September 2, 2014 12:22 pm
 VLAD
(@vlad)
Posts: 443
Reputable Member
 

Looks good. Thanks for the pictures.


Posted : September 2, 2014 1:18 pm
(@Crilly)
Posts: 21
Eminent Member
 

The rear sling that attaches to the springs broke on my rig at the left mounting hole. I recommend you reinforce it. I welded some 2 inch long square stock at the holes.


Posted : September 3, 2014 4:57 pm
(@willy-g)
Posts: 33
Eminent Member
Topic starter
 

Crilly can you post a pic of it?


Posted : September 28, 2014 6:52 pm
Page 1 / 2